A simple tool with great benefits. Use a spacer to structure your pages visually even better.
Add a spacer
In Main Administrative Menu, navigate to Content.
In the Content Overview table, select a page to add Spacer to, and click Edit.
Go to the bottom of the Edit template form and select Spacer from the Add Section dropdown menu.
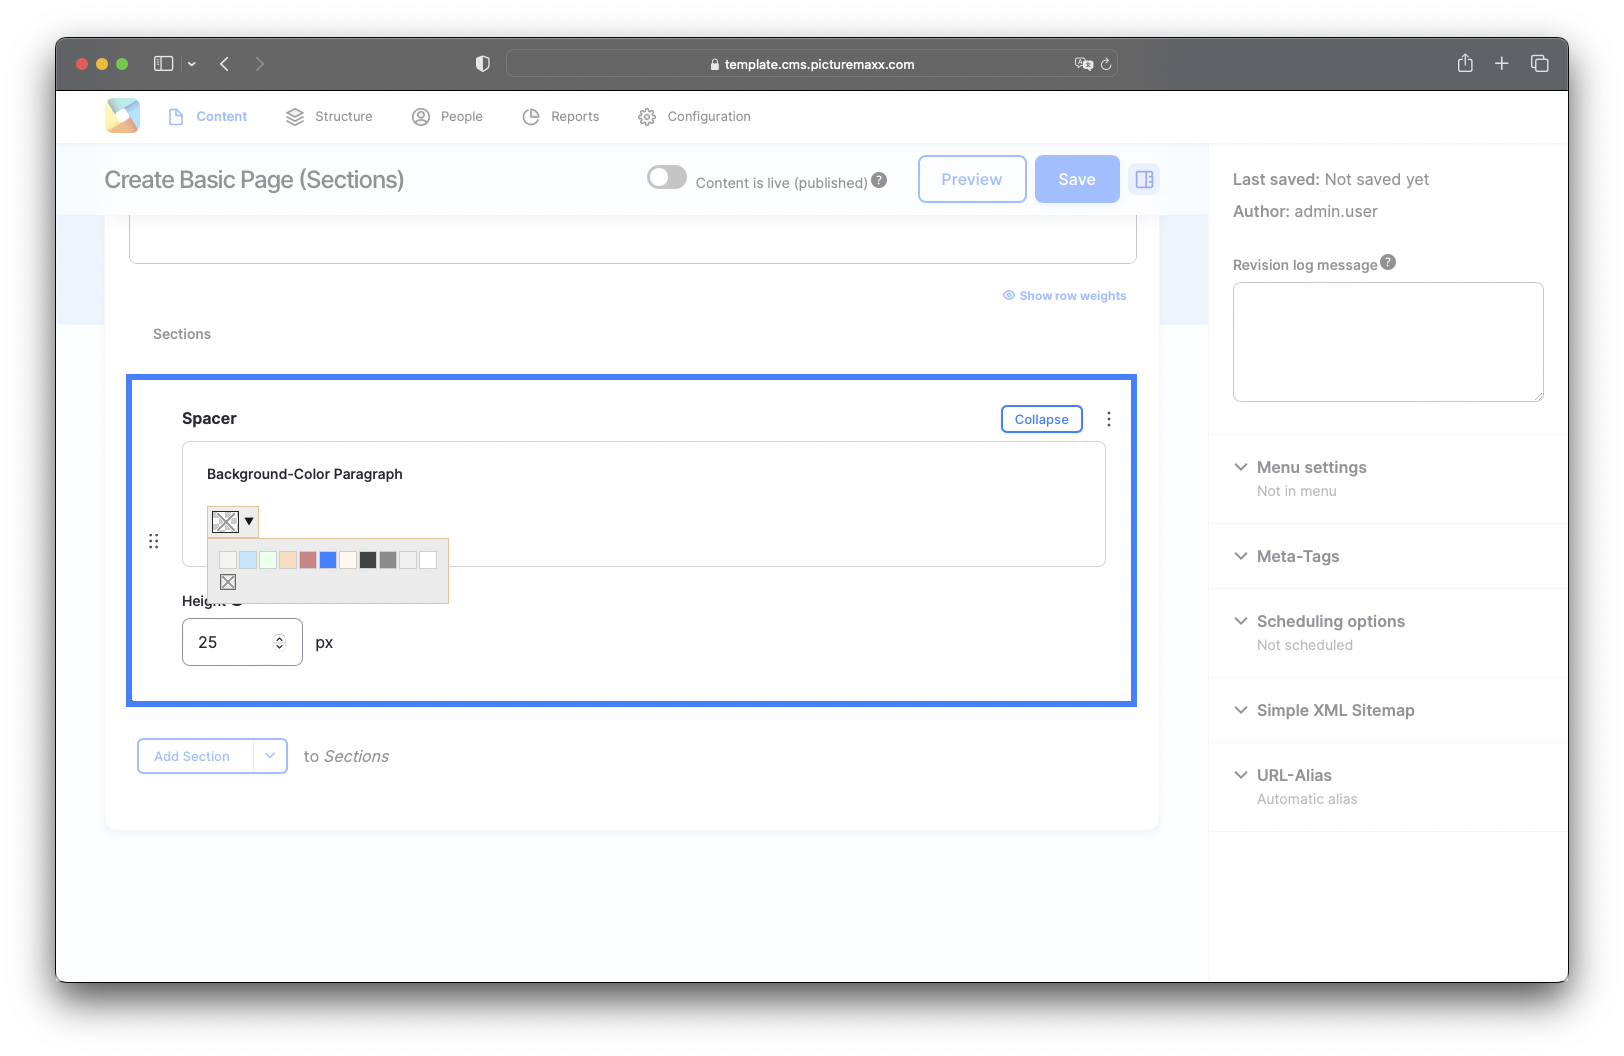
Pick Background color (or leave it transparent) and Height in pixels (up to 300px). You can position the spacer anywhere on the page. Learn how to add or modify background colors at Change Look & Feel (2. Background Colors for Paragraph Types).
Background-Color Paragraph
Choose a background color or leave the Spacer transparent
Height
Enter the height of the Spacer in pixels (up to 300px).
Before publishing a page:
Click Preview to make sure everything looks the way you want. You can preview any change before publishing it.
To return to the Edit page, click Back to content editing.
To make new content visible on your website, turn on the Content is live (published) option.
Click Save to store your changes. The website content items are listed on the Content page.