Home → First Steps → Custom Tokens
Custom Tokens
There might be a piece of information you need to use multiple times on your picturemaxx CMS. For example, in Contact Forms you might want to display a message text to confirm the customer's e-mail is successfully sent. Or you might want to display an instance name in Metatags within the SEO fields. That's when you need custom tokens.
Create a new custom token
To edit or set up a custom token, go to: Main administrative Menu → Structure → Custom Tokens.
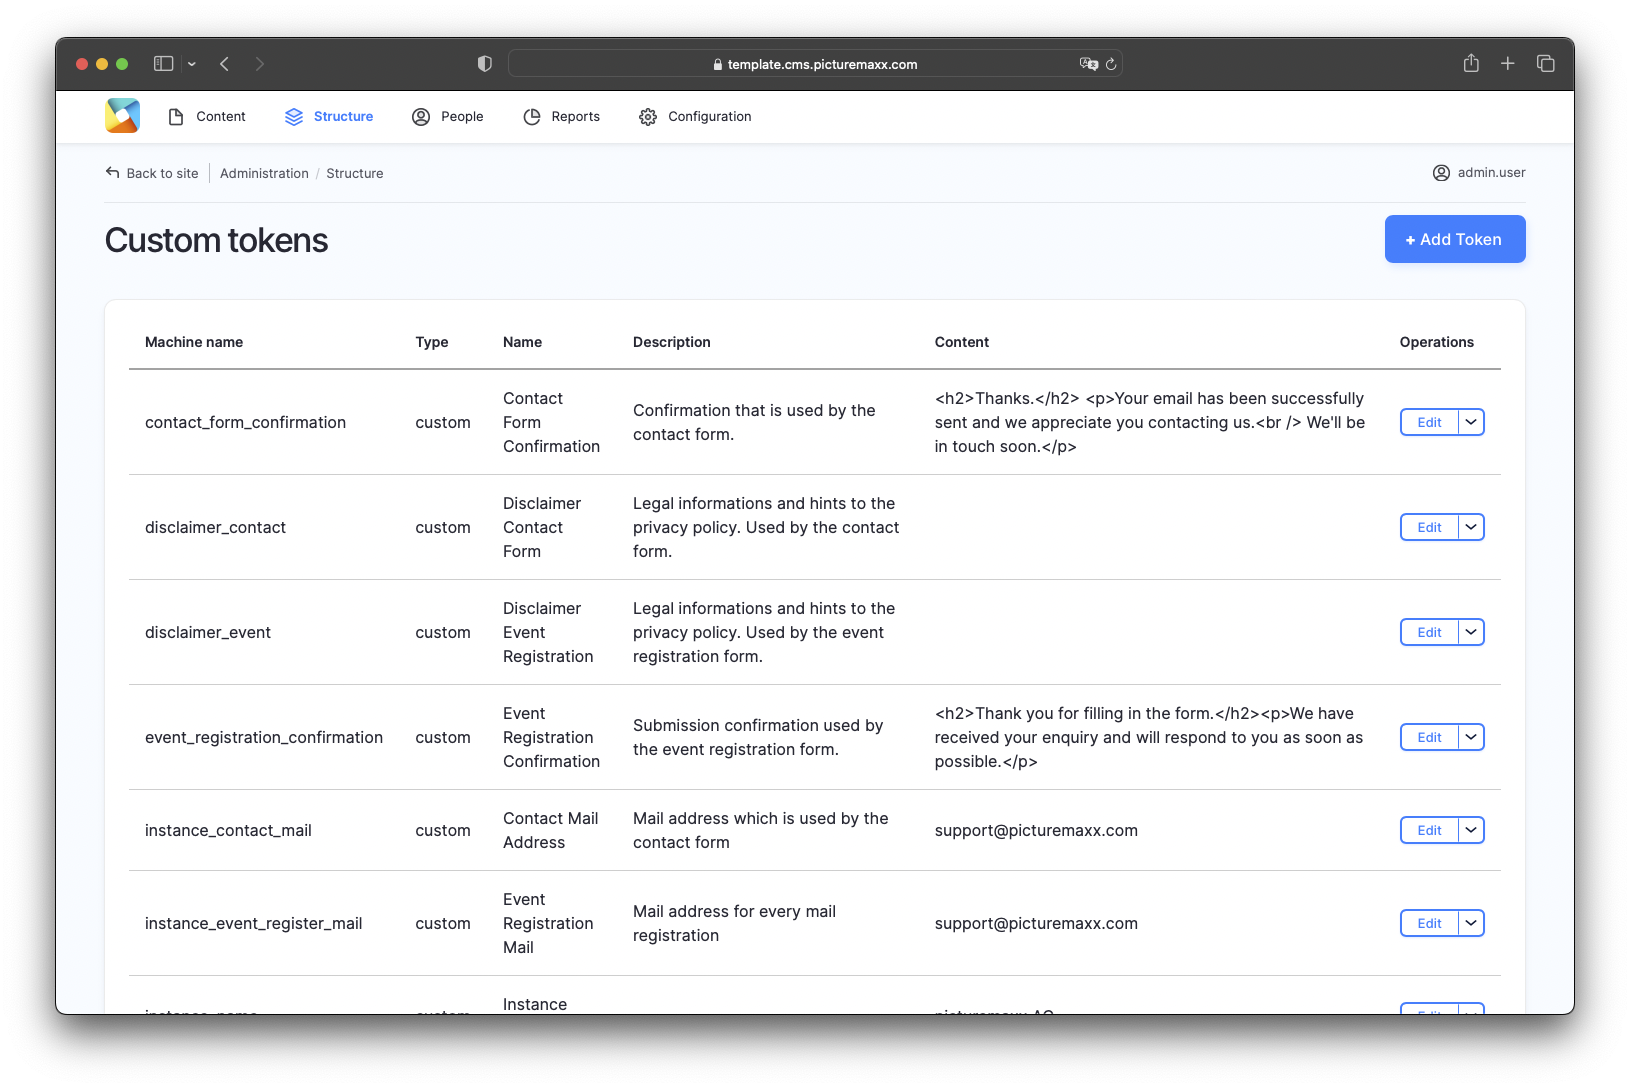
The Custom Tokens page lists existing tokens that allow handling:
- forms to set customized confirmation text, legal information, sender and recipient mail addresses for notifications
- instance names displayed within SEO metatags or on the page tab beside the favicon.
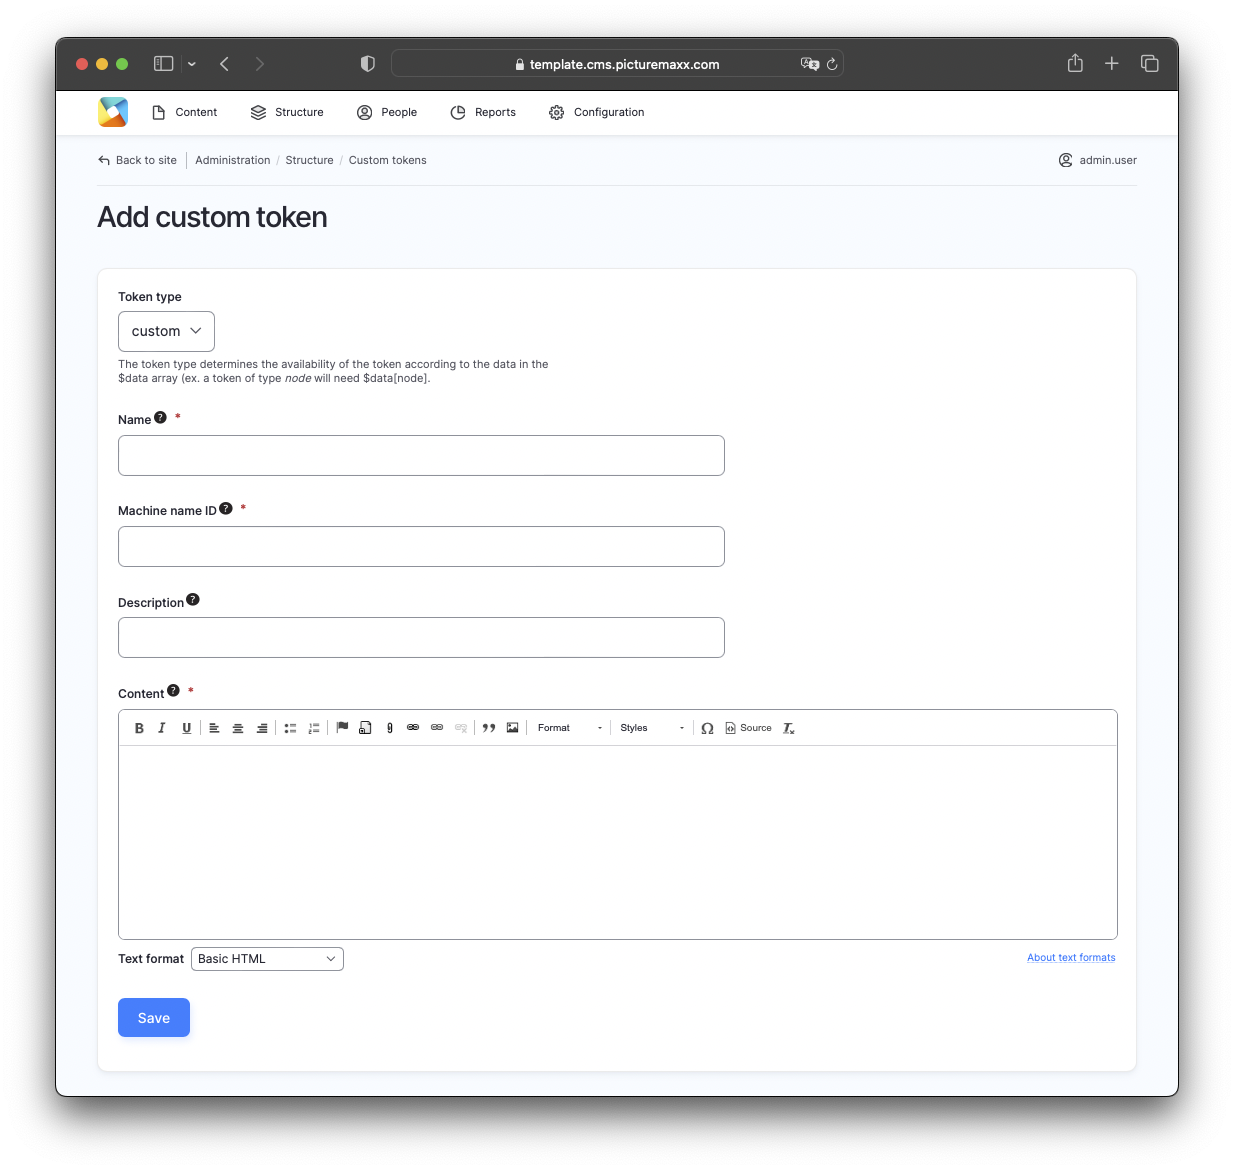
You can edit existing custom tokens by clicking Edit or set up new tokens using the +Add Token button.
-
Here you can see that several tokens have already been set up. They allow you to handle forms, such as setting custom confirmation texts, legal information, sender and recipient email addresses for notifications and the instance name displayed in the SEO meta tags or on the page tab next to the favicon.
You can configure existing custom tokens by clicking on Edit or set up new tokens using the +Add token button.
-