
Home → First Steps → Block Layout
Block Layout
Block Layout helps create your overall page structure. To display an element like a Search Bar, Social Media Icons or Awards on multiple pages, just add it to a page block and you won't have to manually place it on every single page. For example, you can easily reuse website branding within the Header section or the search bar within the Header Suffix throughout the website.
Here are some examples that explain how to place blocks within the layout and how to control their visibility for every page:
The block examples presented here are included in the standard picturemaxx CMS. Drupal offers some pre-designed blocks to be placed within Block Layout. As these are not part of the standard picturemaxx CMS, please refer to Drupal site for more information.
To access the Block Layout setup, navigate to Structure → Block Layout in the Main Administrative Menu. The library offers the following block layouts:
- Awards to add awards for the content suffix area.
- Basic block to place a basic layout that contains a title and a body.
- Search bar to add a search bar for your webshop.
- Section to add various paragraph types including:
-
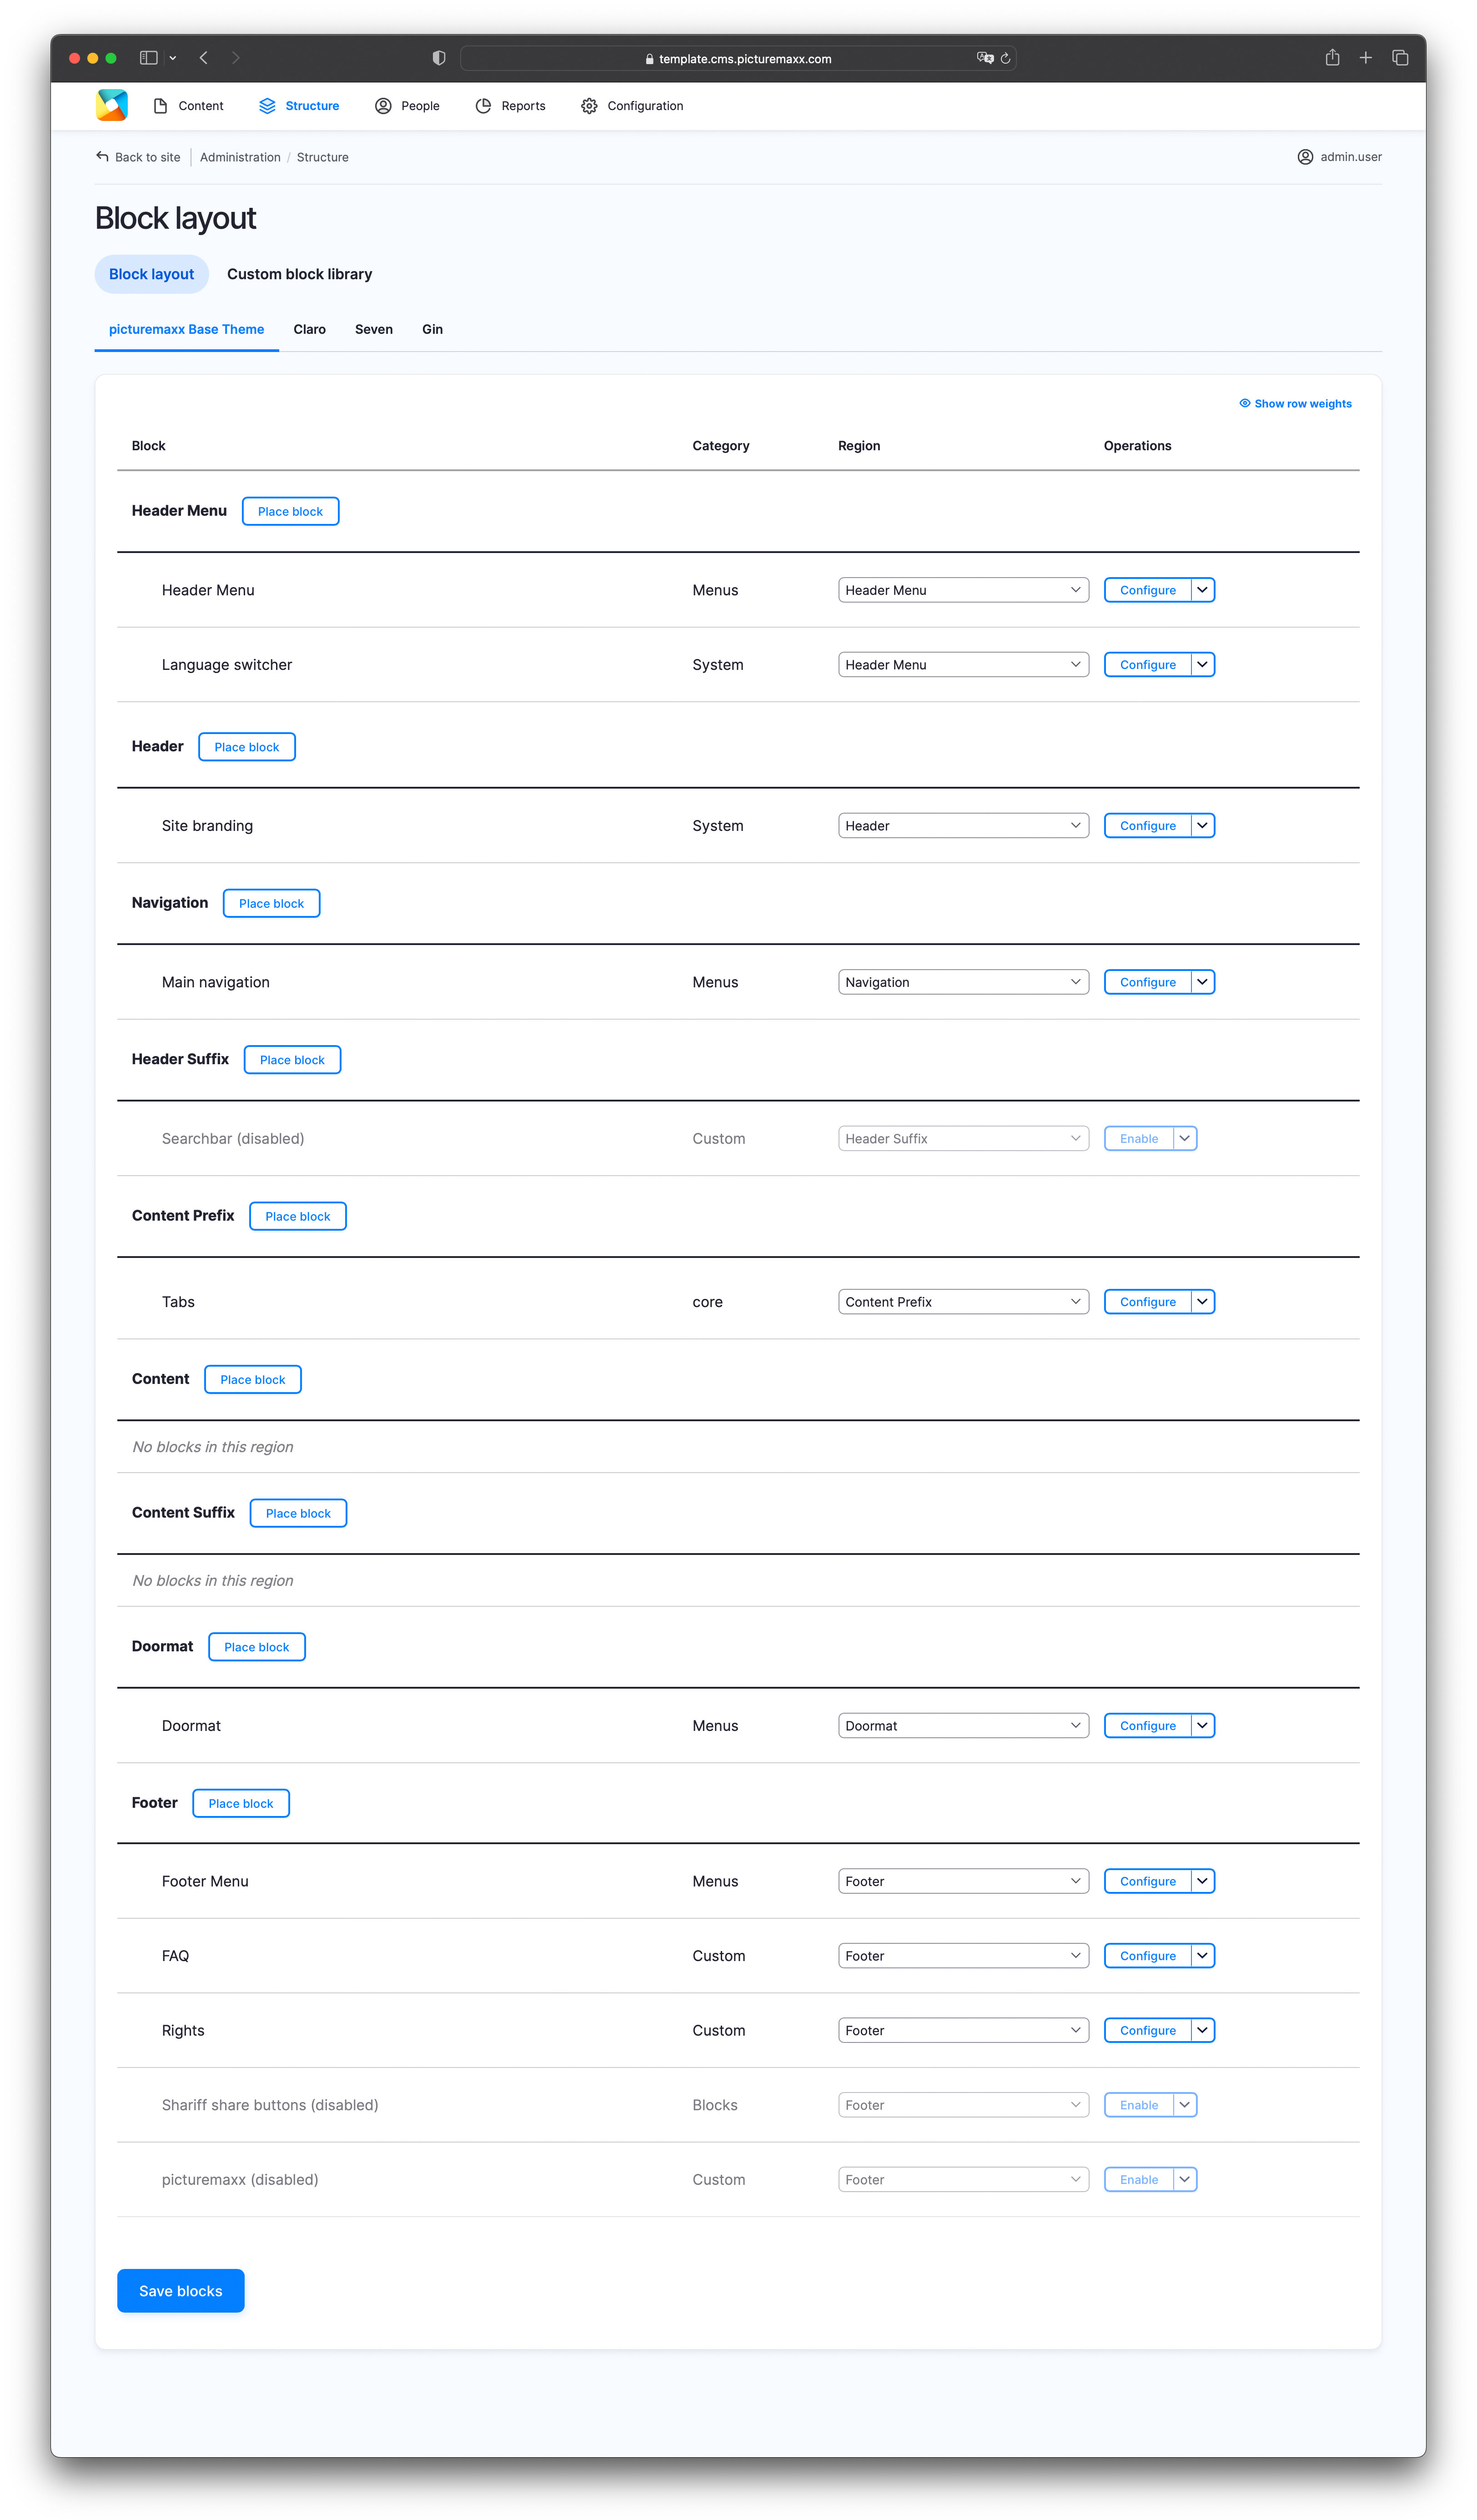
There is a Block Layout we use on our template site.
NOTE: Only the picturemaxx Base Theme is relevant for your settings. Just ignore the Claro, Seven, and Gin themes.
1. Add custom block
To show how to add custom blocks to your website, we'll walk you through adding a search bar you can use on your webshop.
-
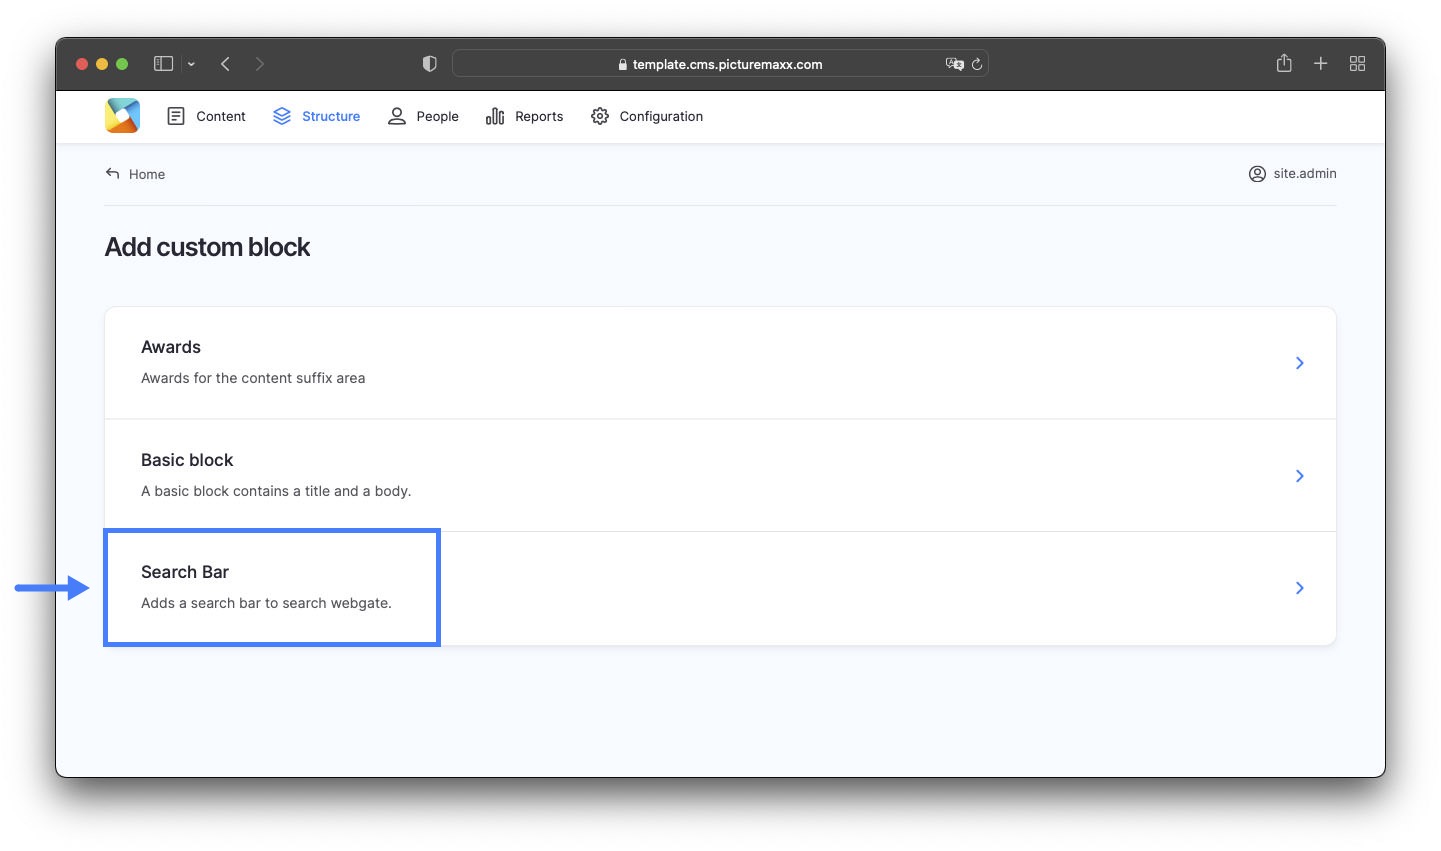
- In Main Administrative Menu, go to Structure → Block layout → Add custom block. Select the Search Bar option.
- The Add Search Bar custom block setup page is displayed. See Setup page fields below for more details.
-
Block description
Add a brief text describing your block.Search Field Label
Enter a text to be displayed within your bar to motivate visitors to search for your images, e.g., Find images.Webgate Search URL
Enter the URL where the webshop search will be executed. Contact picturemaxx Professional Services for an appropriate link.Sticky
Enable the toggle option to fix the search bar in the same position as the user scrolls down.Revision information
Add comments about the changes you made. -
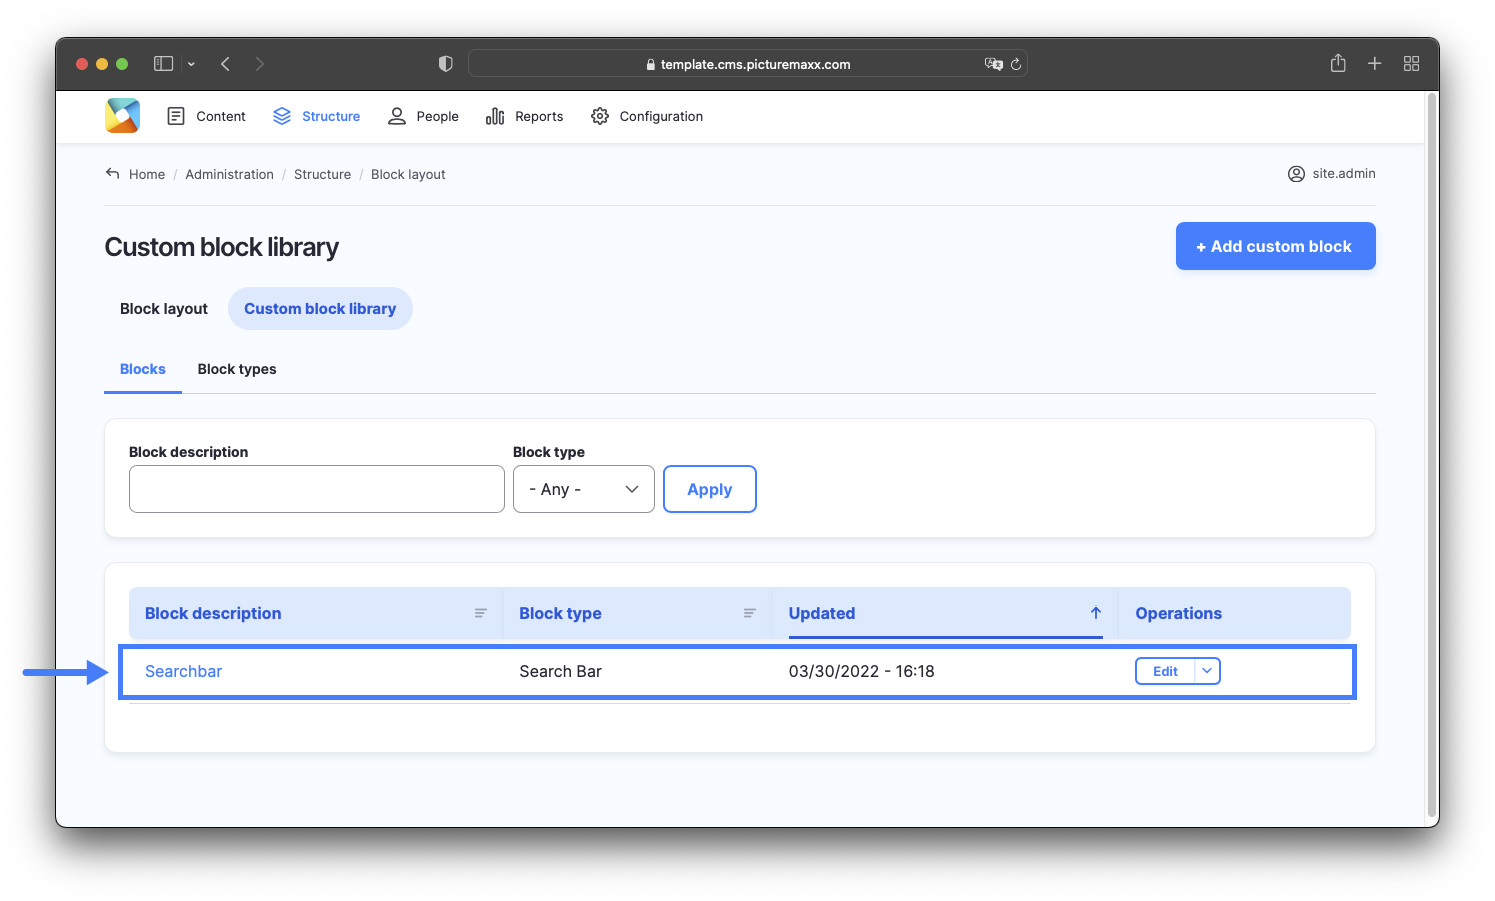
To view and edit all the created blocks: Structure → Block layout → Custom block library:
1.1 Place custom block
-
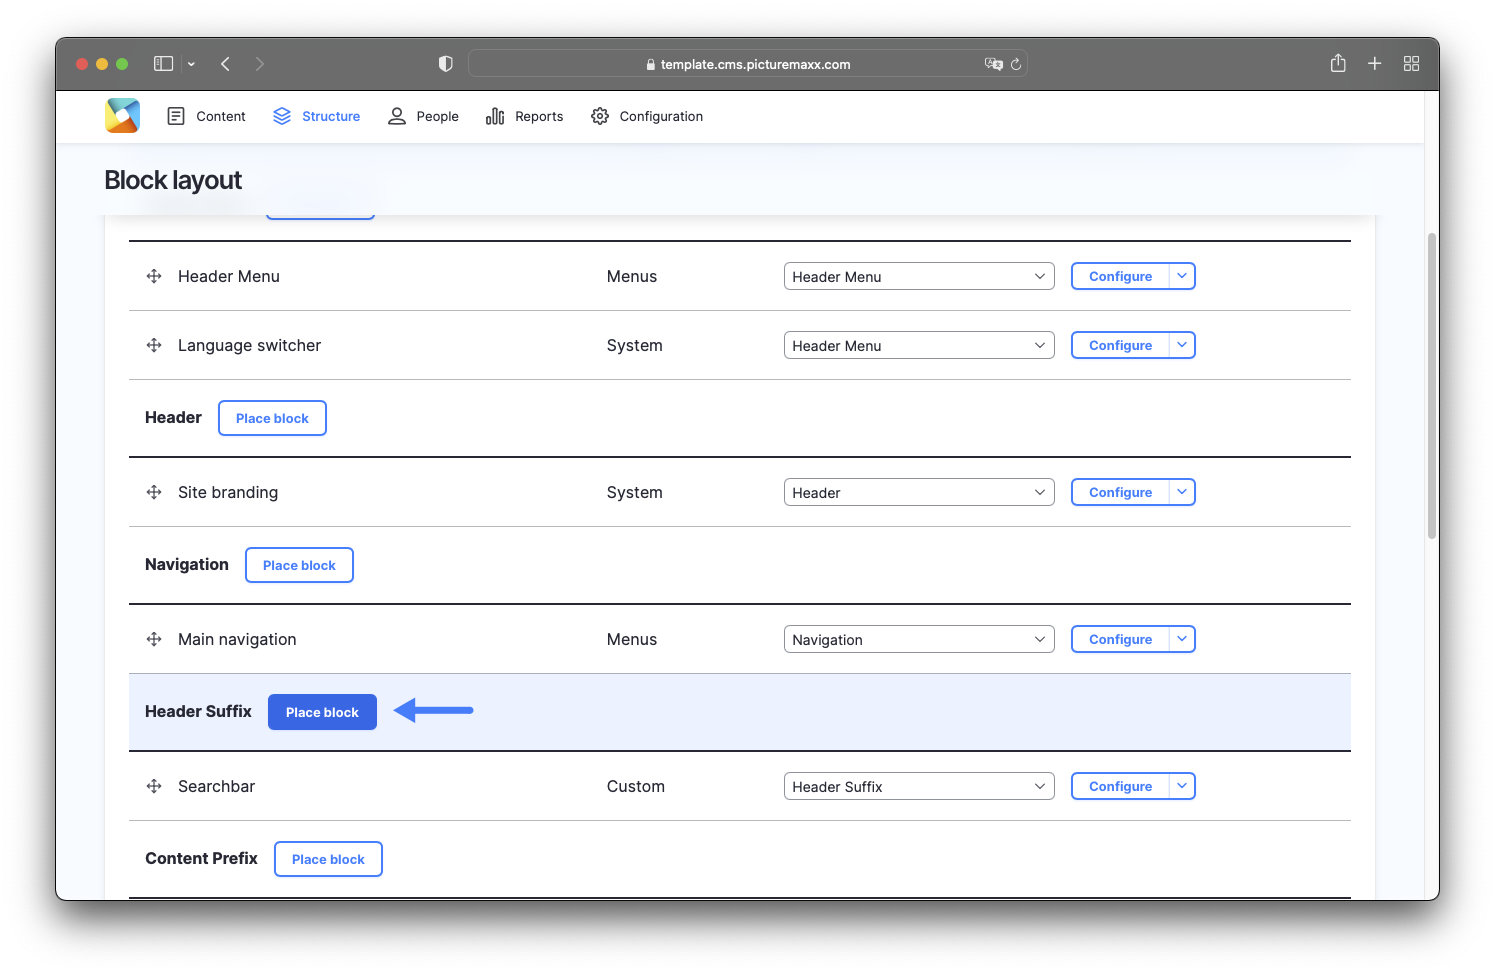
- After you've added a custom block, get back to Structure → Block layout to position it.
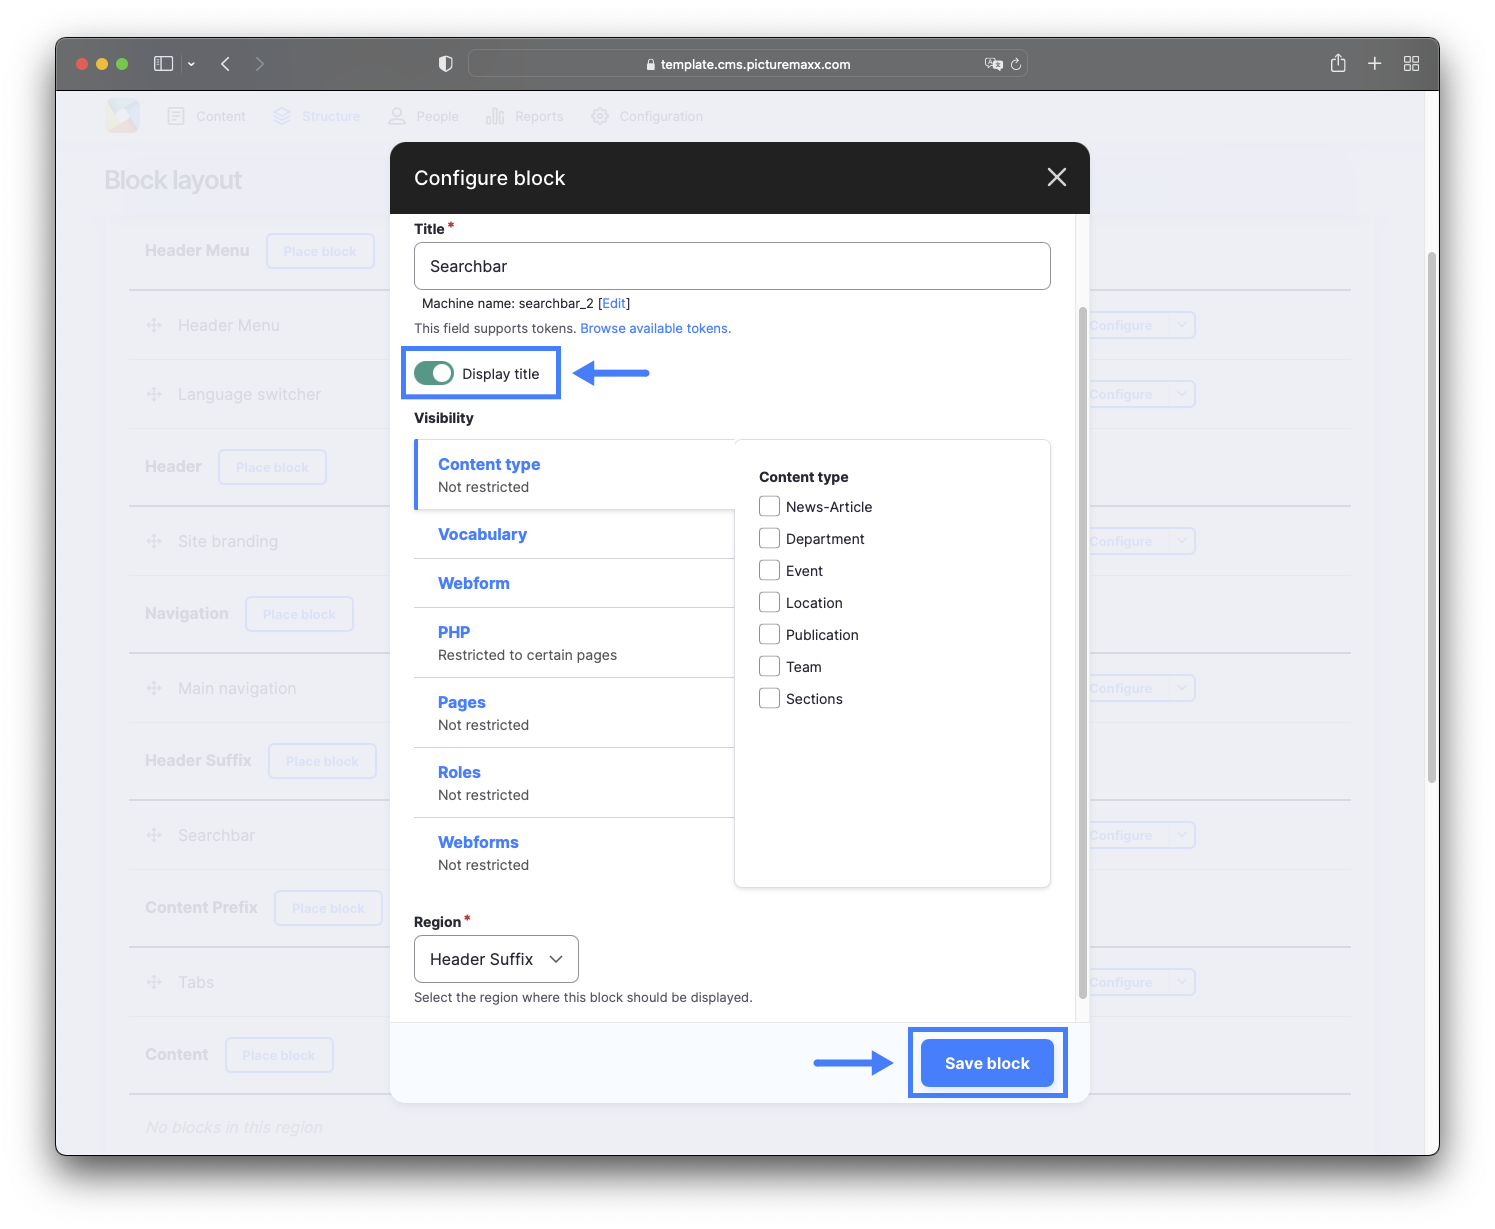
- To position the search bar beneath the page header, scroll down to Header Suffix and click Place block.
- You'll get an overview of all the blocks both offered by the system and custom-made by you. Find the recently created custom Search Bar and click Place block.
- Enable the Display title toggle to use the block name as the block's title on the page.
- Click Save block. Your newly created search bar will now appear on every page of the website, just below the main navigation.
NOTE: Only the picturemaxx Base Theme is relevant for your settings. Just ignore the Claro, Seven, and Gin themes.
Display title toggle:
1.2 Change the position of a block
-
1. To change the position of a custom block, go to Structure → Block layout. In the Block layout list:
- drag and drop a block to a new position, or
- select a new position from the drop-down list in the Region column.
2. Click Save block. Your newly created search bar will now appear on every page of the website, just below the main navigation.
The video below shows how to access the options.
Video: Change the position of a custom block (search bar) on a page:
2. Add pre-designed block (social media icon)
To show you how to add pre-designed blocks, we will place the Shariff Sharing Buttons block and add social media icons to the Doormat section throughout your website.
In Main Administrative Menu, navigate to Structure → Block layout. On the Black Layout page, scroll the block list down to the Doormat section, and click Place block to view available blocks. In the Place block dialog, search for Shariff Sharing Buttons, and click Place block to add it.
The video below will walk you through the procedure.
NOTE: Shariff Sharing Buttons is a Drupal module that enables website users to share their favorite content without compromising their privacy.
Video: Add a pre-designed block of social media icons to the doormat section of a website:
3. Configure visibility
It's useful to be able to display blocks everywhere at once. But on some pages you might want to make an exception. To configure blocks visibility, navigate to Structure → Block layout. On the Block Layout page, select a block and click Configure to add one or more exceptions to it. On the Configure Block page, you can also show or hide the block title.
The video below will walk you through the procedure.
Video: Hide a pre-designed block of social media icons on a specific page:
Before publishing the page:
- Click Preview to make sure everything looks the way you want. You can preview any change before publishing it.
- To return to the Edit page, click Back to content editing.
- To make new content visible on your website, turn on the Content is live (published) option.
- Click Save to store your changes. The website content items are listed on the Content page.