Home → Website administration → Smart Linking
Smart Linking
Organize your content with categories and tags to make it easier for visitors to find. With picturemaxx Drupal you can showcase content individually on several pages without having to duplicate it. Sorting your content with the users in mind will also help you get better SEO rankings.
1. Categories
The best way to make your images and videos available to customers is to organize them based on themes, for example, with a collection for each theme. When creating a collection just select the categories to be displayed in it. You won't have to select individual photos again and again.
To assign categories to your photos and videos, follow the steps below. We have also summarized the steps for you in two short videos.
-
To create categories:
- In the Main Administrative Menu, navigate to Structure → Taxonomy → Categories.
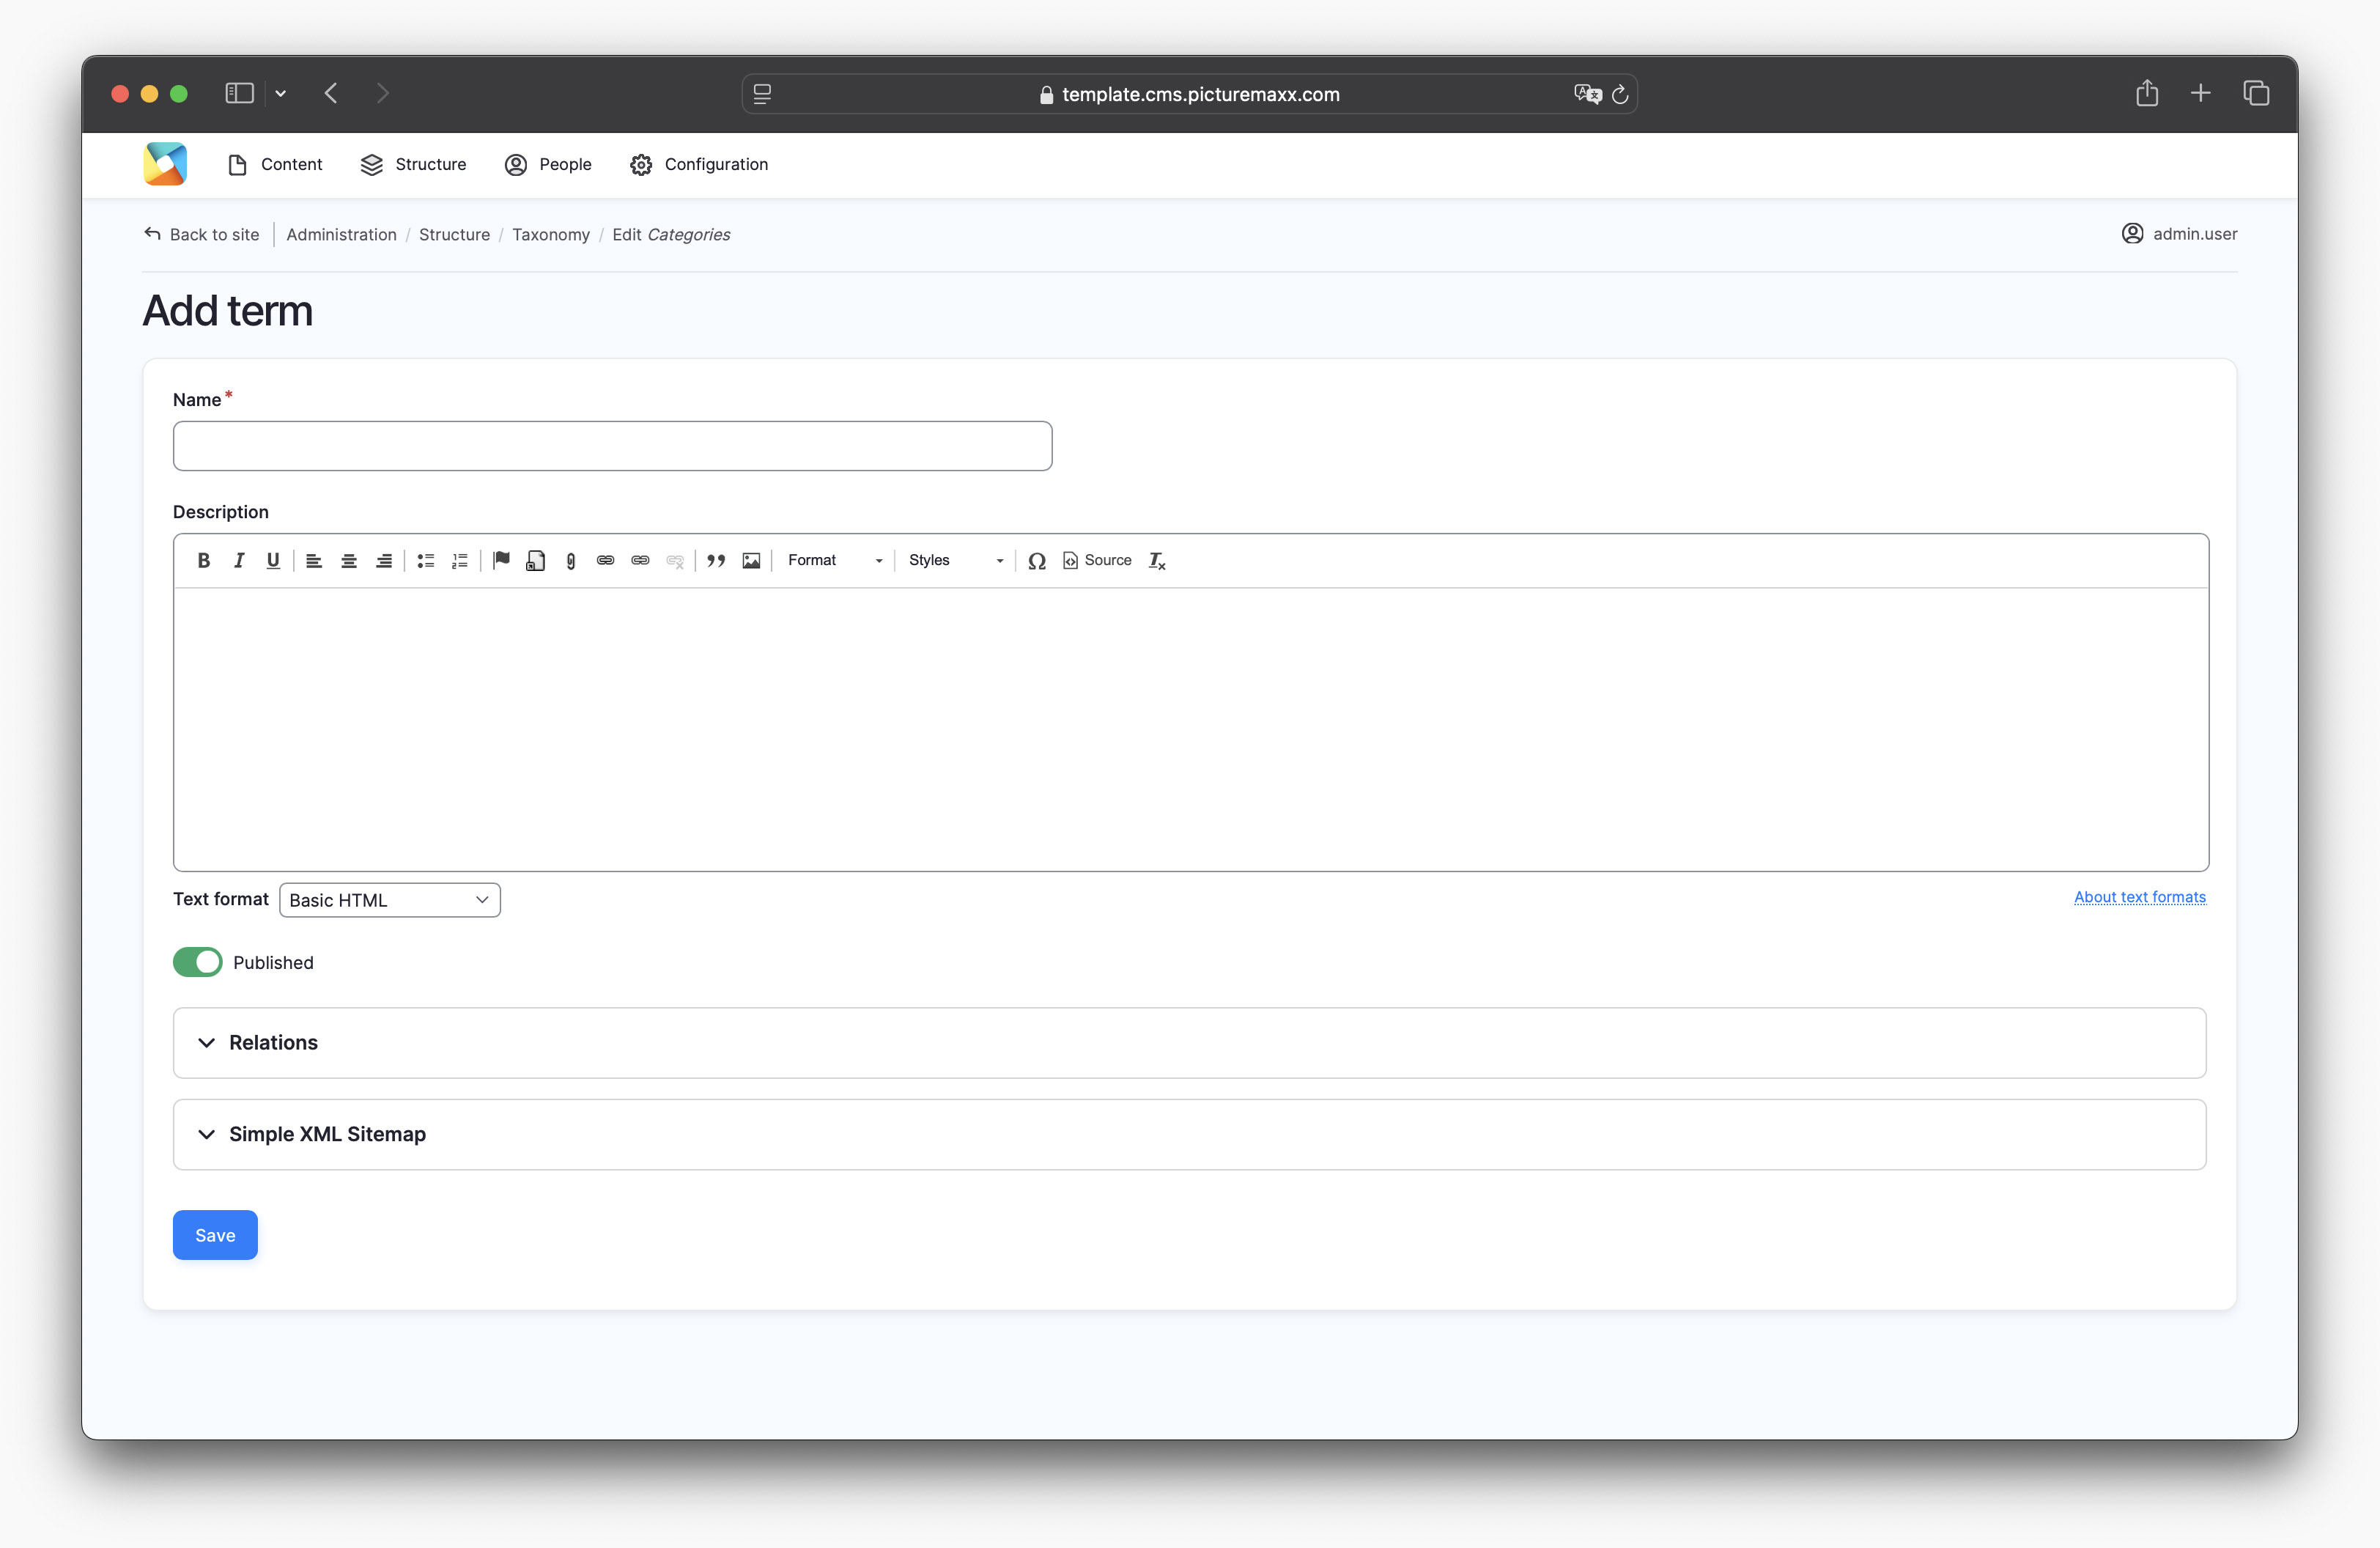
- Click +Add Term. In the Name field, enter the name of the category as you want it to appear in the menu (e.g. Architecture, Portrait, Landscape, etc.).
- Click Save.
-
To assign categories to your content:
- In the Main Administrative Menu, navigate to Content → Media.
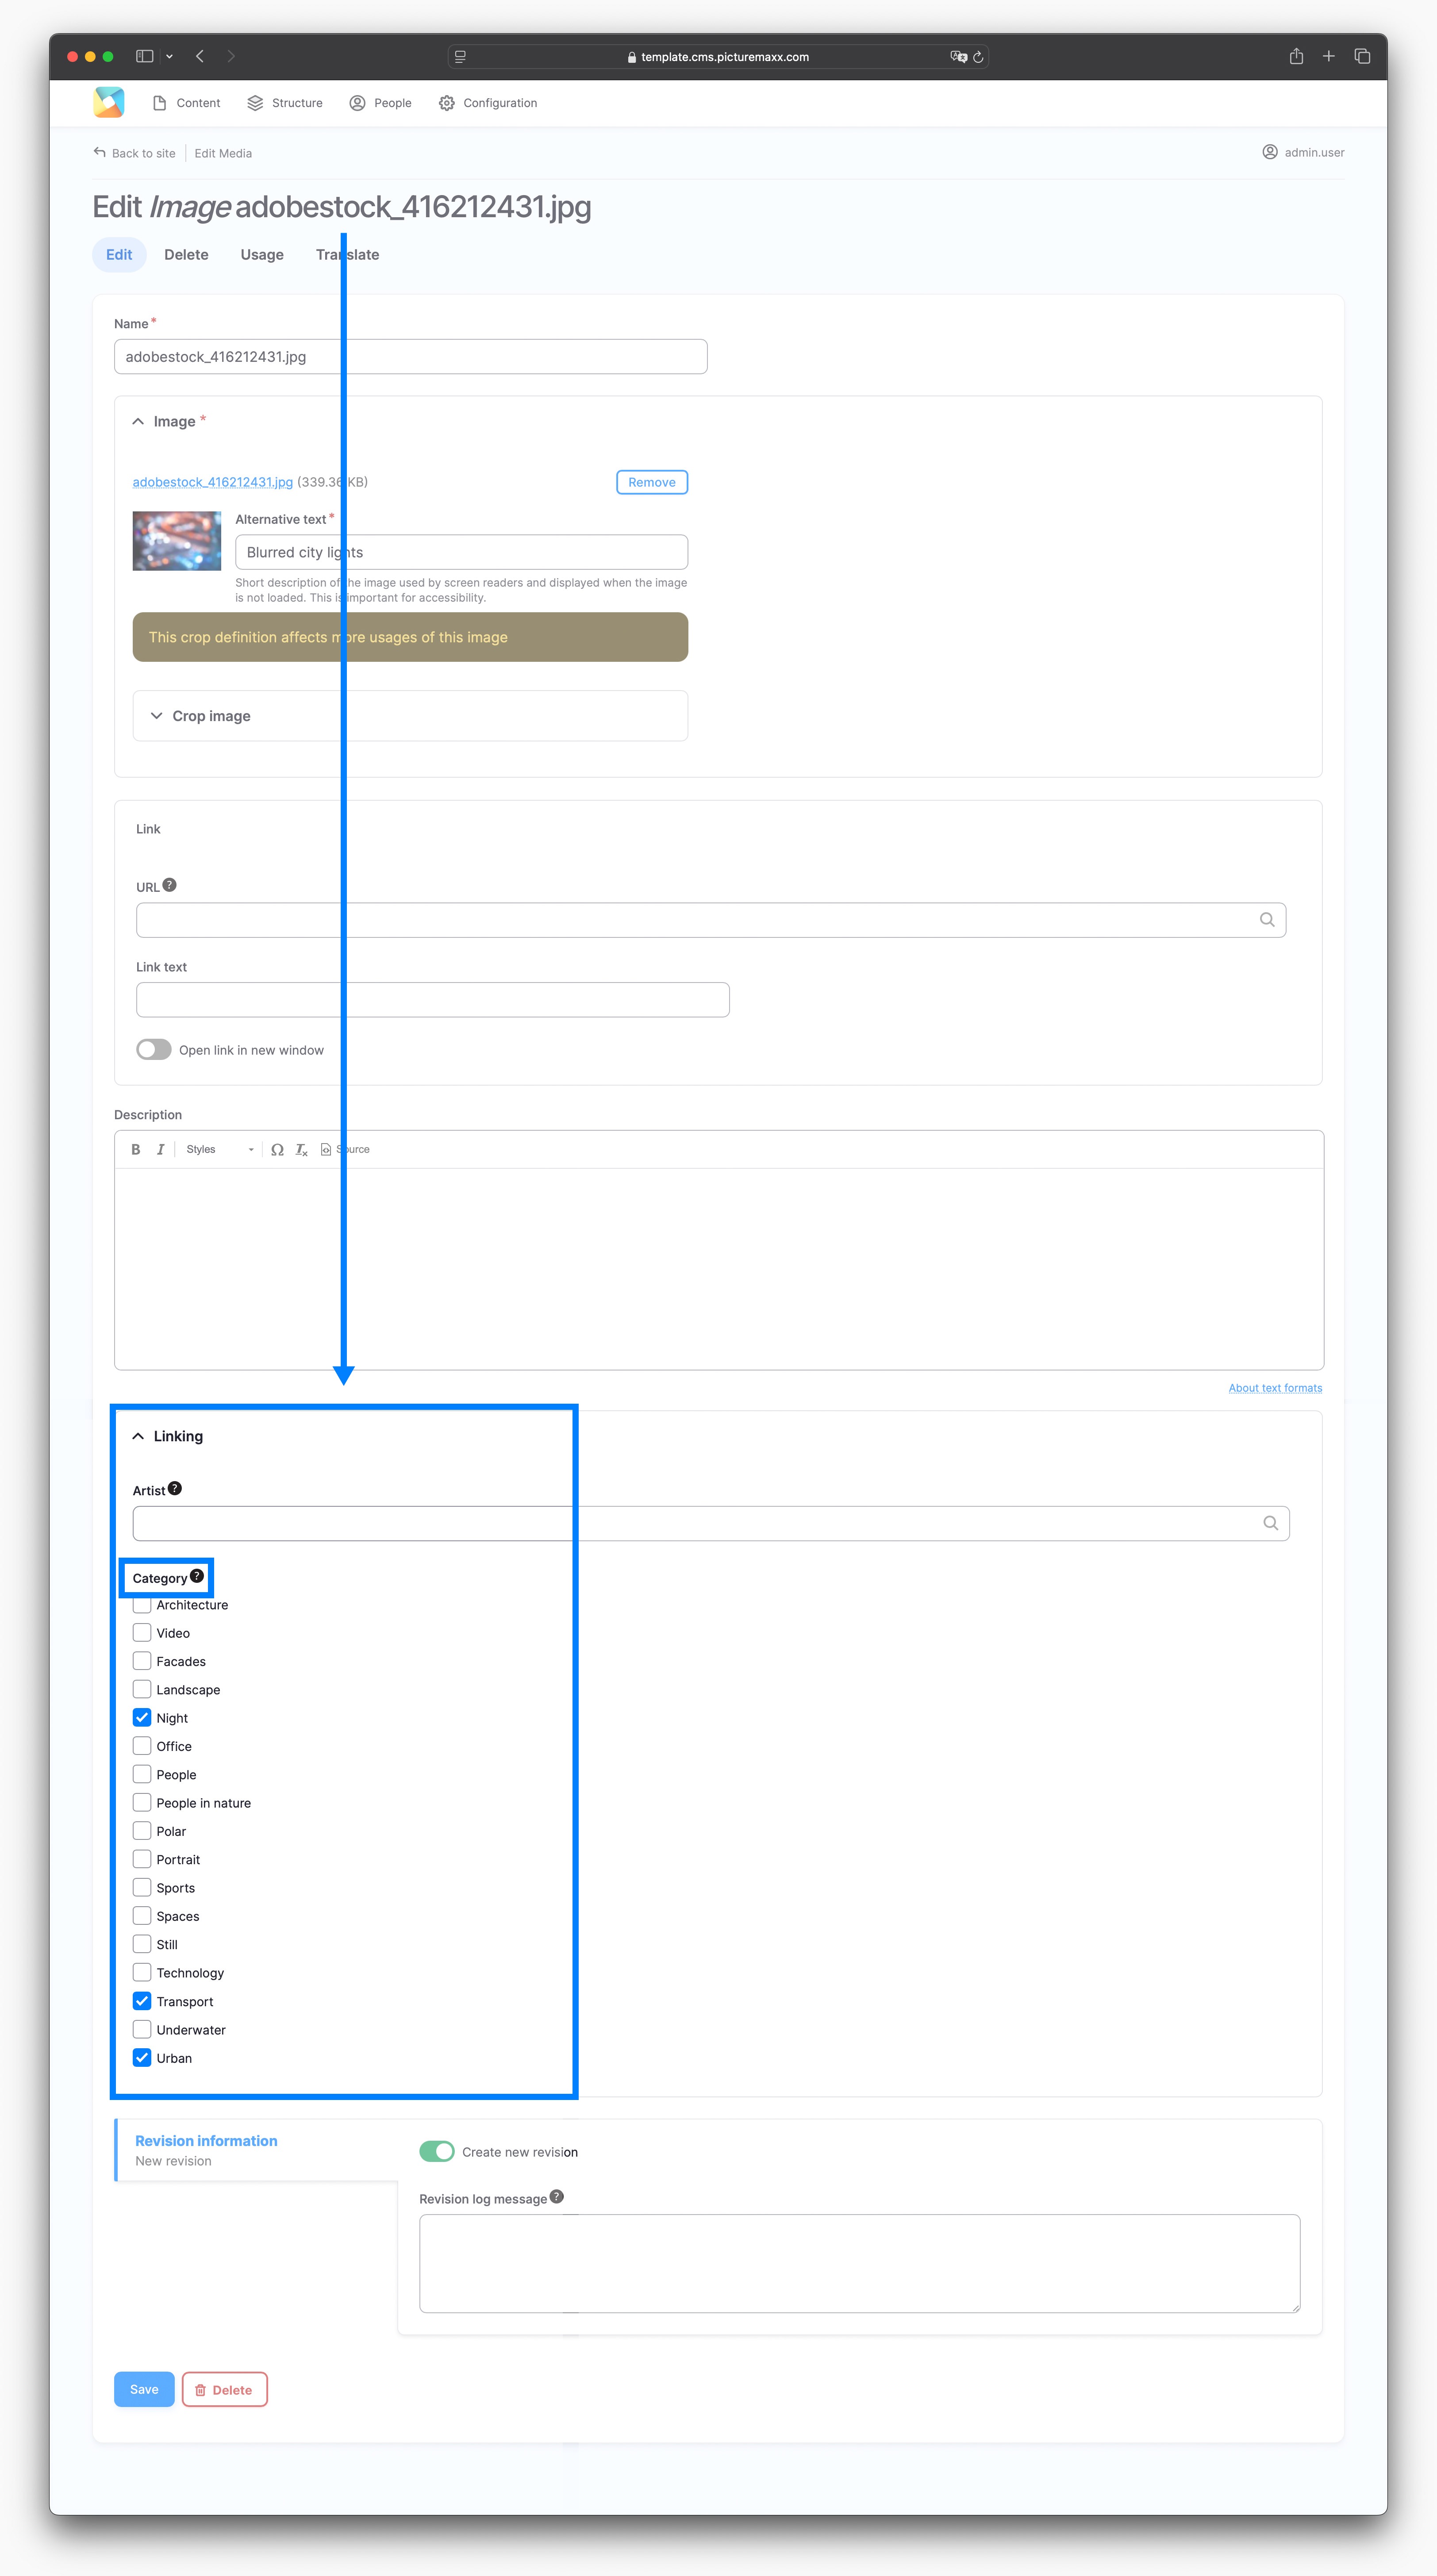
- In the Media list, select an item and click Edit next to it.
- On the Edit page, scroll down to Linking and expand it. All the categories (and subcategories) you have created will appear here. Choose categories you want to assign to the selected content item.
NOTE: You can assign several categories to a photo or video.
-
To add filter options to a collection:
- Access the setup page with a Collection added to it.
- In Display Options, in the Filter by Category dropdown, choose between the following filter options:
- Exposed Filter - to display all categories as filters. All categories assigned to the images in the collection are displayed as filters above the collection.
- None - not to display any categories.
- Select a category from the list to display only the content items assigned to it. No other filter options are displayed for the collection.
The Exposed Filter option is set to display all the categories as filters for the collection:

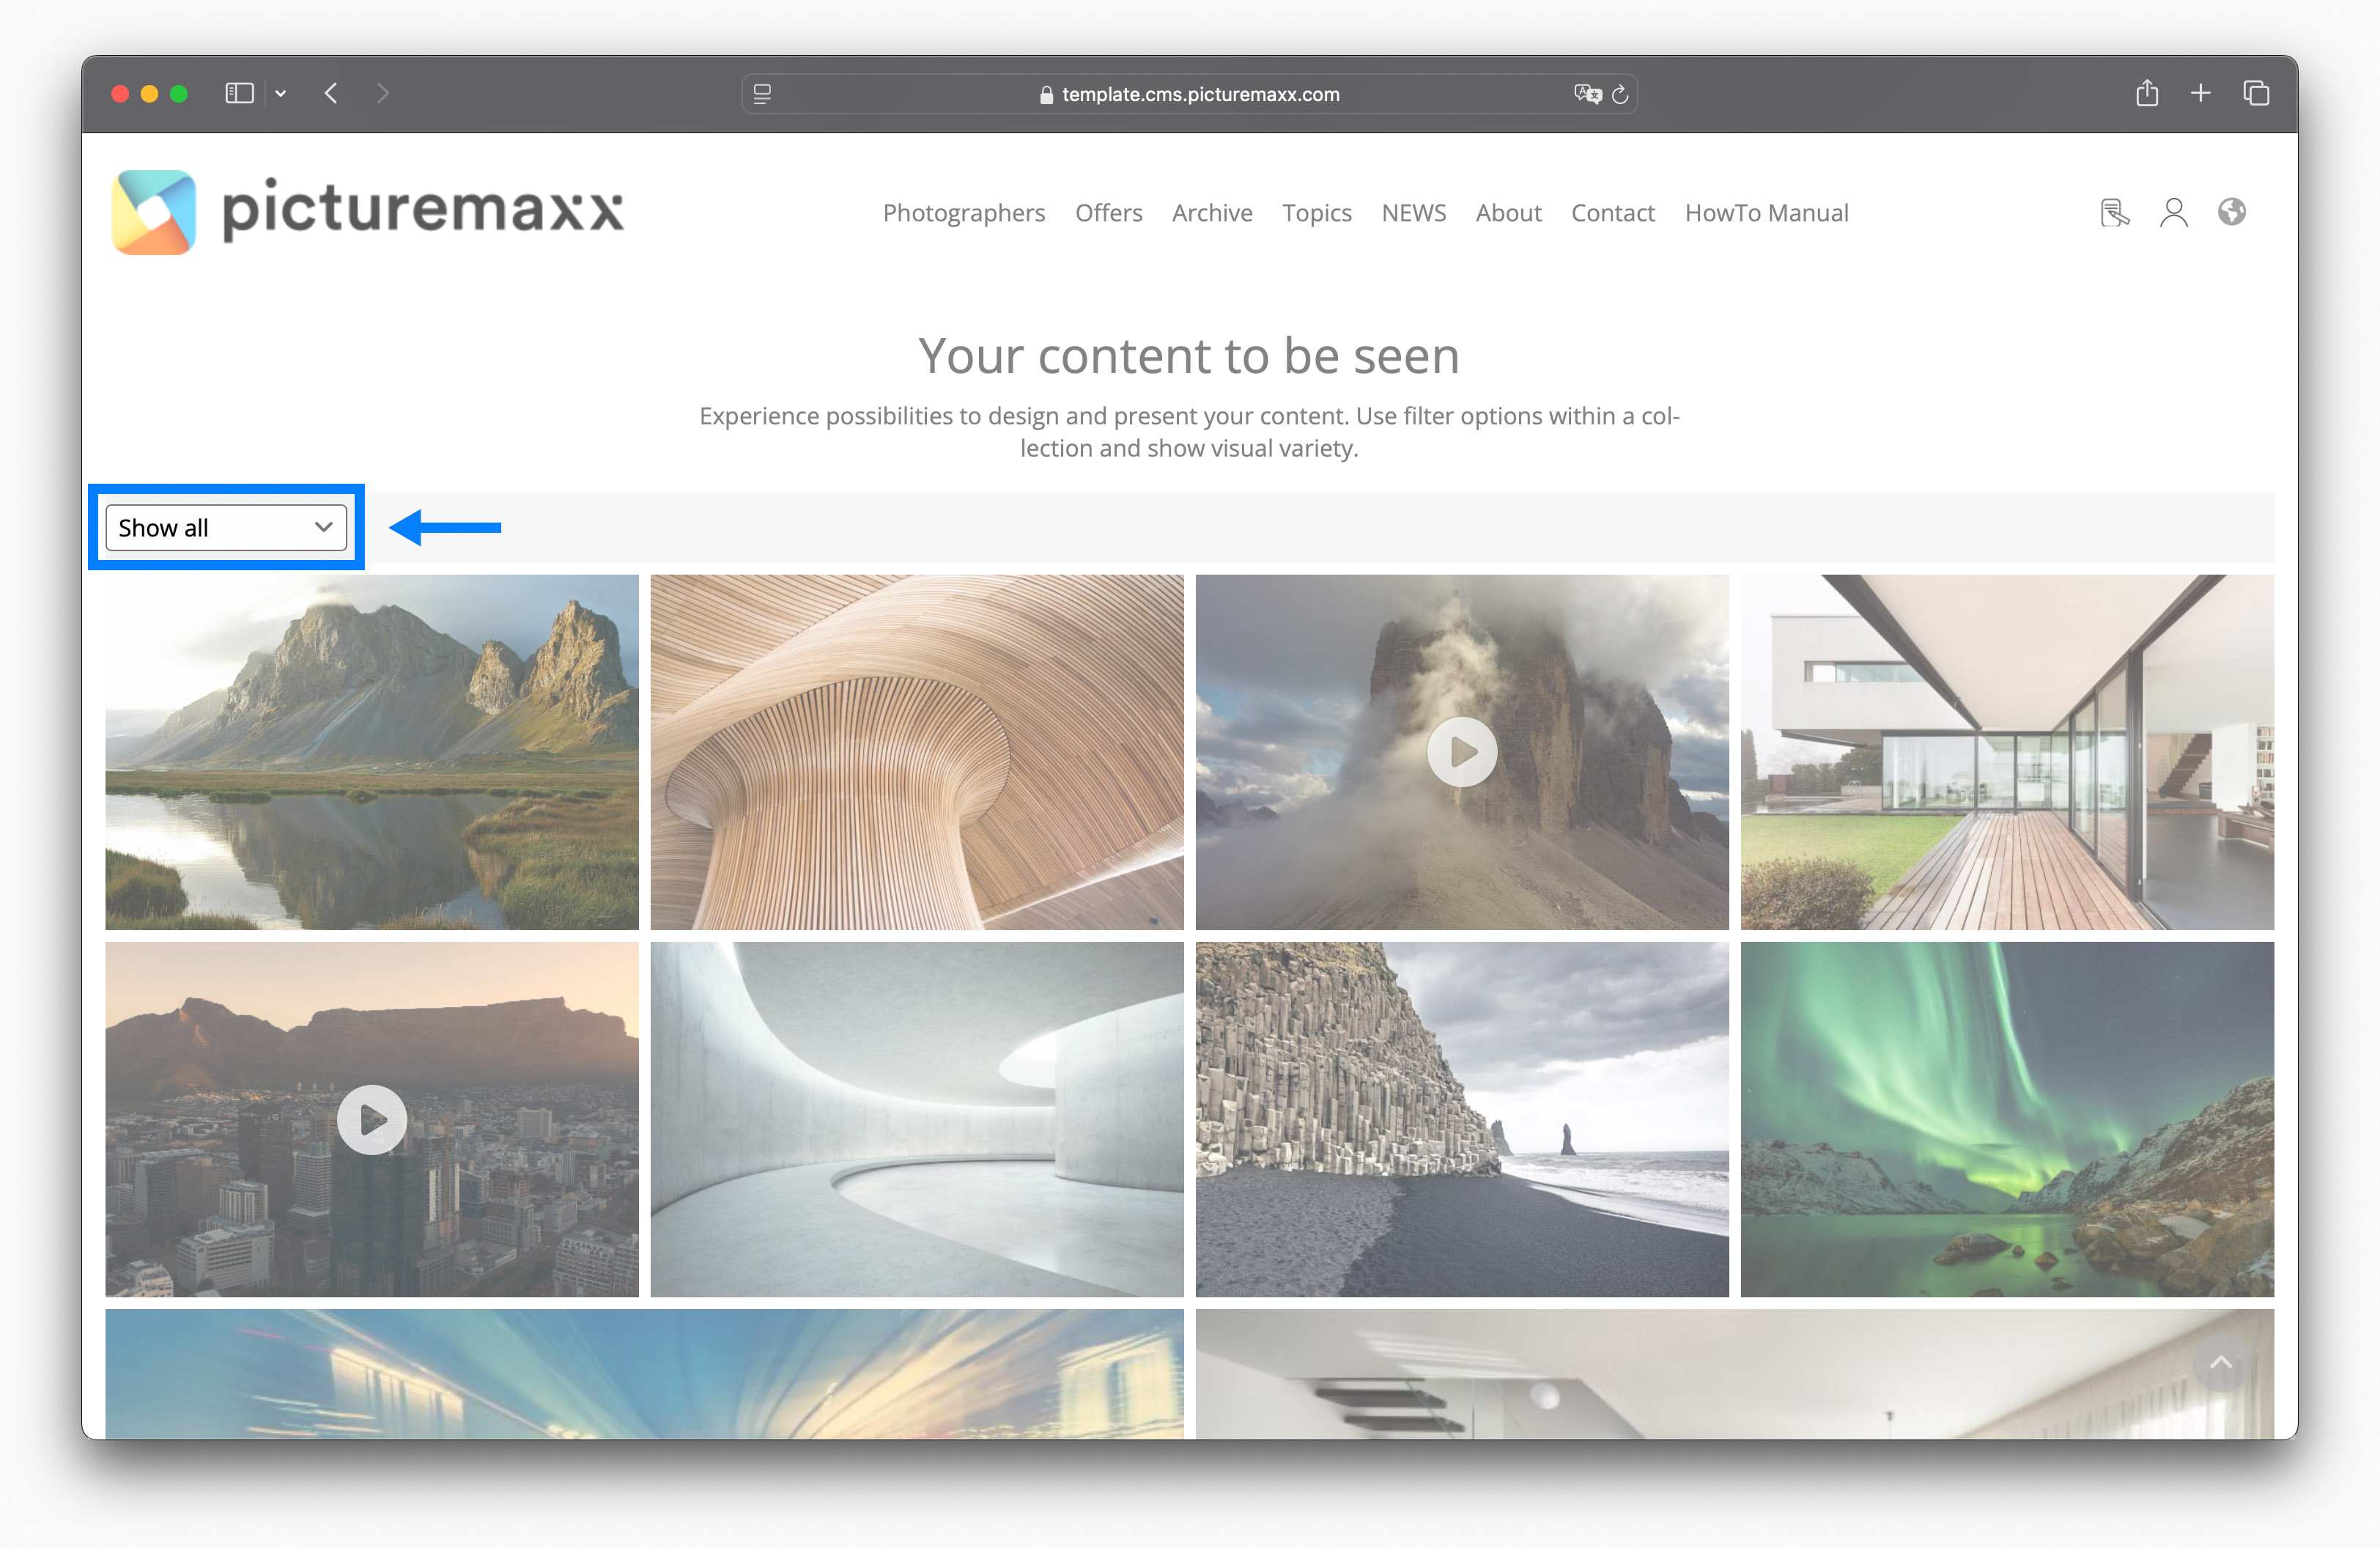
Have a look at the collection on the landing page of our demo page and give it a try.
2. Tags
Similar to categories, tags function as filters. Unlike categories, however, they remain in the background and are not visible to visitors to your website. Instead of your images and videos, you can use tags to sort content types thematically. The content types Artist, News-Article and Event can be tagged.
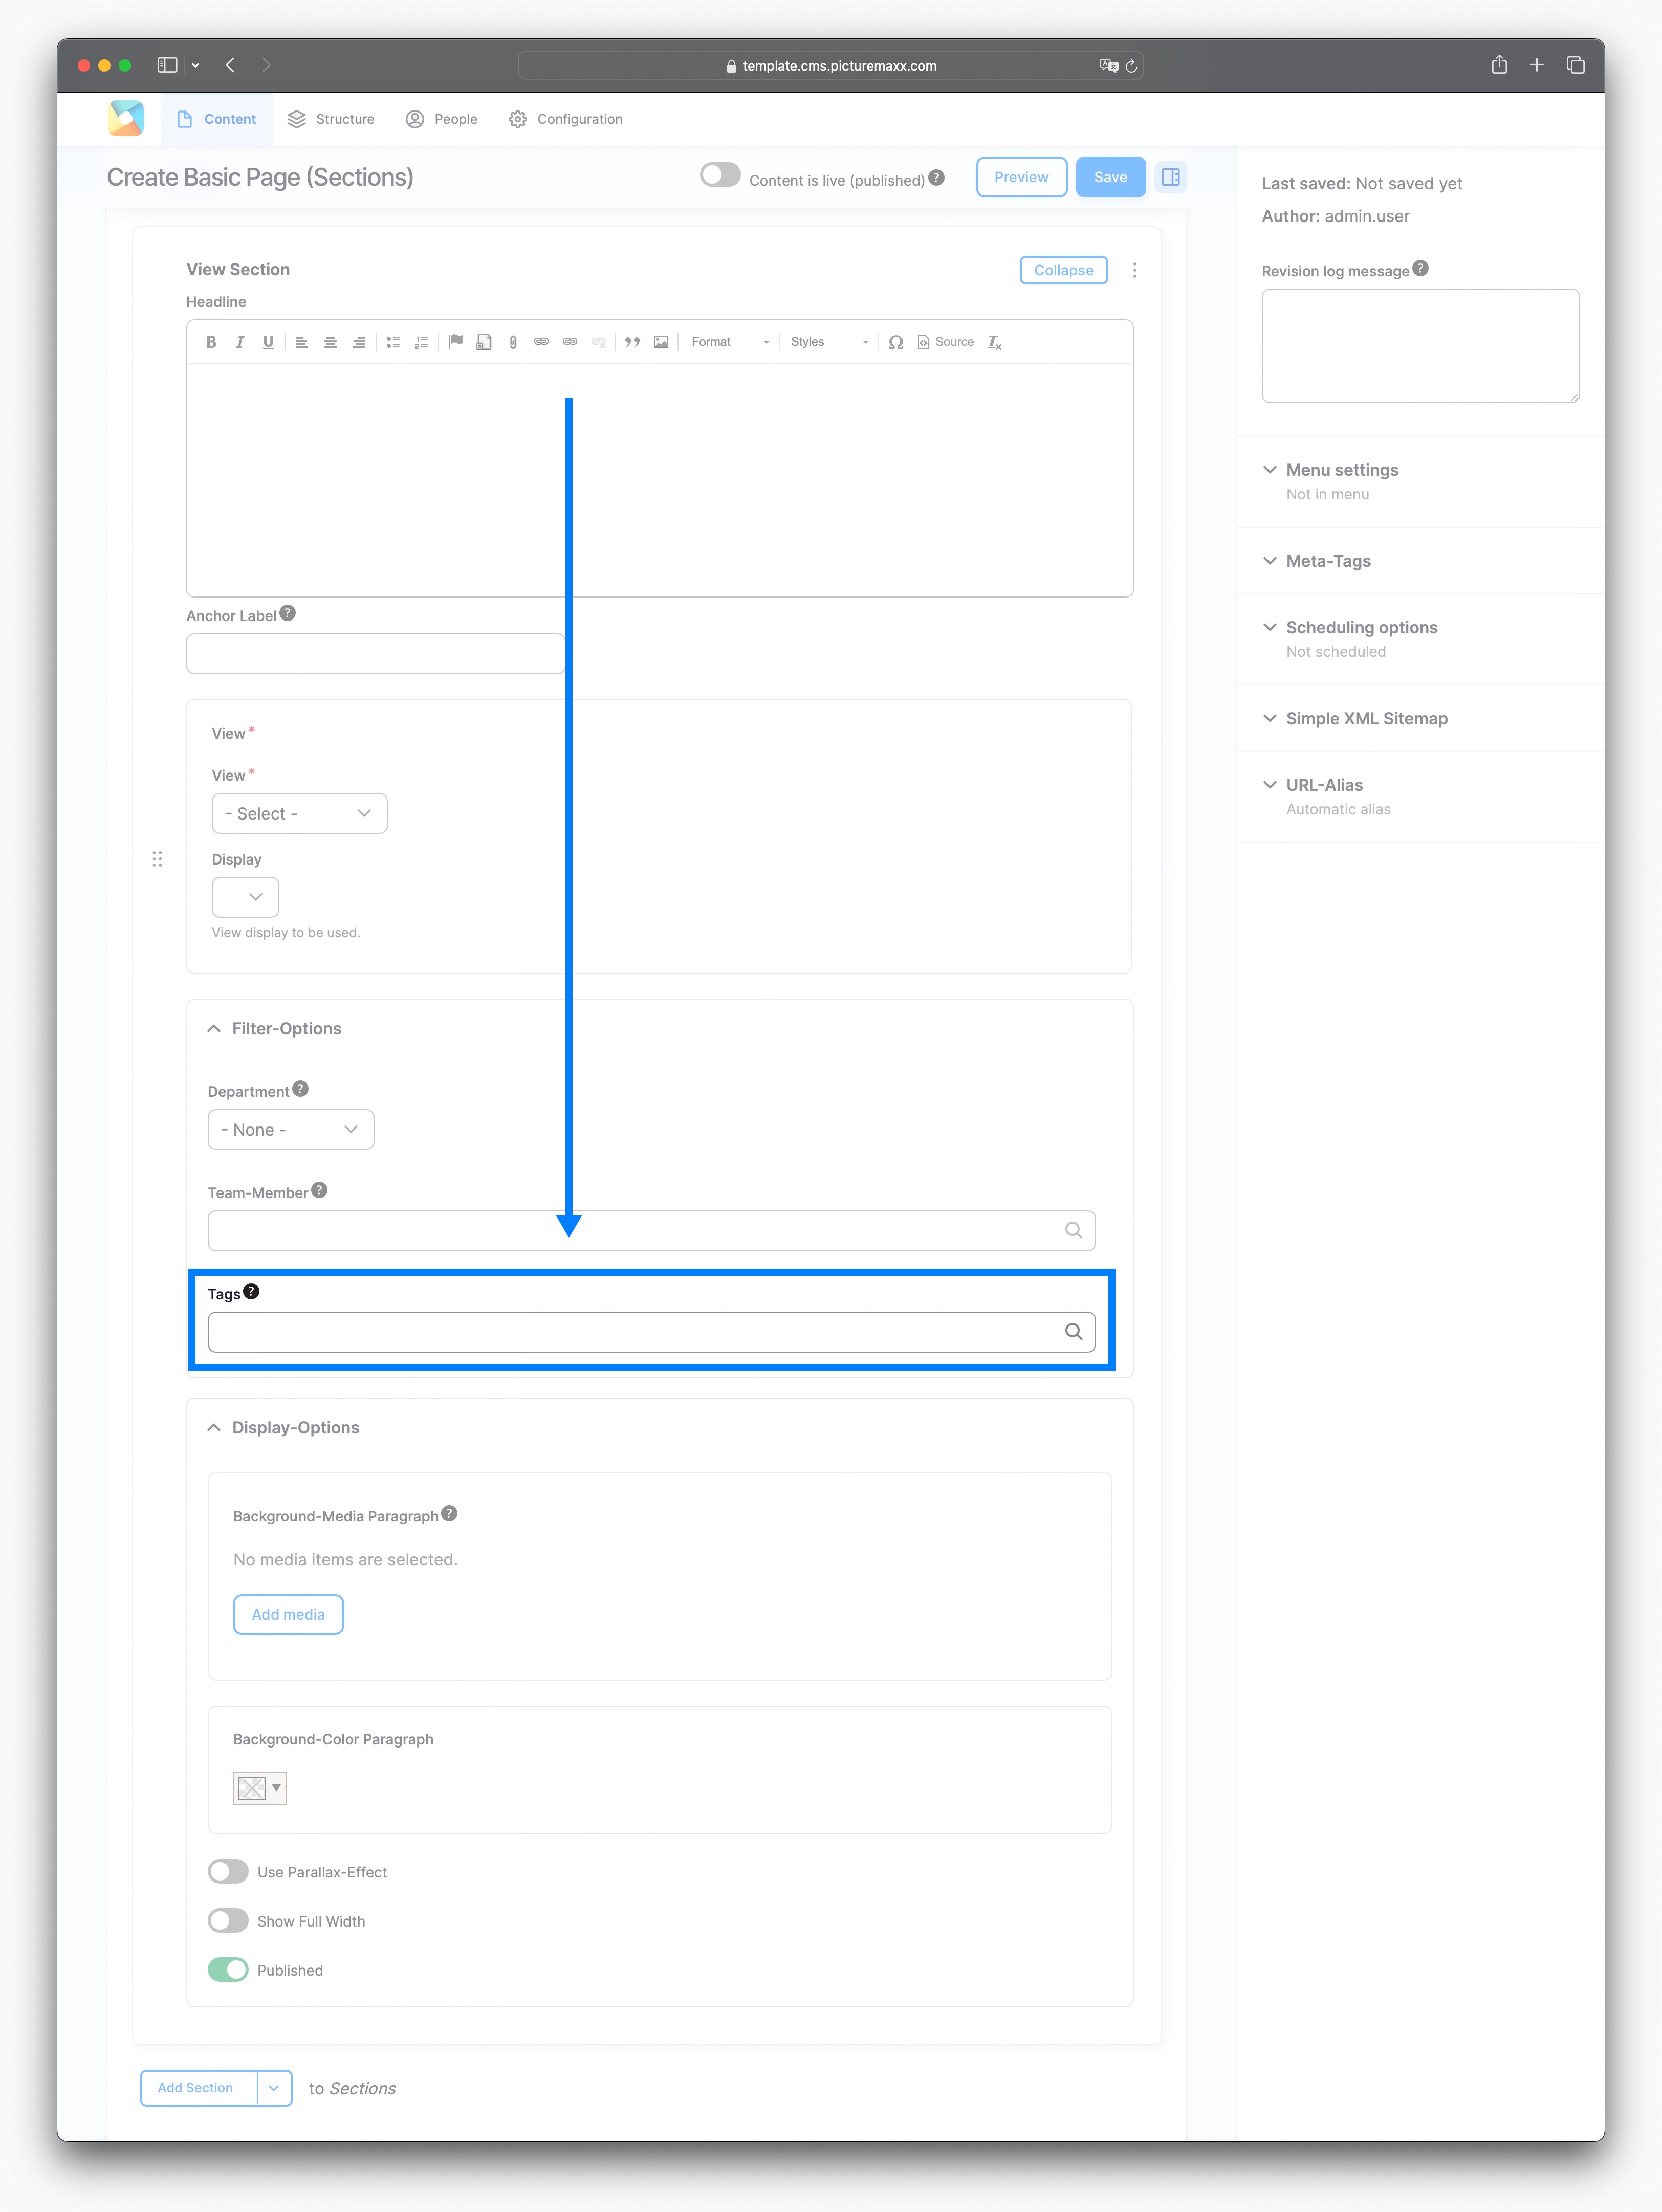
To present an overview of these content types you require the View Section. By using tags, you can easily control which content should be displayed. Assuming you have a news blog on your site and would like to display only the news articles on the topic 'Contest & Awards' elsewhere on your website, this is very easy to do using tags. The following steps will tell you everything you need to know.
-
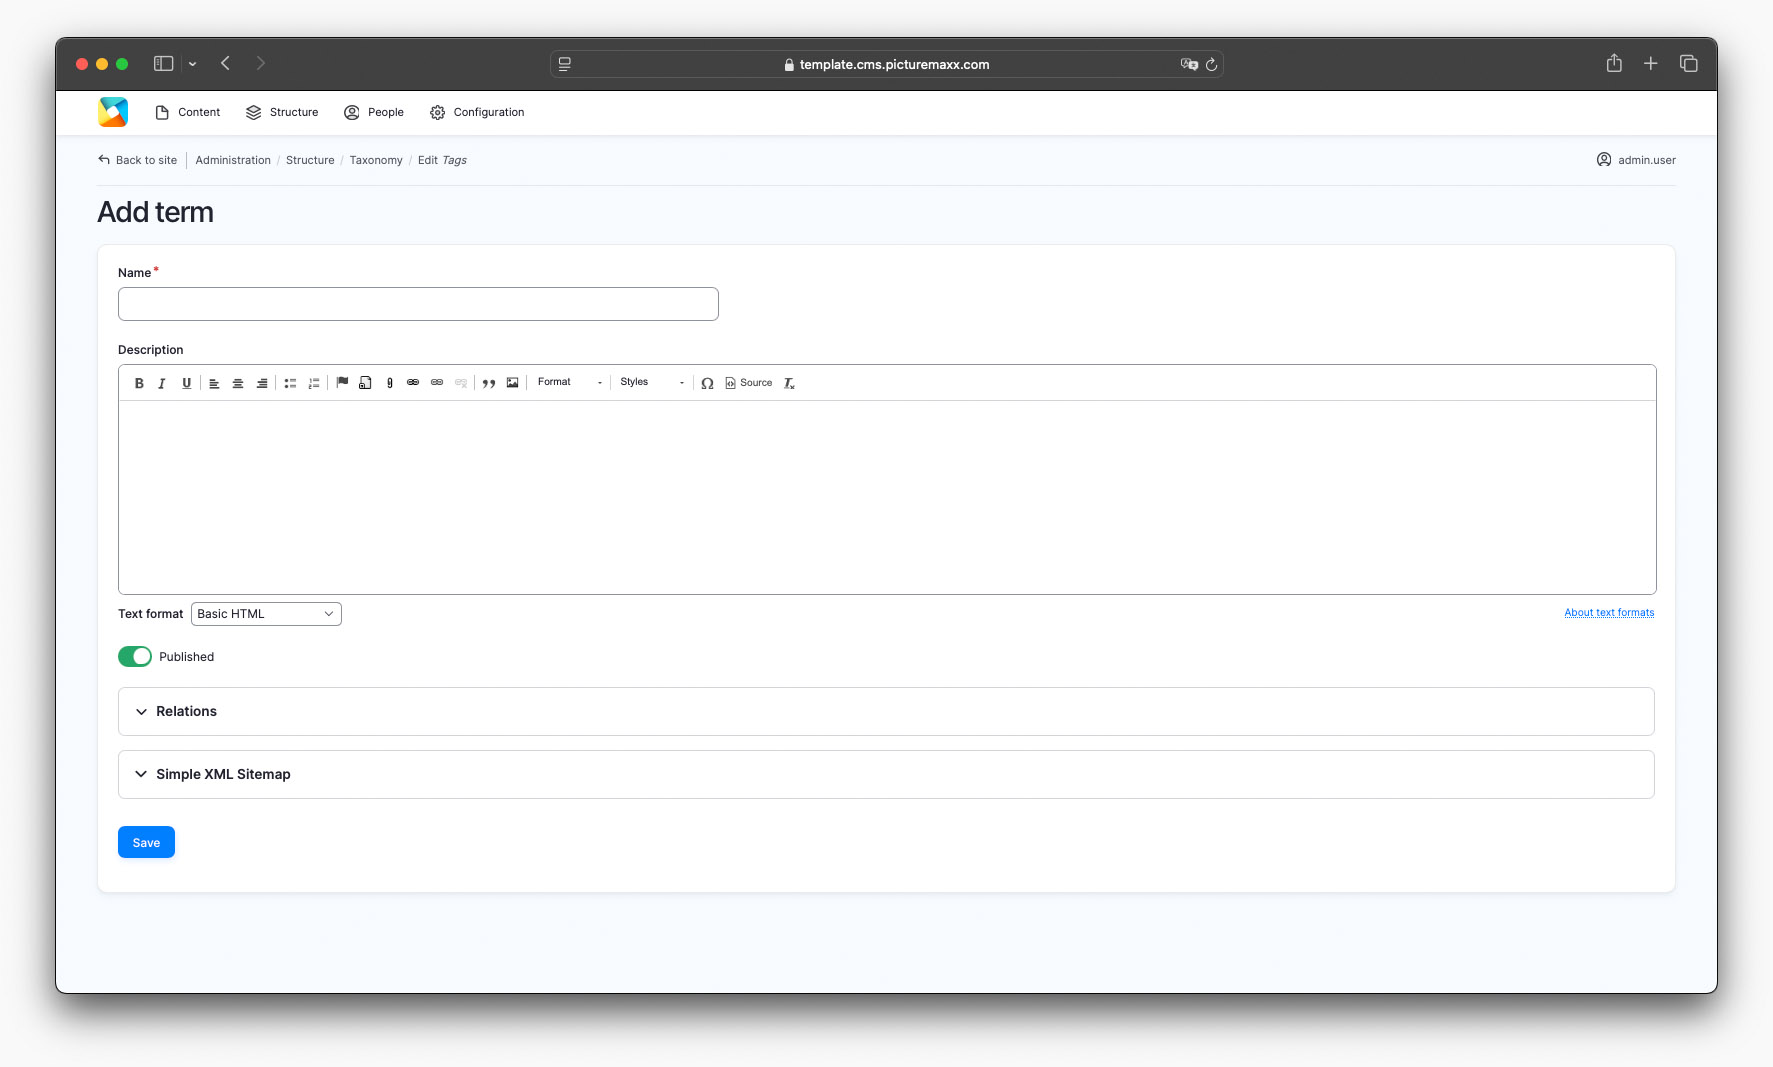
To create categories:
- In the Main Administrative Menu, navigate to Structure → Taxonomy → Tags.
- Click +Add Term. In the Name field, enter the title of the tag as you'd like it to appear in the menu (e.g. Authors/Artists, Cities, Topics, etc.).
- Click Save.
-
Tags can be assigned to the following content types:
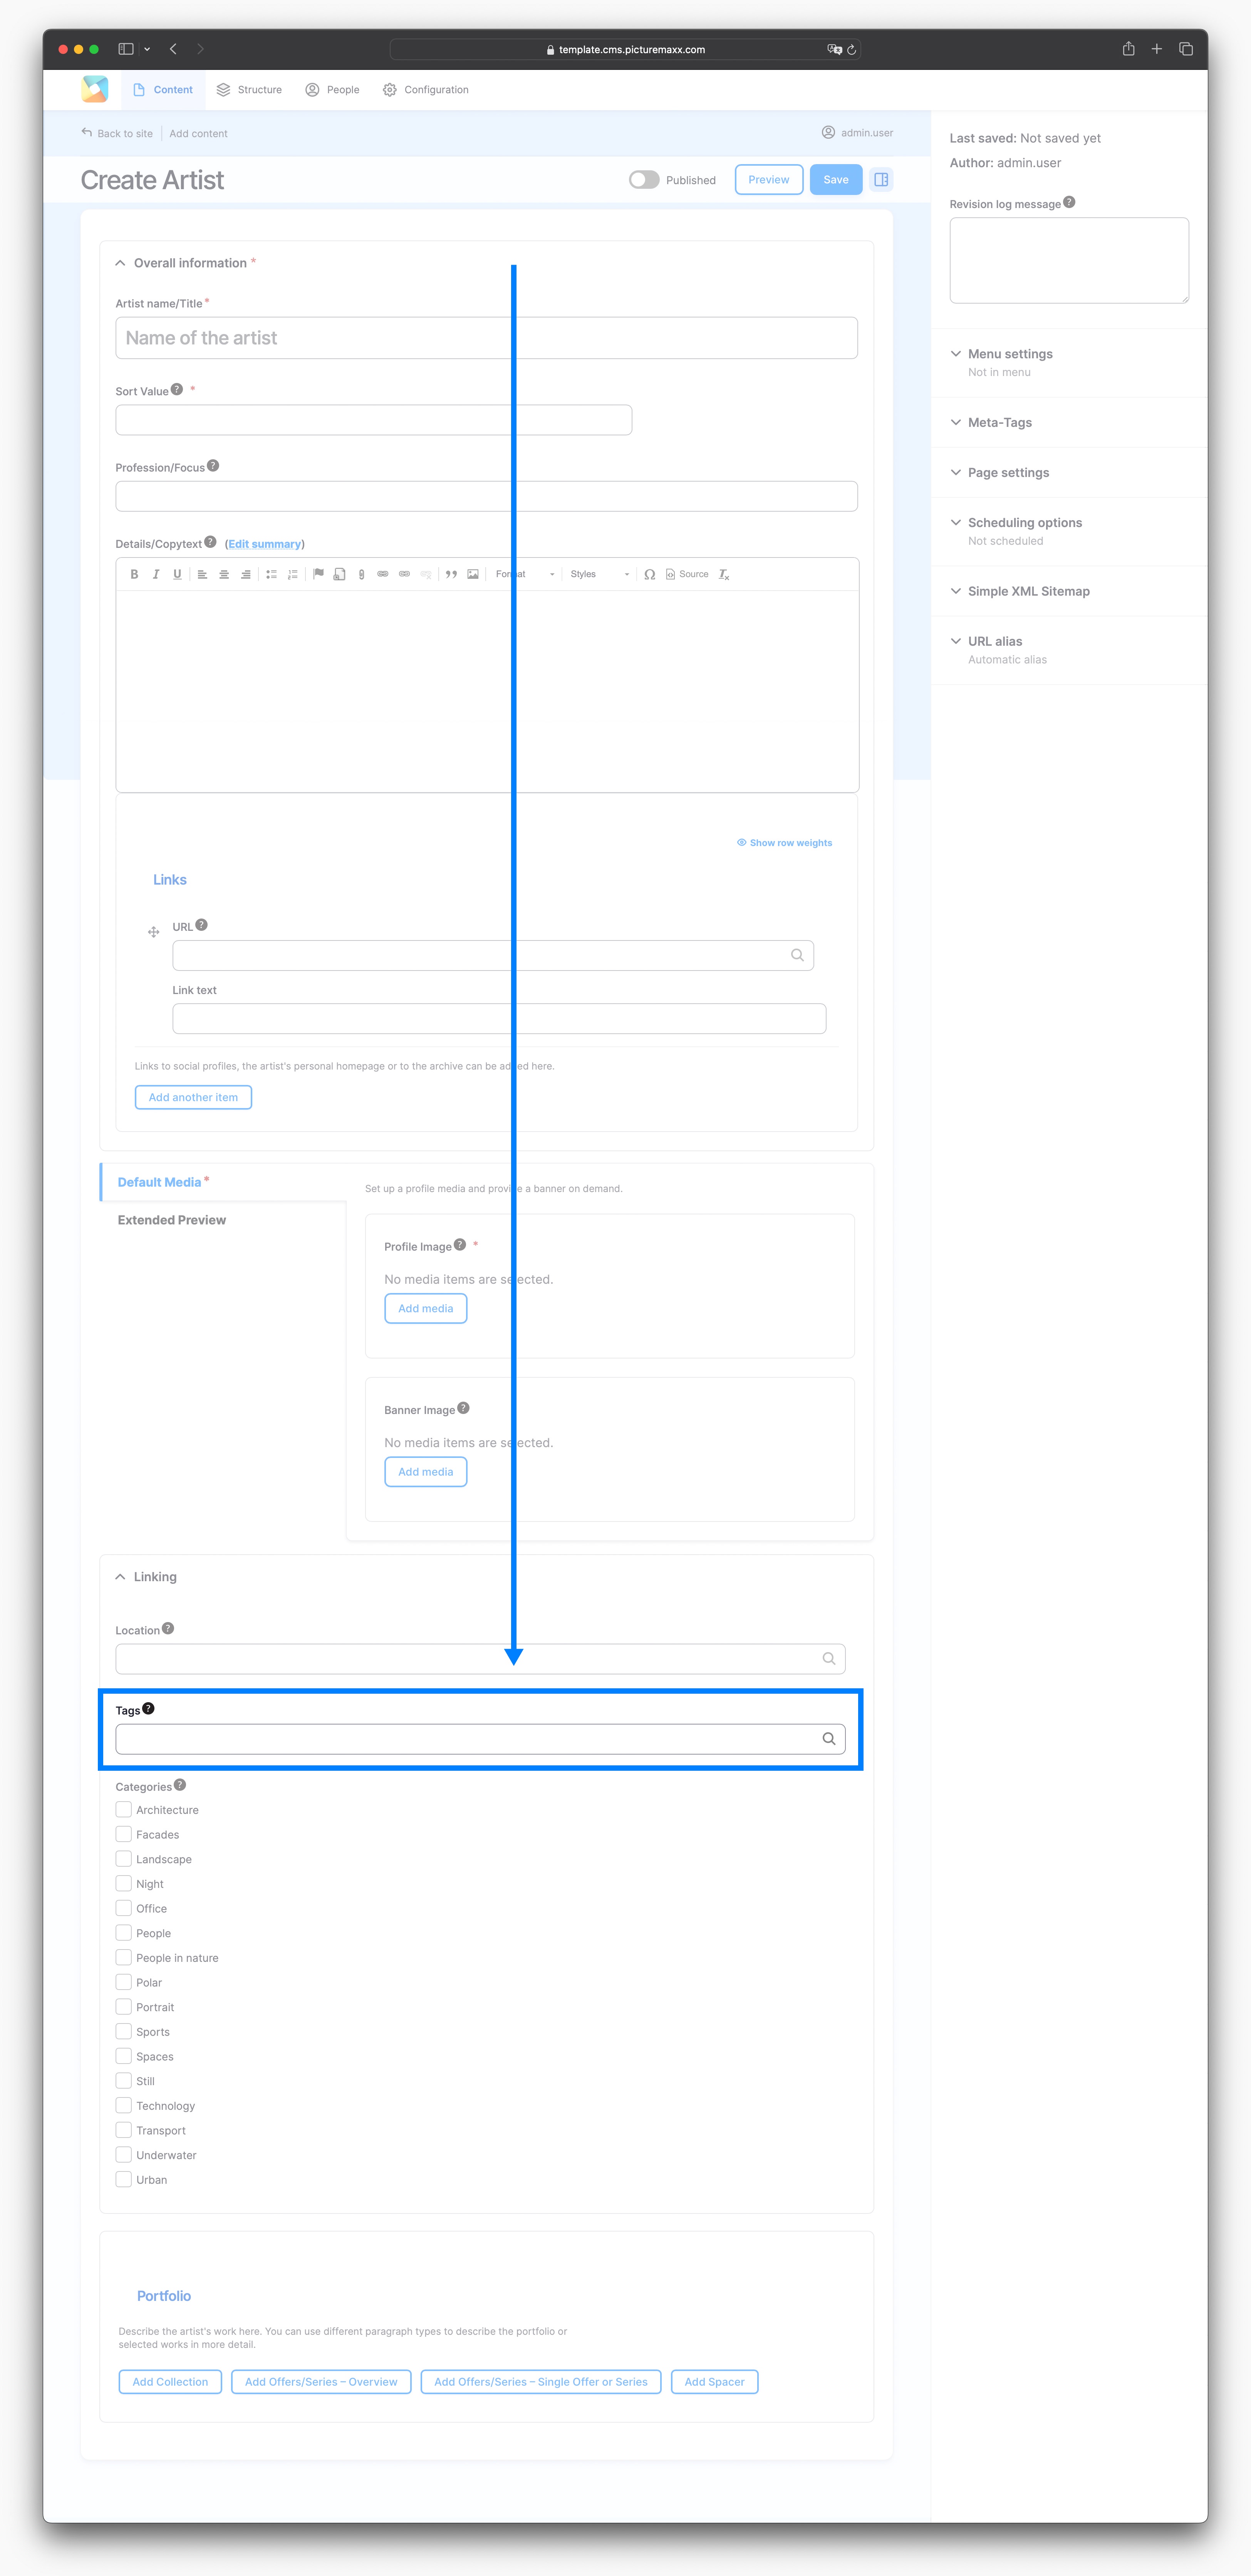
Assign tags:
- In the Main Administrative Menu, navigate to Content.
- In the Content list, select a respective content type and click Edit next to it.
- Scroll down to Linking and expand it.
- Use the Tag text field to enter tags.
NOTE: You can use multiple tags in one content type.
-