
Home → Create Website → Paragraph Types → Contact Form
Contact Form
You can offer your website visitors a contact form to assist communication. Use the template to add a standard contact form or an event form. To modify the pre-designed form, go to Structure → Webforms in the main navigation.
Related content: To build your own custom form, refer to Create Forms for advanced form settings.
1. Add a contact form
-
- In Main Administrative Menu, navigate to Content.
- In the Content Overview table, select a page to add an Contact Form to, and click Edit.
- Go to the bottom of the Edit template form and select Add Form from the Add Section dropdown menu.
- Optional: In the Headline area, enter a name or description text. The Editor menu allows applying a Format and/or Style to the text.
- Select a pre-designed template from the Form drop-down menu. picturemaxx Drupal offers Contact Form, Event Registration, and Feedback templates.
- Choose a Background-Image and Color for the paragraph. To learn how to add new background colors, refer to Change Look & Feel (2. Background Colors for Paragraph Types).
-
-
Headline
Use the text editor tool to add free-form text (for example, name and description) at the top of the paragraph type.Form
Select a pre-designed template: Contact Form, Event Registration, or Feedback.Form settings
Set a form status:- Open to allow every visitor access the form.
- Closed to allow only administrators access this webform and create new submissions.
- Scheduled to set up a date range for visitors to be able to view the form, for example, for event registration.
Background-Image Paragraph
Set a background image.Background-Colour Paragraph
Set the overall paragraph's background color. To learn how to add new background colors, refer to Change Look & Feel (2. Background Colors for Paragraph Types).Use Parallax-Effect
Add this effect to scroll the background and foreground content at different speed. For more information, see Parallax Effect.Published
Make the form visible to visitors. If deactivated, only you can view the form. -
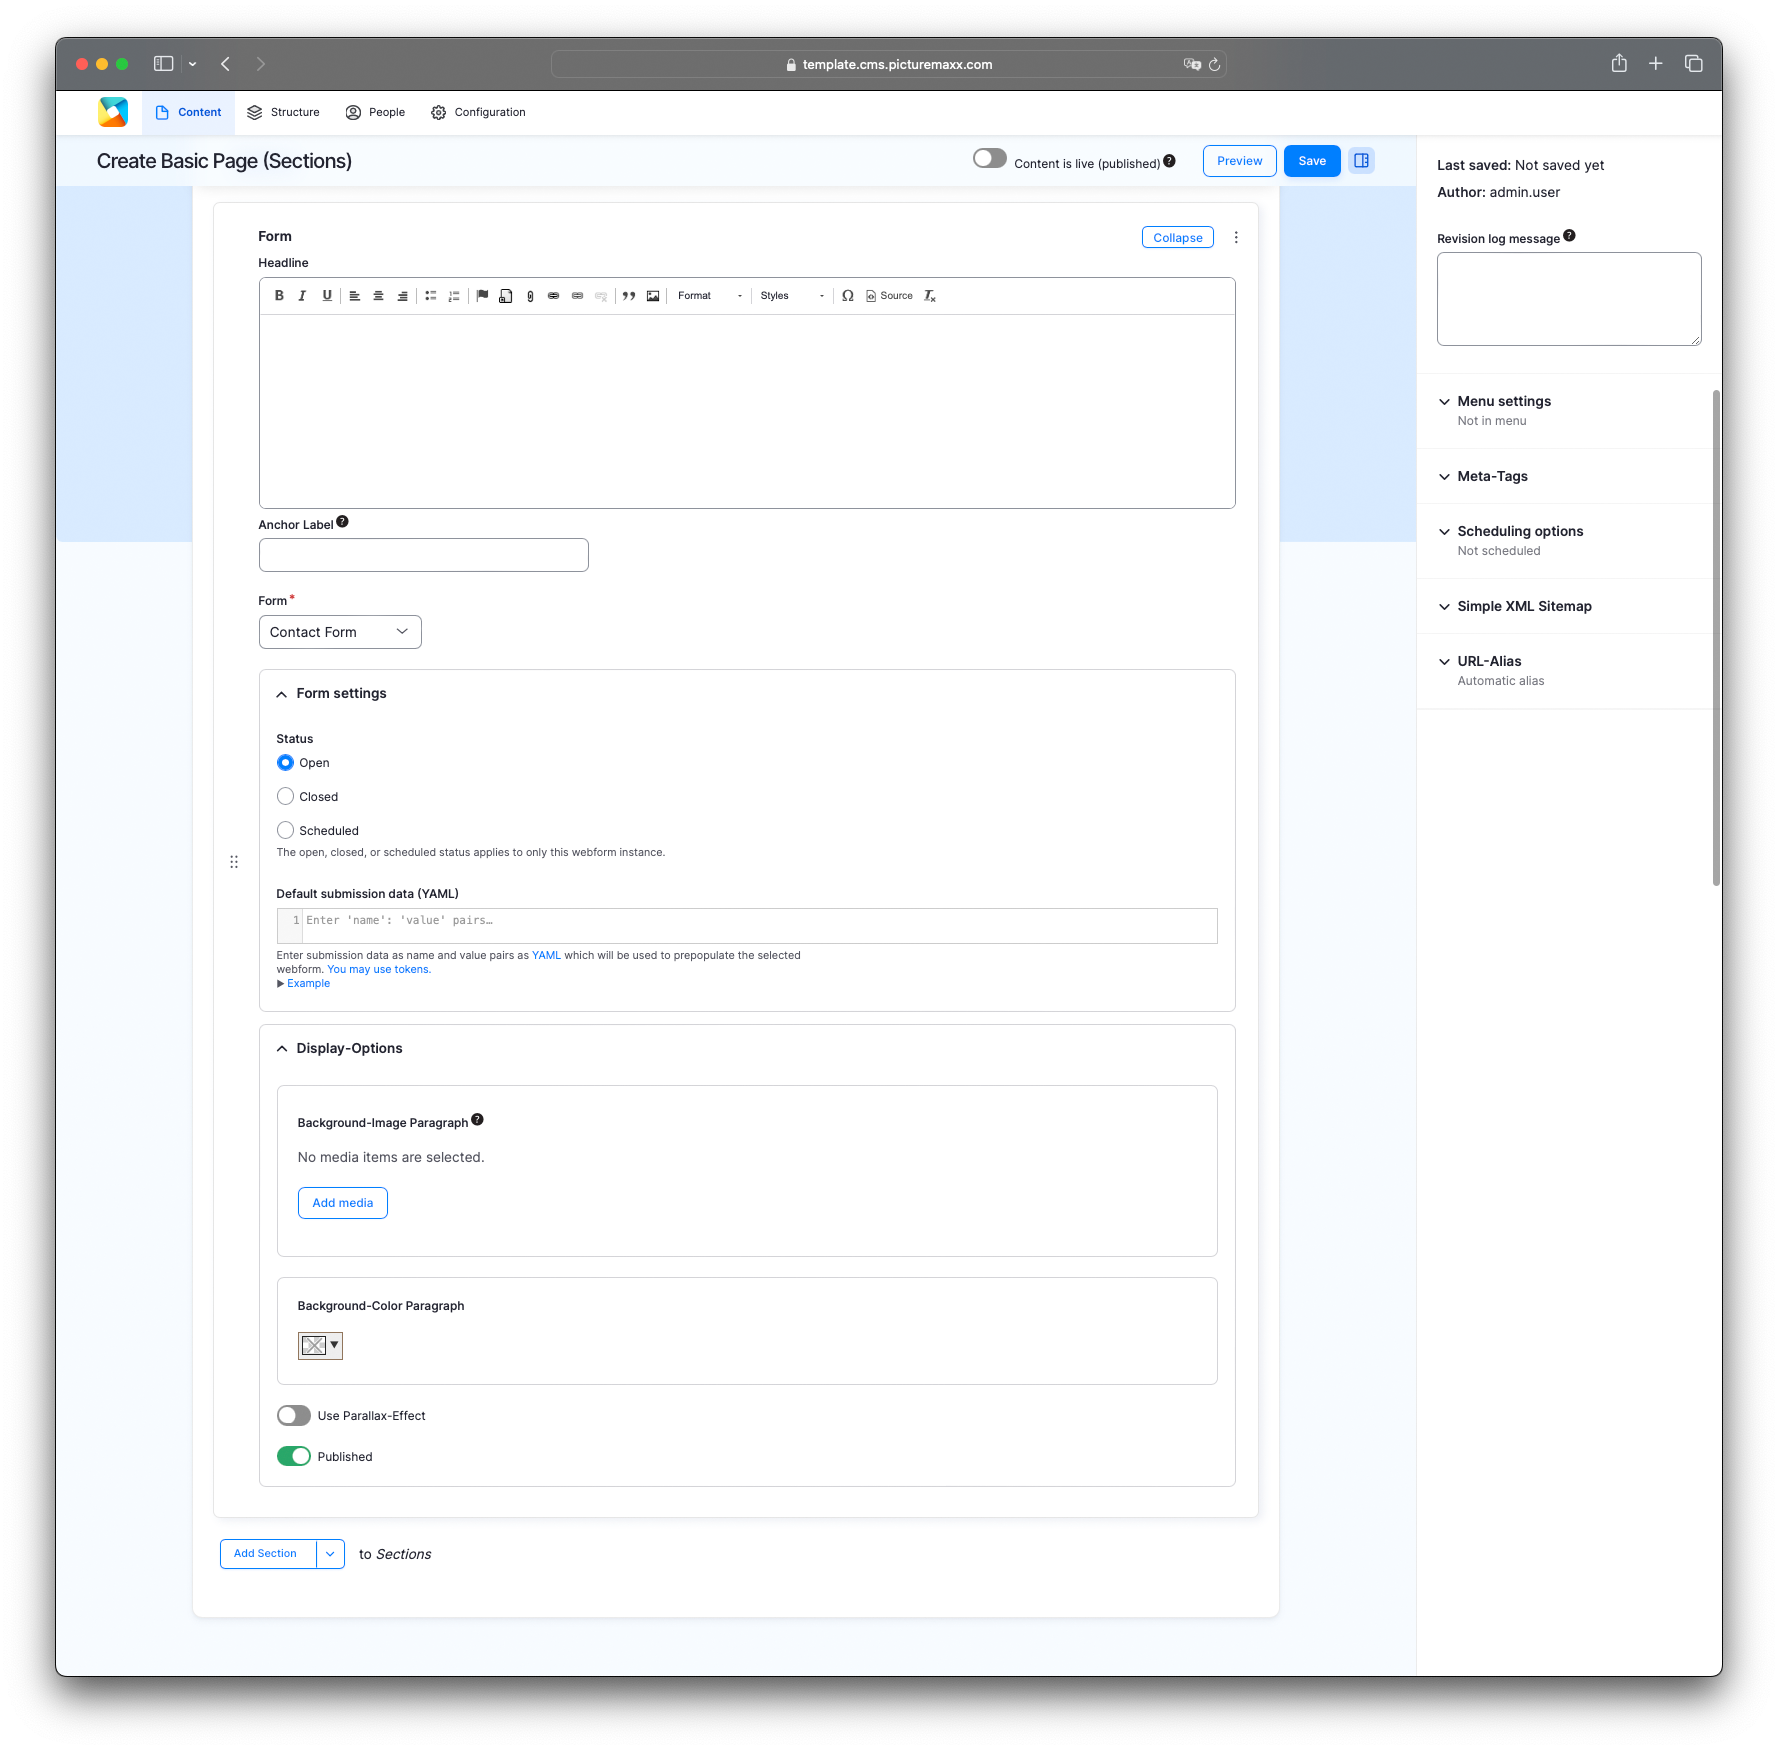
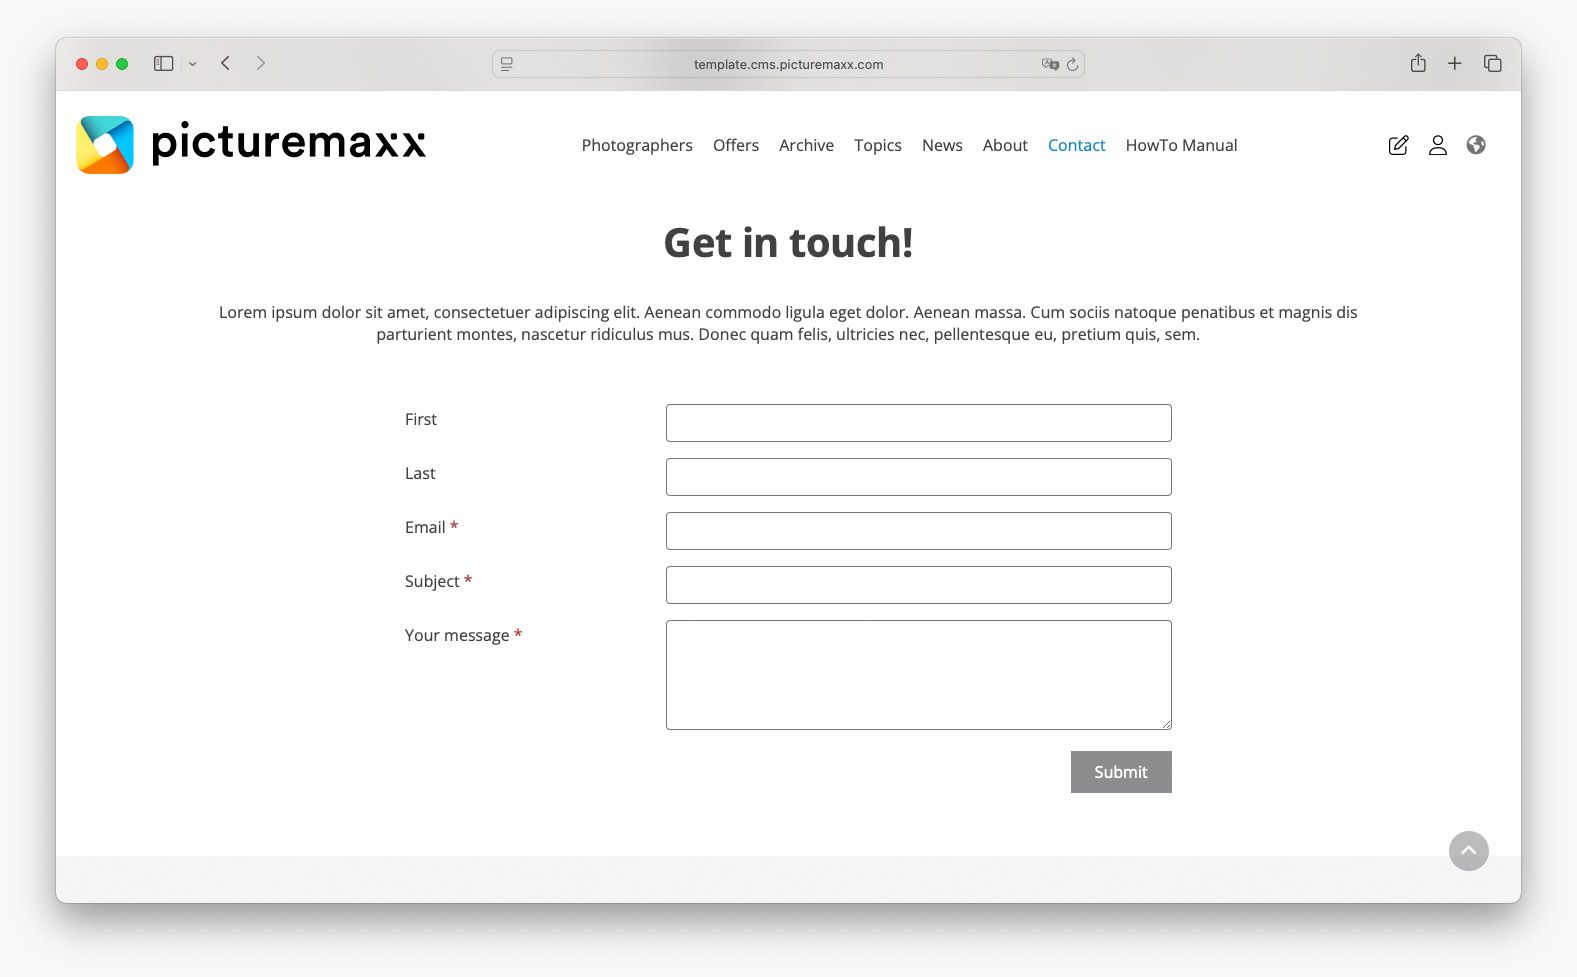
For an example, please take a look at the contact form on our picturemax Drupal demo page.
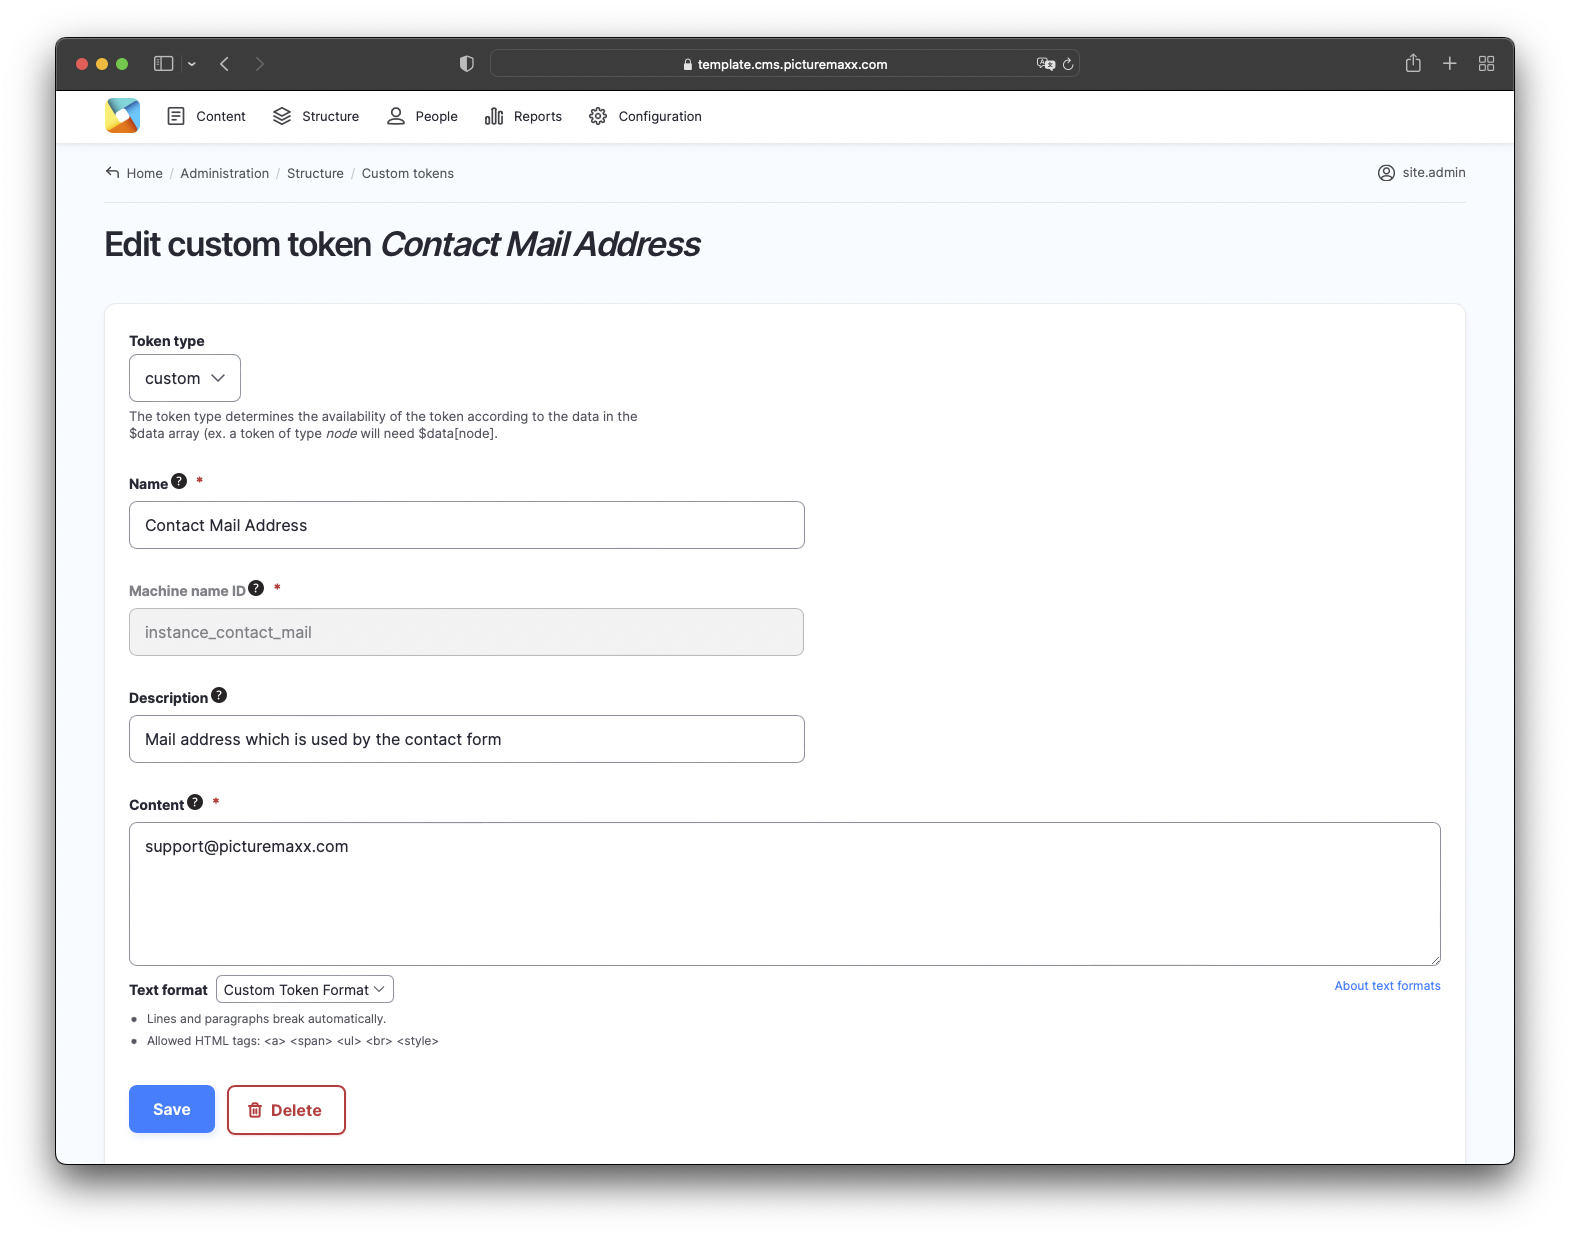
2. Contact mail address
Specify your email address for the website visitors to reach you.
-
- In the main navigation, go to Structure → Custom Tokens.
- Find instance_contact-mail in the Custom Tokens table and click Edit to add your email address.
Learn more about Custom Tokens.
-
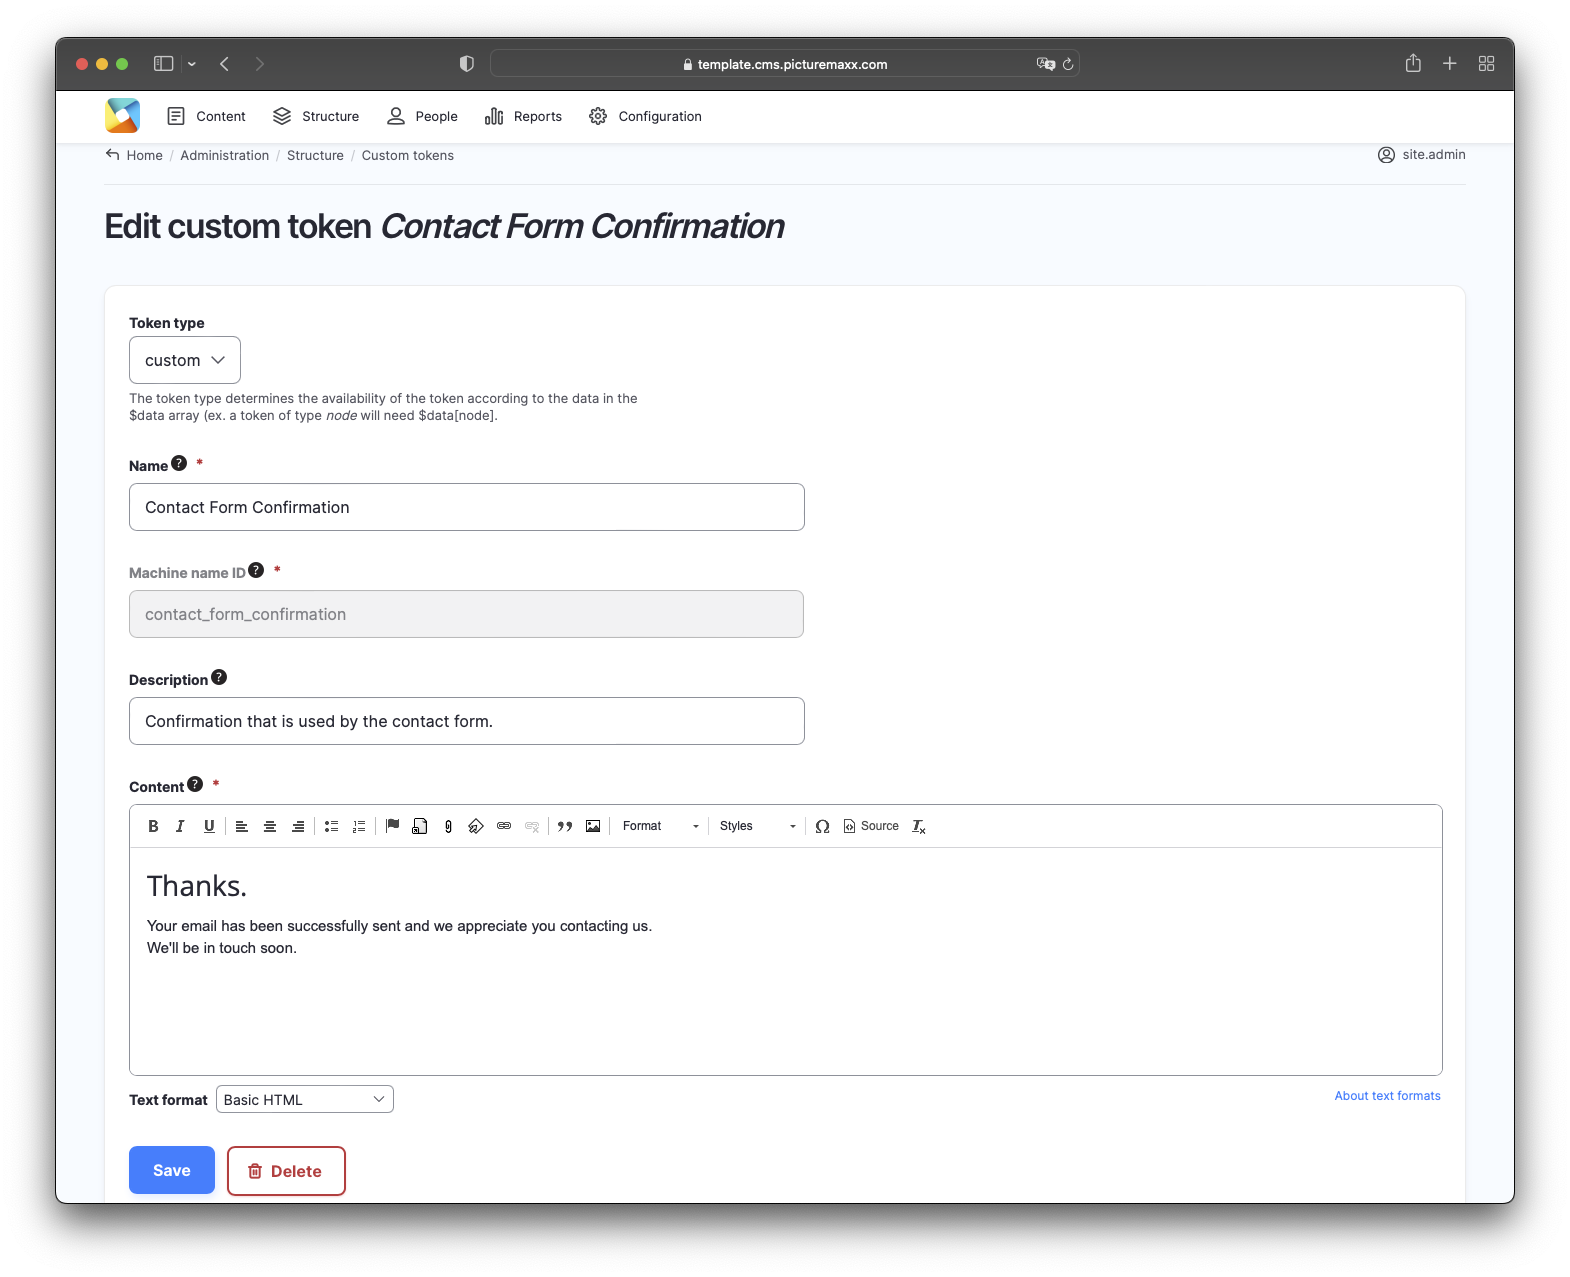
3. Contact form confirmation
Let the visitors know that their form is submitted successfully.
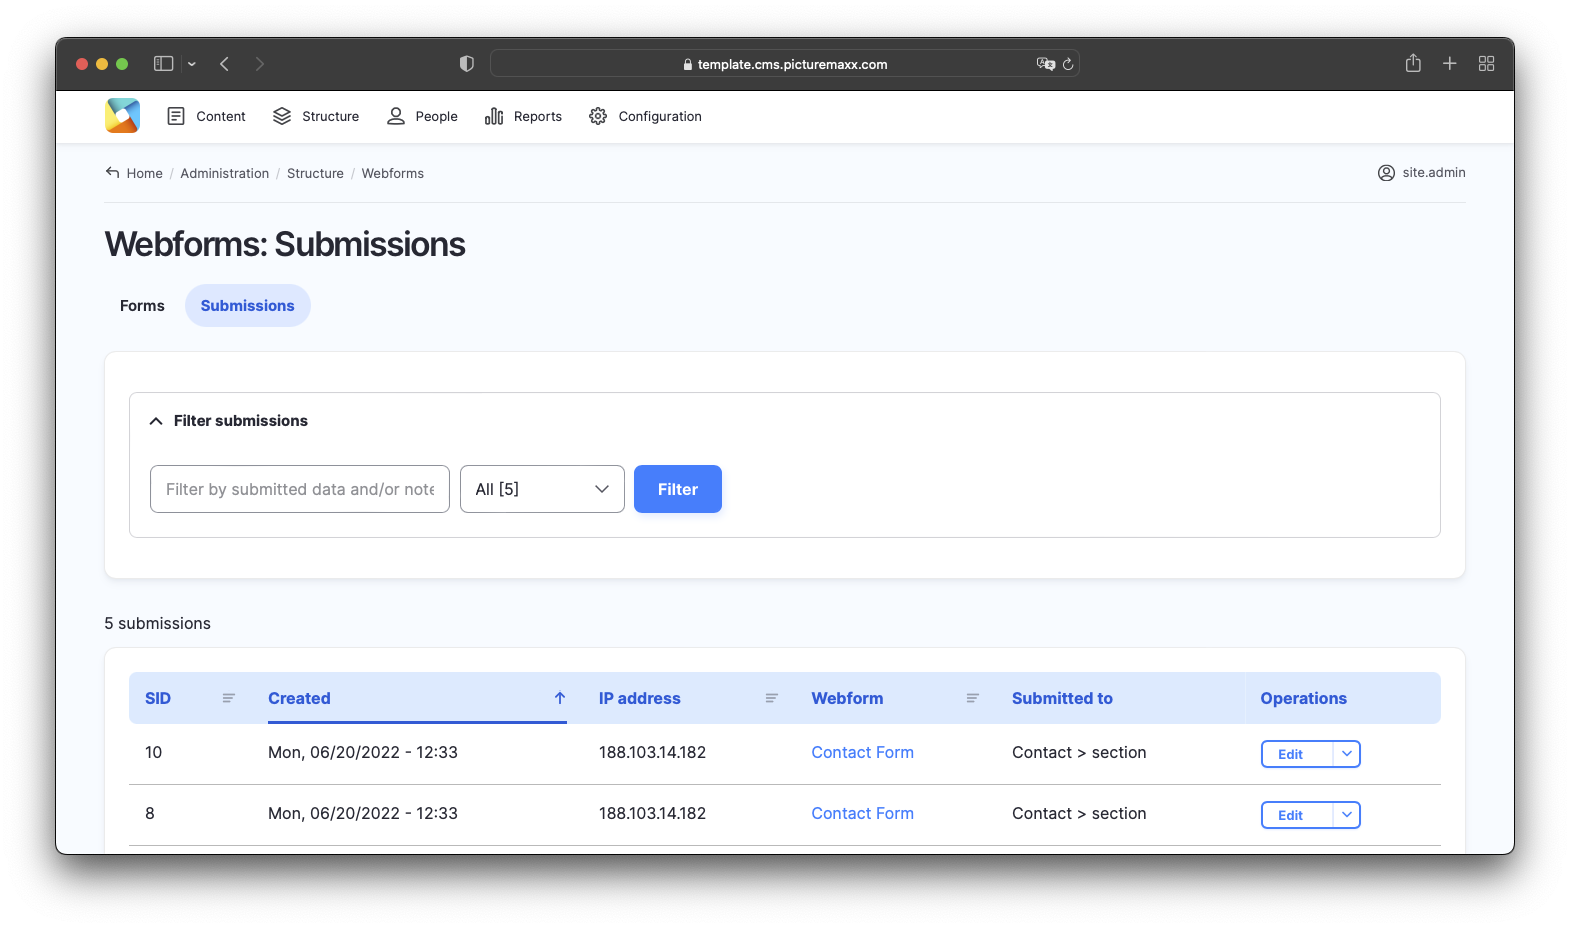
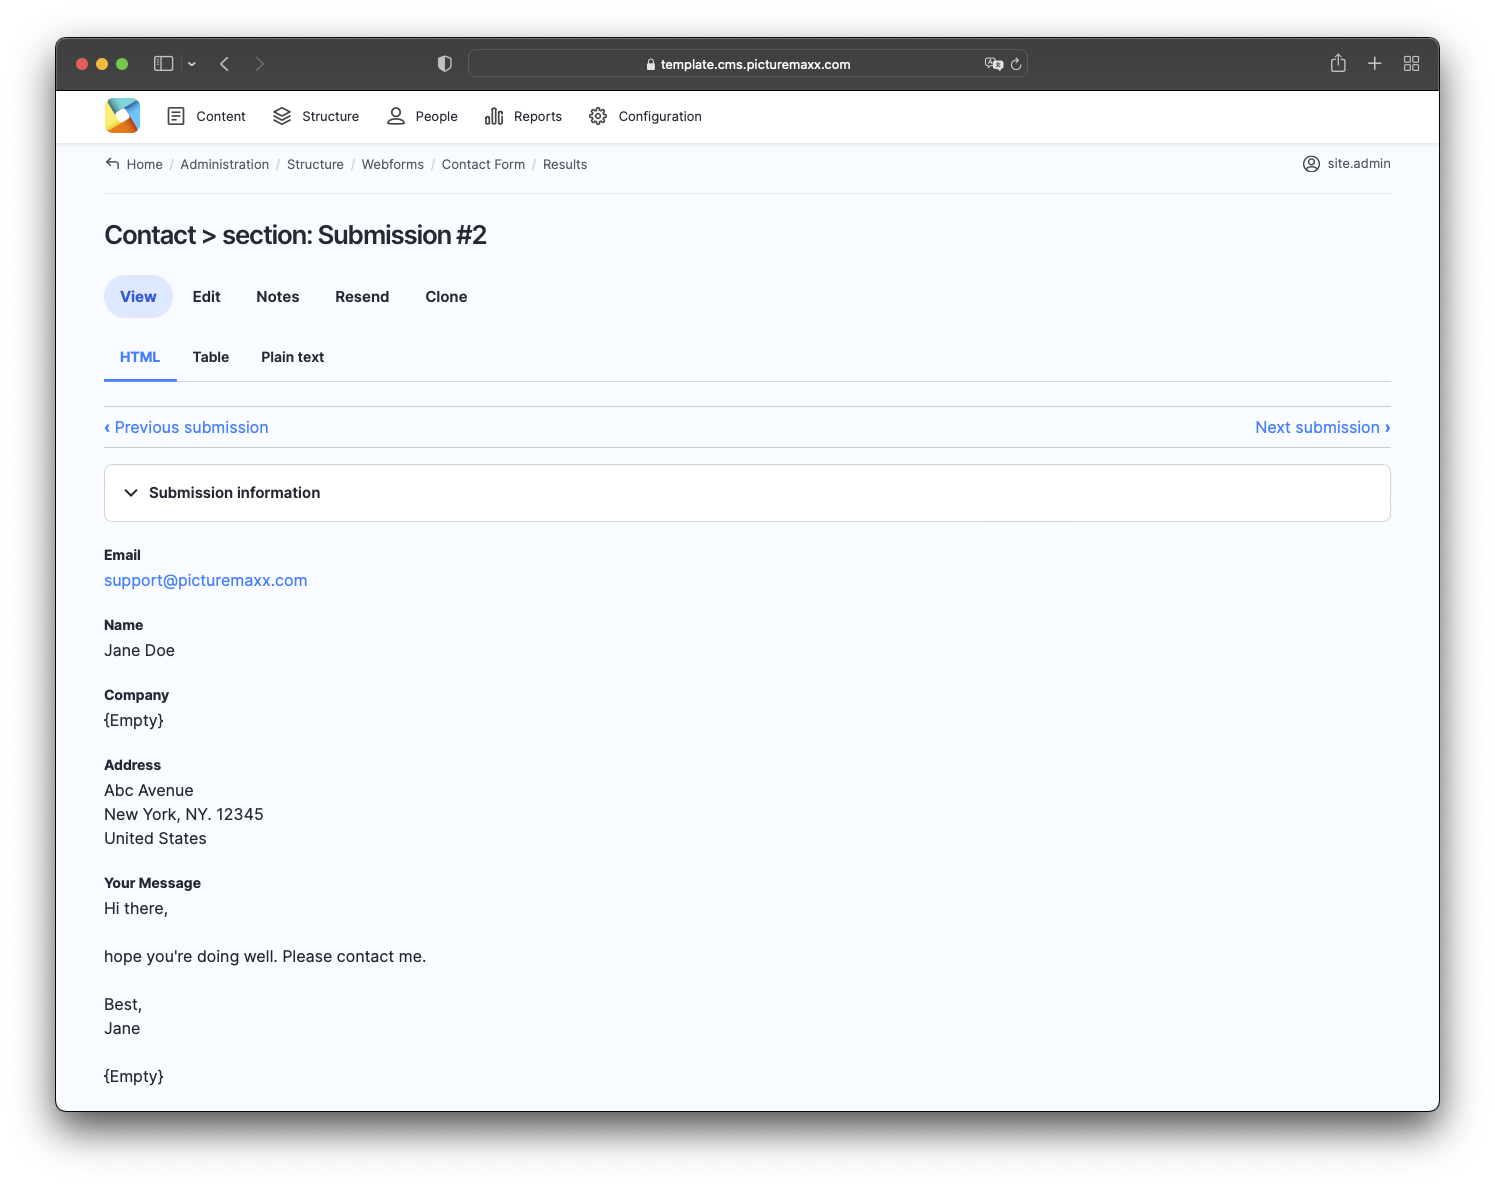
-
- In the main navigation, go to Structure → Custom Tokens.
- Find contact_form_confirmation and click Edit to set up a submission success message.
- Enter the confirmation text into the Content field and save your progress.
Learn more about Custom Tokens.
-
4. Mail submissions
Get an overview of all mail submissions sent using your website's contact form.
-
You can find all submitted mails at:
- Structure → Webforms → Submissions.
- In the Operations column of a selected form, in the Edit dropdown, pick View to see the content of the mail submitted to you.
-
Before publishing a page:
- Click Preview to make sure everything looks the way you want. You can preview any change before publishing it.
- To return to the Edit page, click Back to content editing.
- To make new content visible on your website, turn on the Content is live (published) option.
- Click Save to store your changes. The website content items are listed on the Content page.