Home → First Steps → Header & Footer Options
Header & Footer Options
Functional Header and Footer menus are essential for the visitors to get an overview of your website content. Learn how to add links to these menus and optimize the display options that will benefit your visitors and search engines.
NOTE: Before you can add page links to the menus, you will need to build the pages. Find out how this works in the Basic Page section.
1. Display options
There are various options to configure the menus according to your needs.
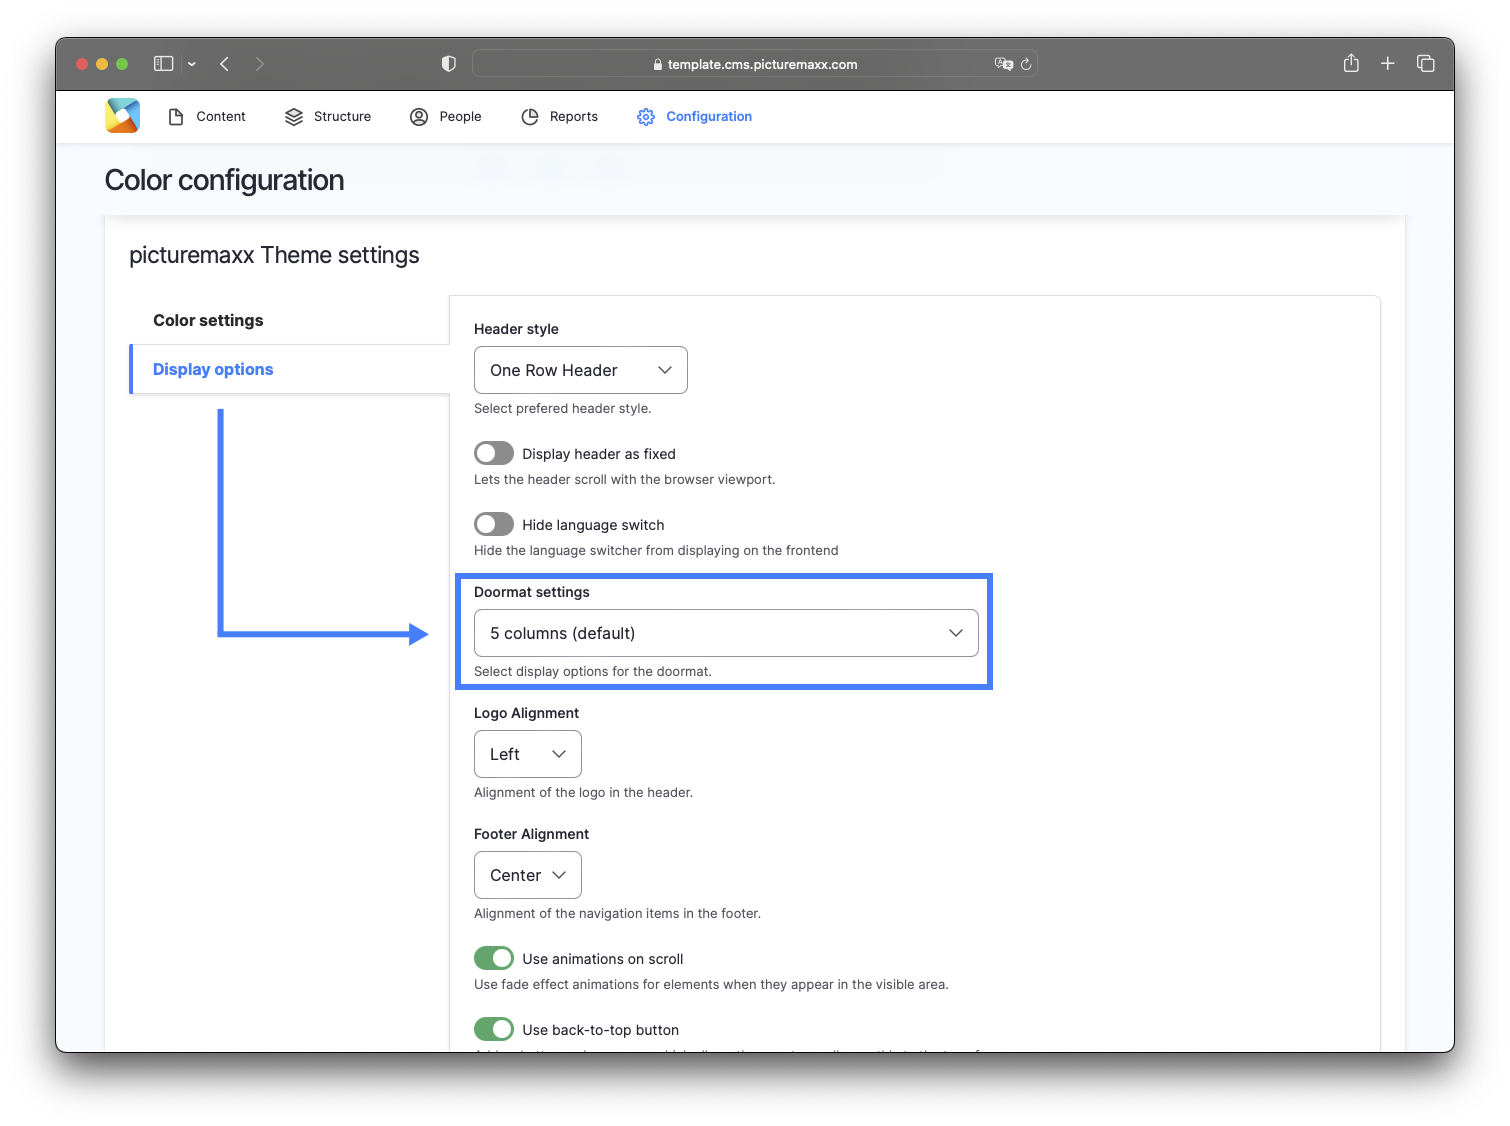
- Navigate to Configuration → picturemaxx Configuration → Theme Settings → Colors, Logos & Styles.
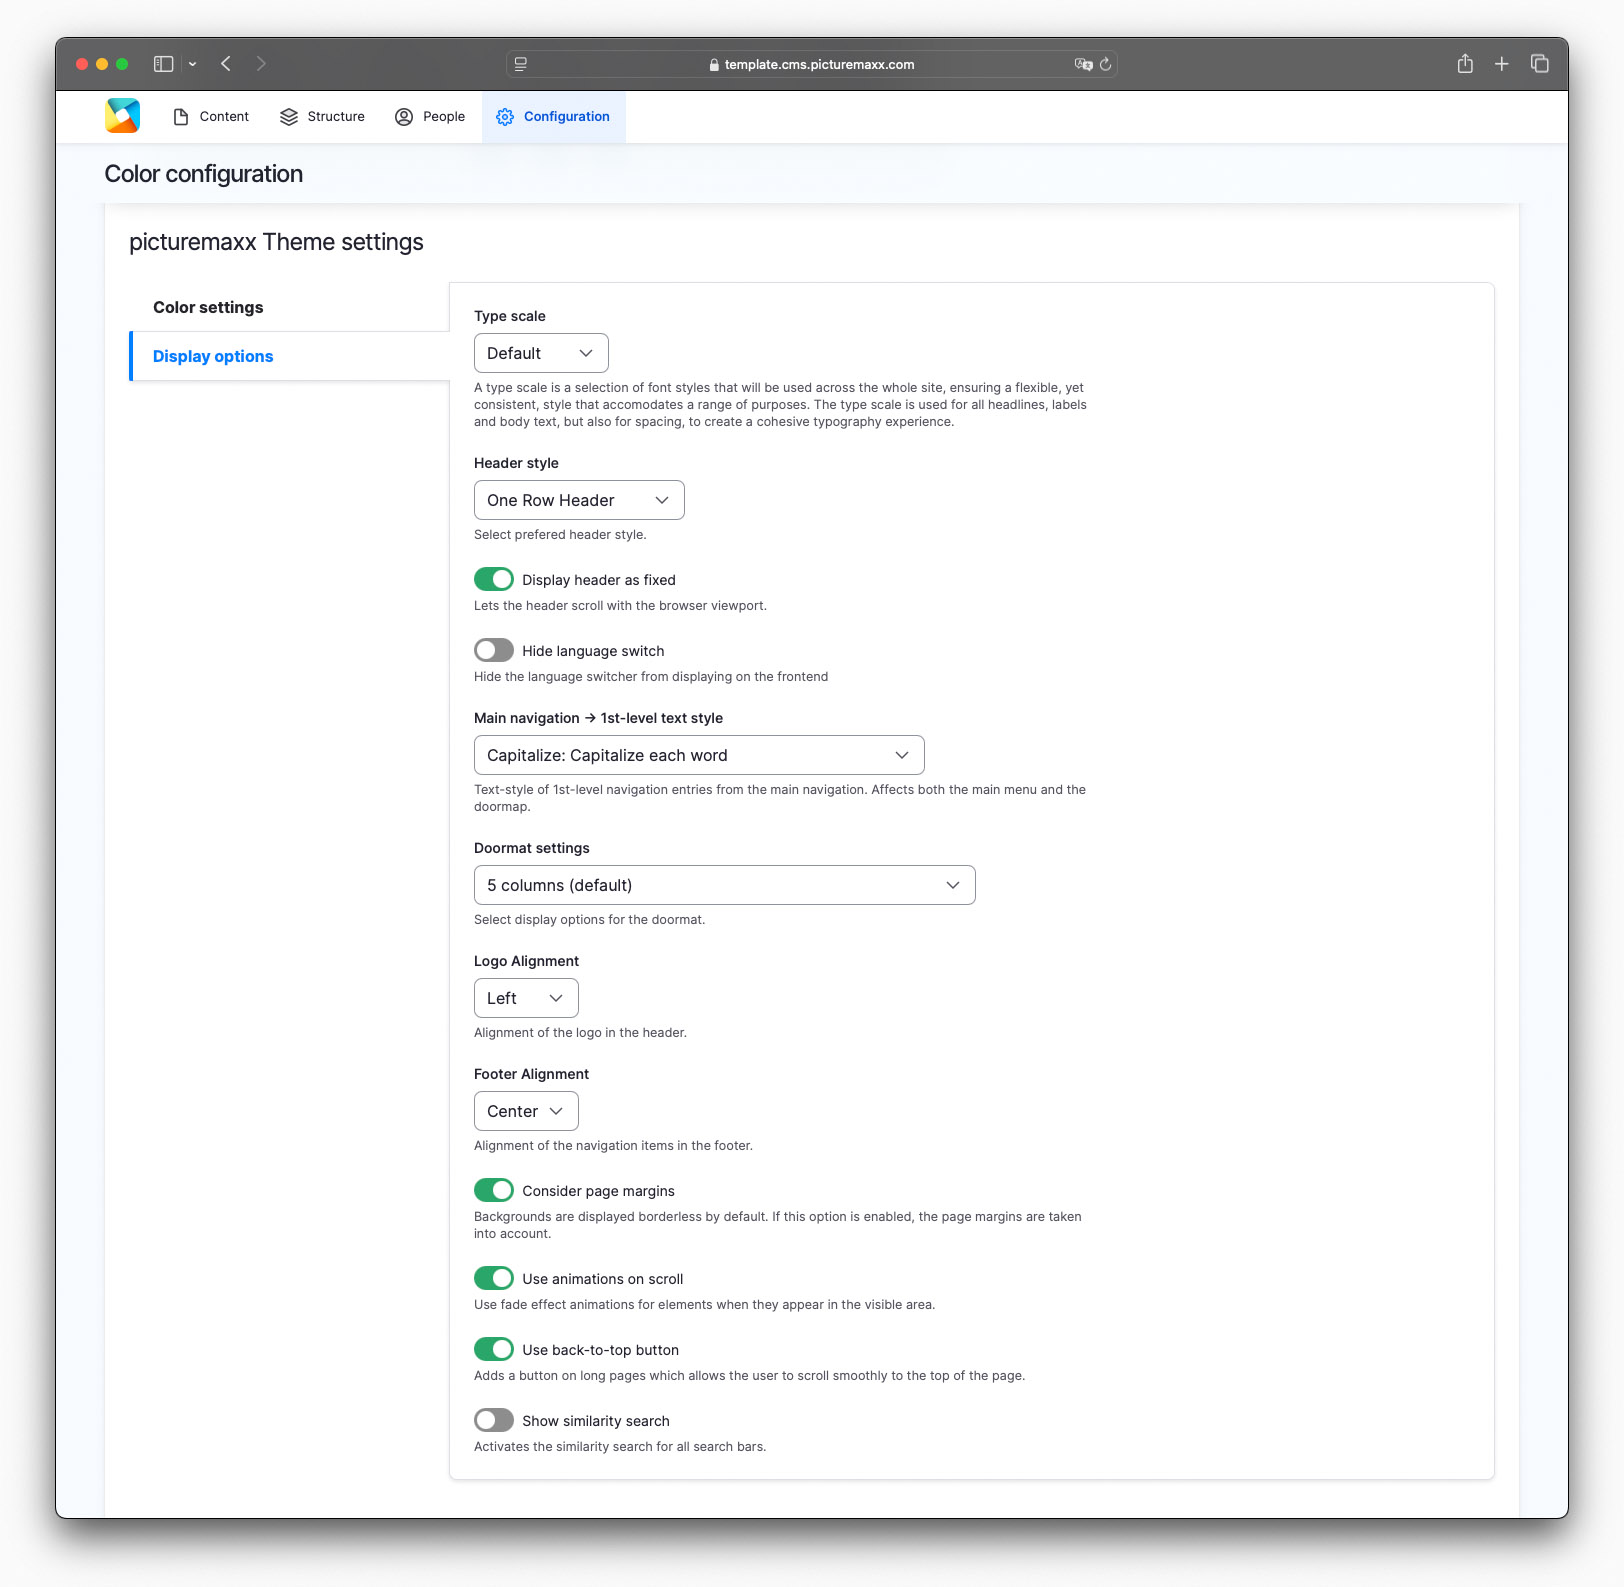
- On the Color configuration page, scroll down to picturemaxx Theme settings and select Display Options.
-
-
Type scale
Select a scaling option to adjust size of each page element (fonts, logos, etc.) so that they are proportionally related to each other. The Default option is 16 px.
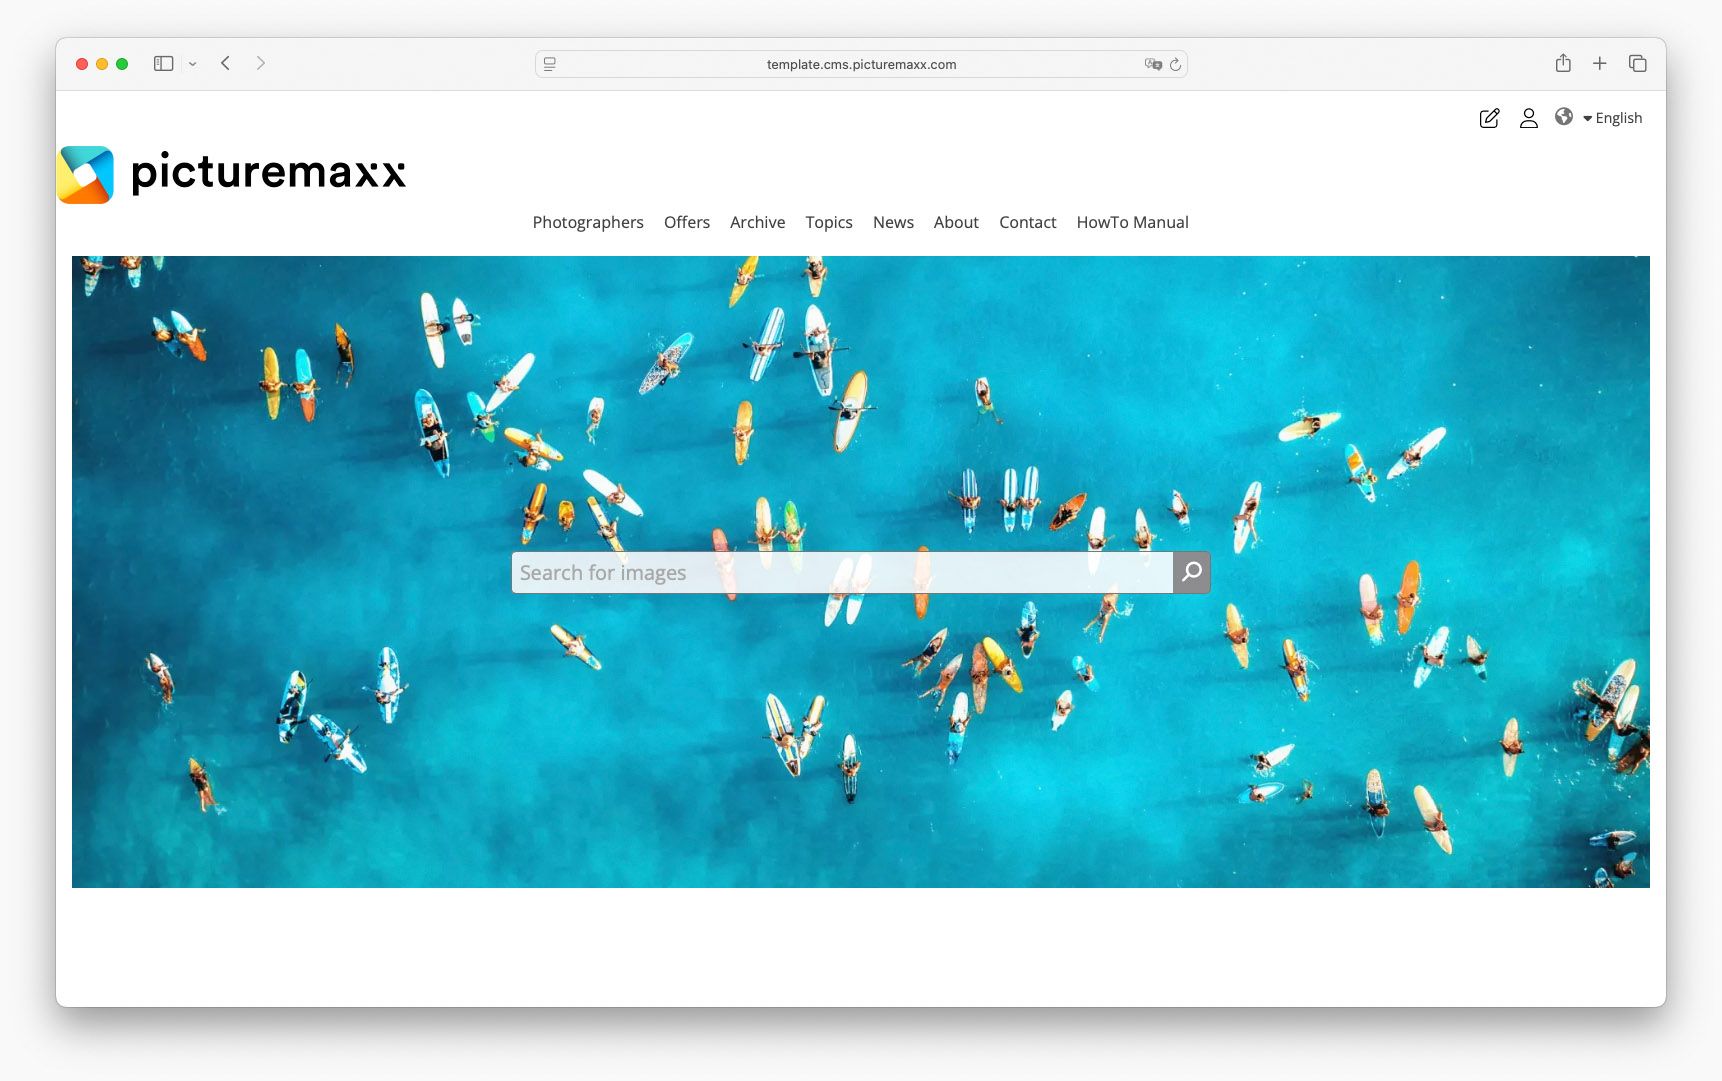
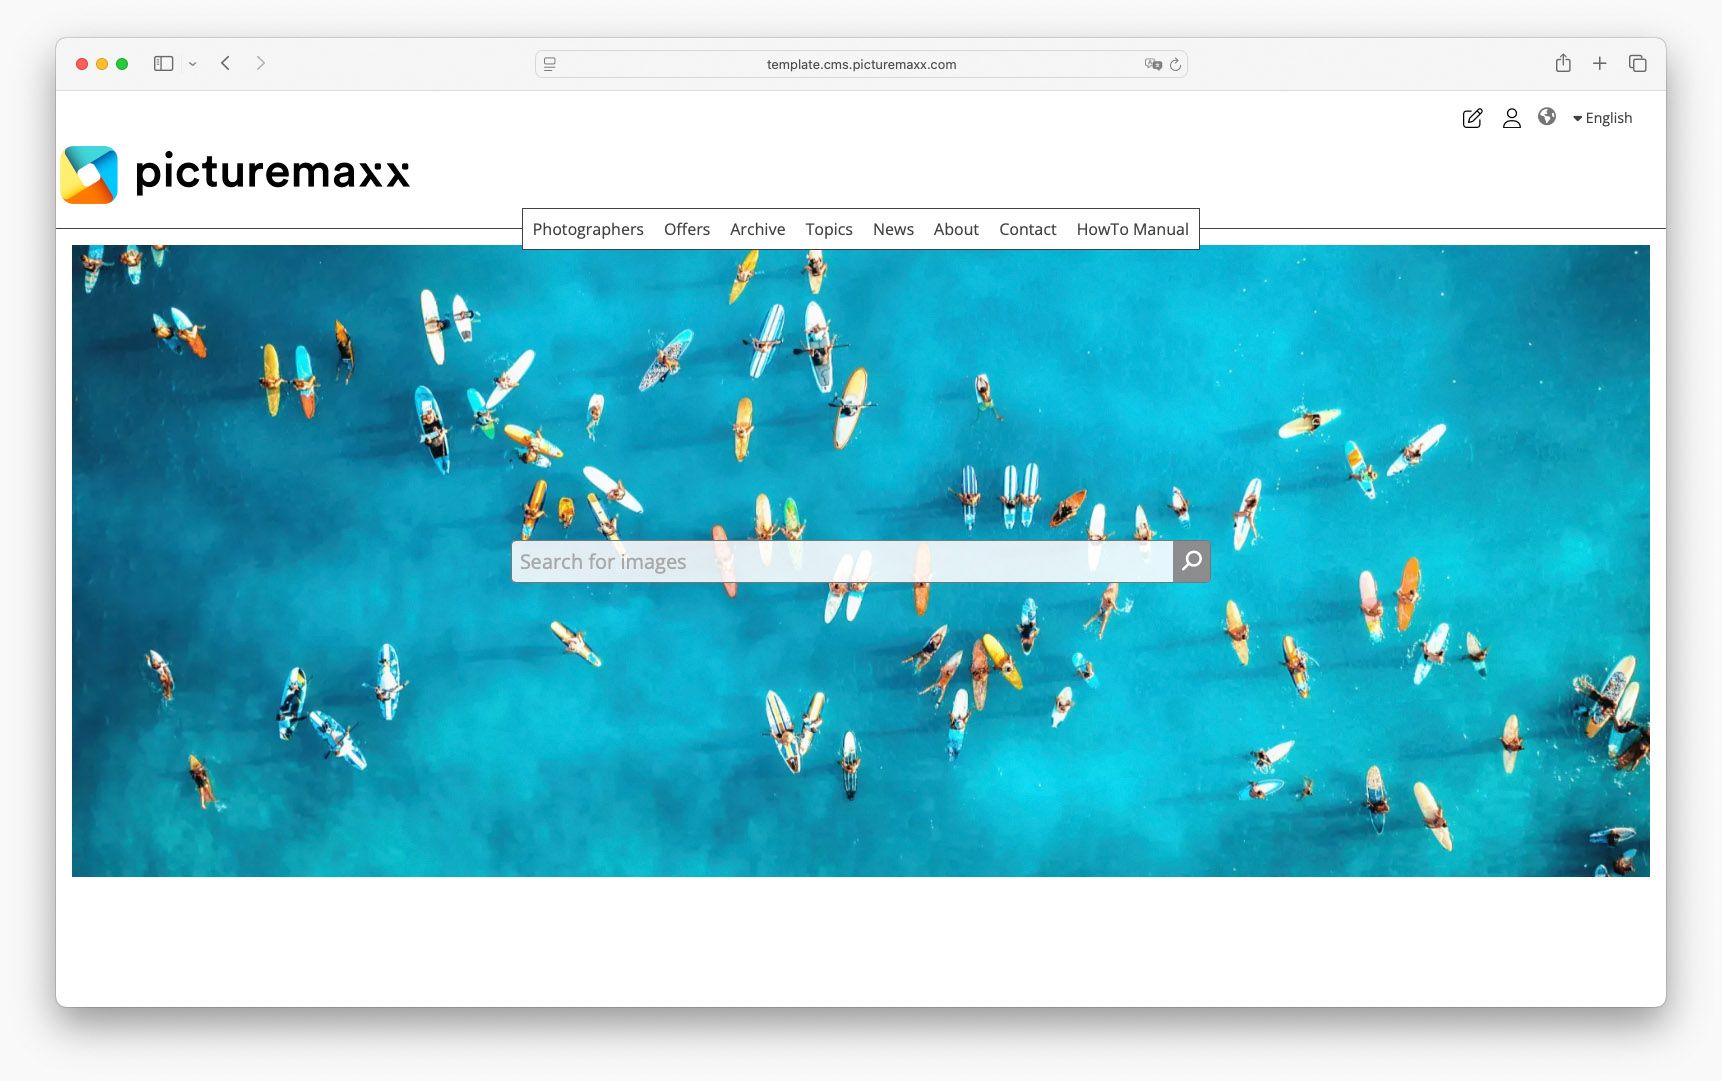
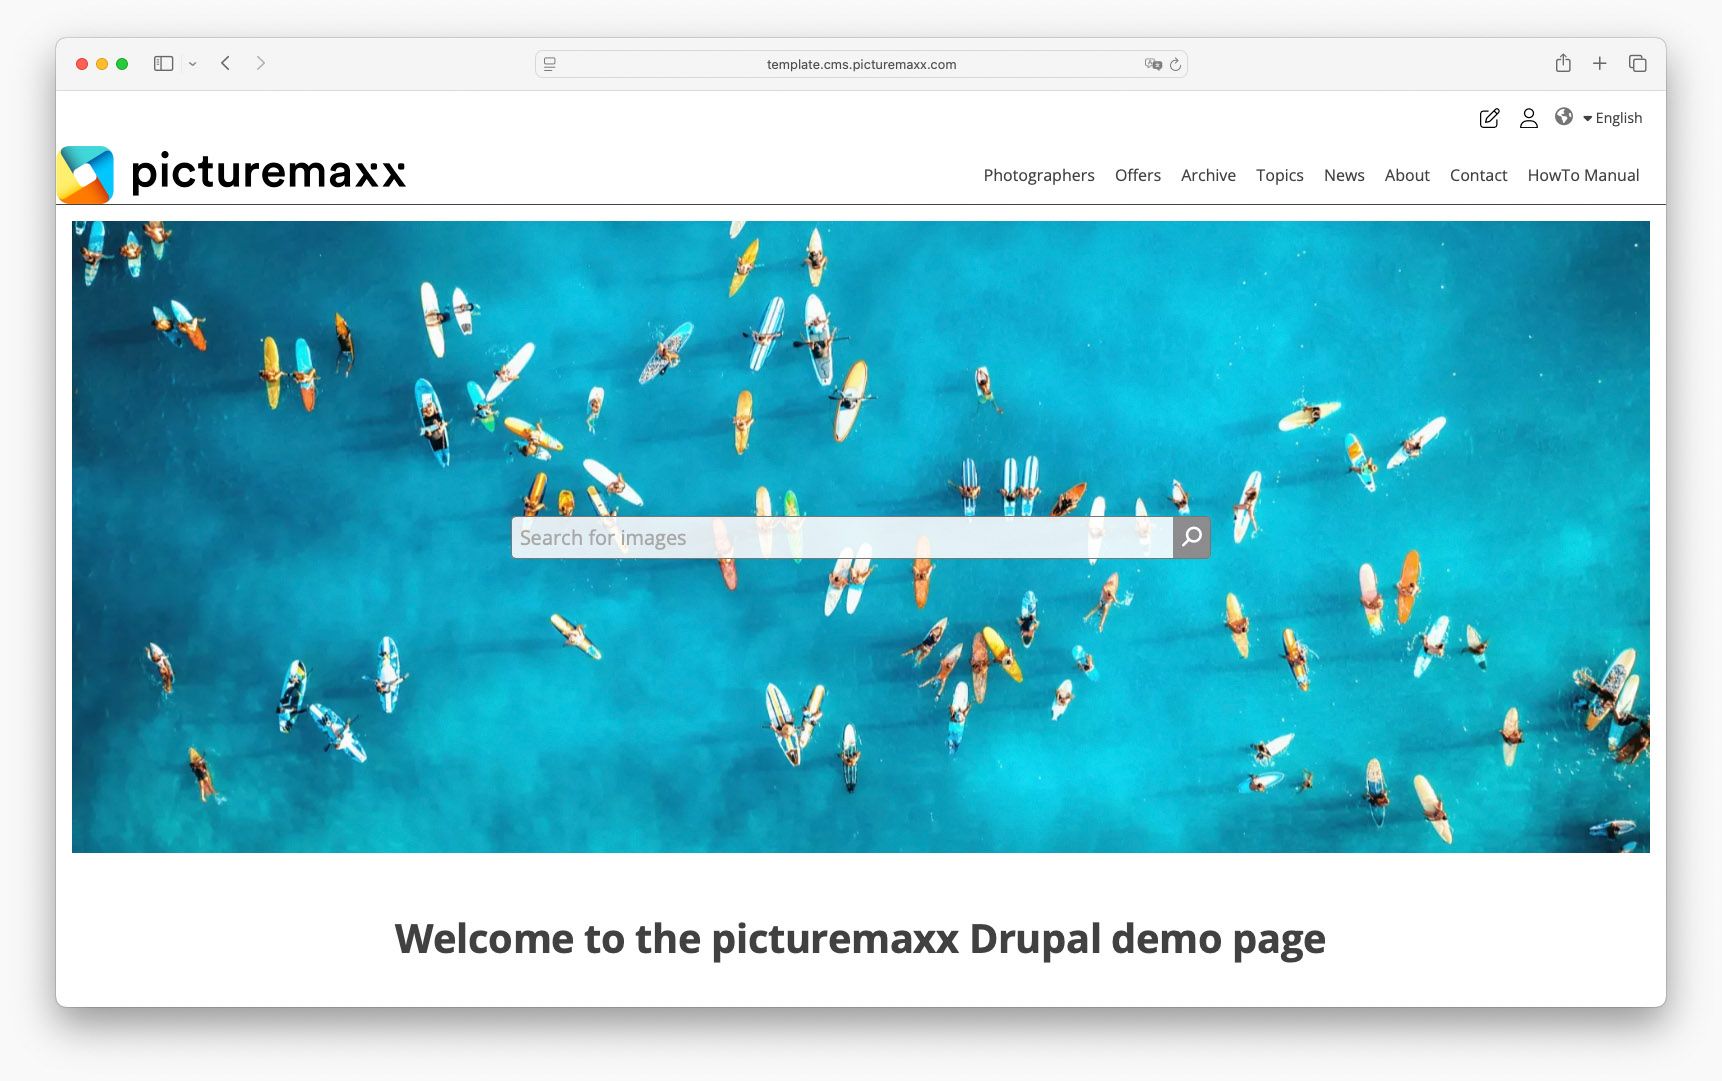
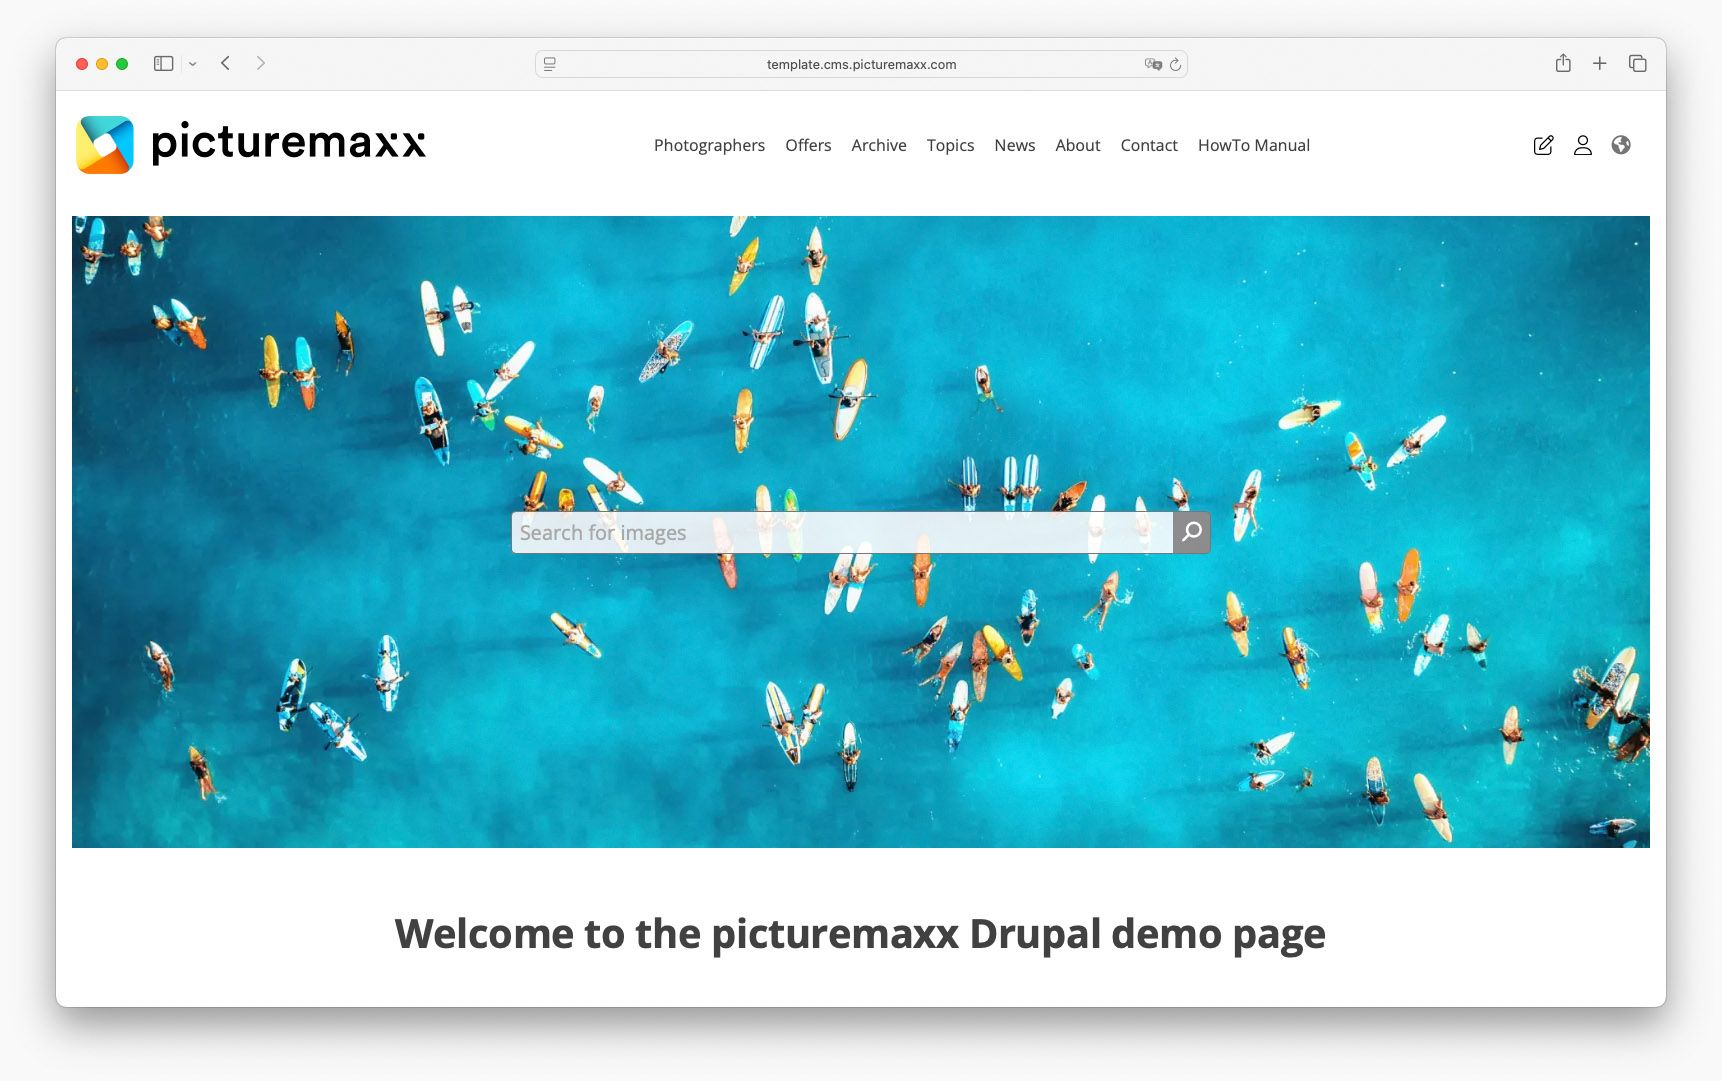
Header Style
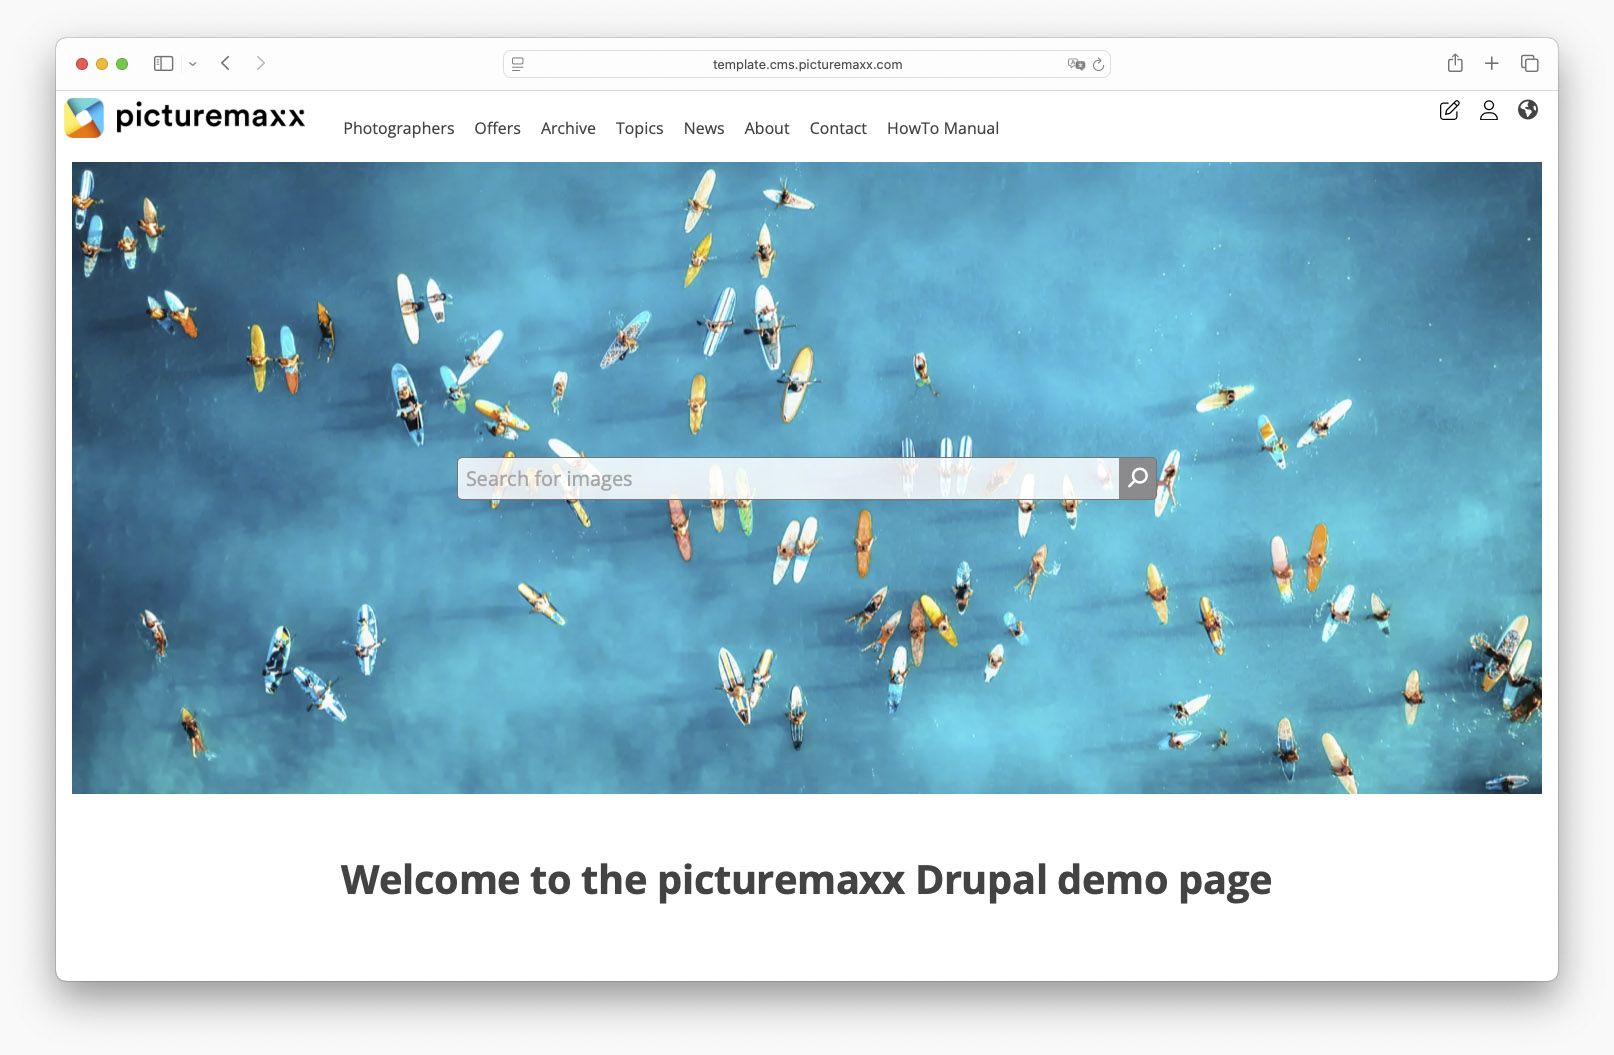
Try each style and decide which one suits you best.
Navigation Style (only for Logo & Burger Menu)
Choose between two options to display the Burger Menu: slide in from the right or full screen overlay.
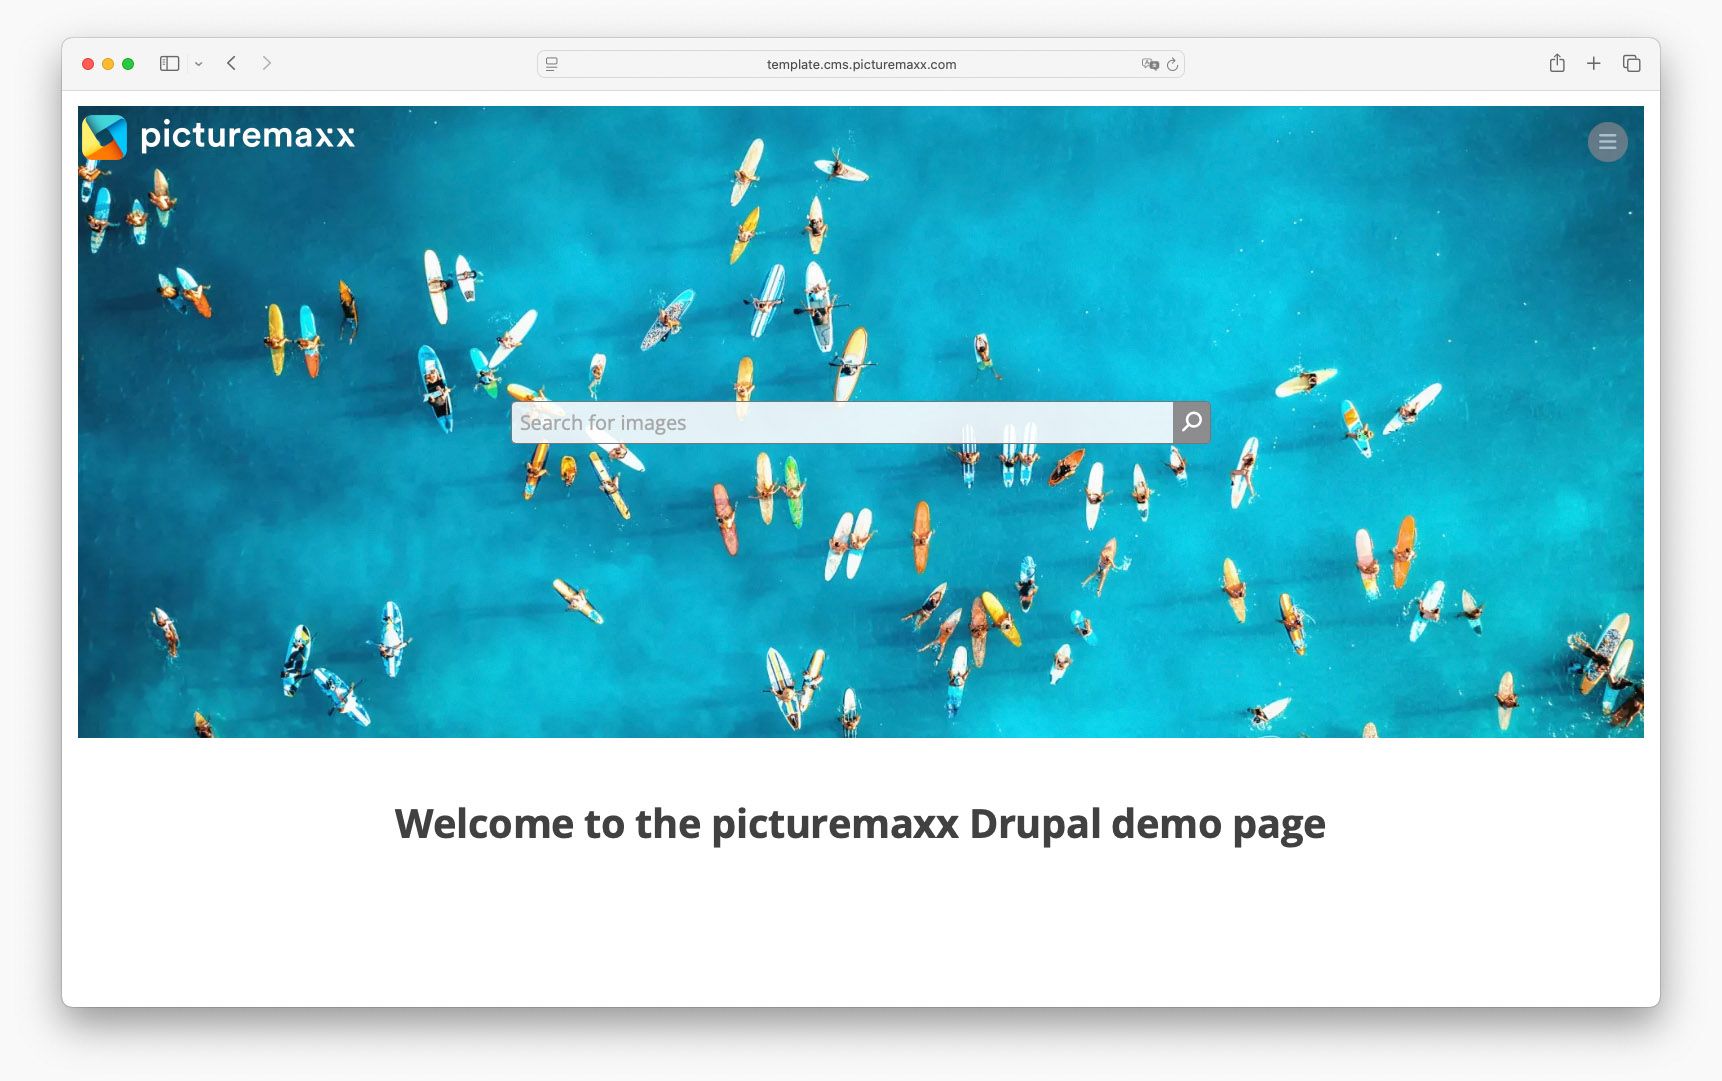
Display Header as fixed
Enable the option to make the entire Header (Logo + Menus) fixed and always visible when scrolling. For Logo & Burger Menu there is also the option to only fix the logo, regardless of the header.
Hide language switch
Enable the option, if you only use one language for the site.
Main navigation → 1st-level text style
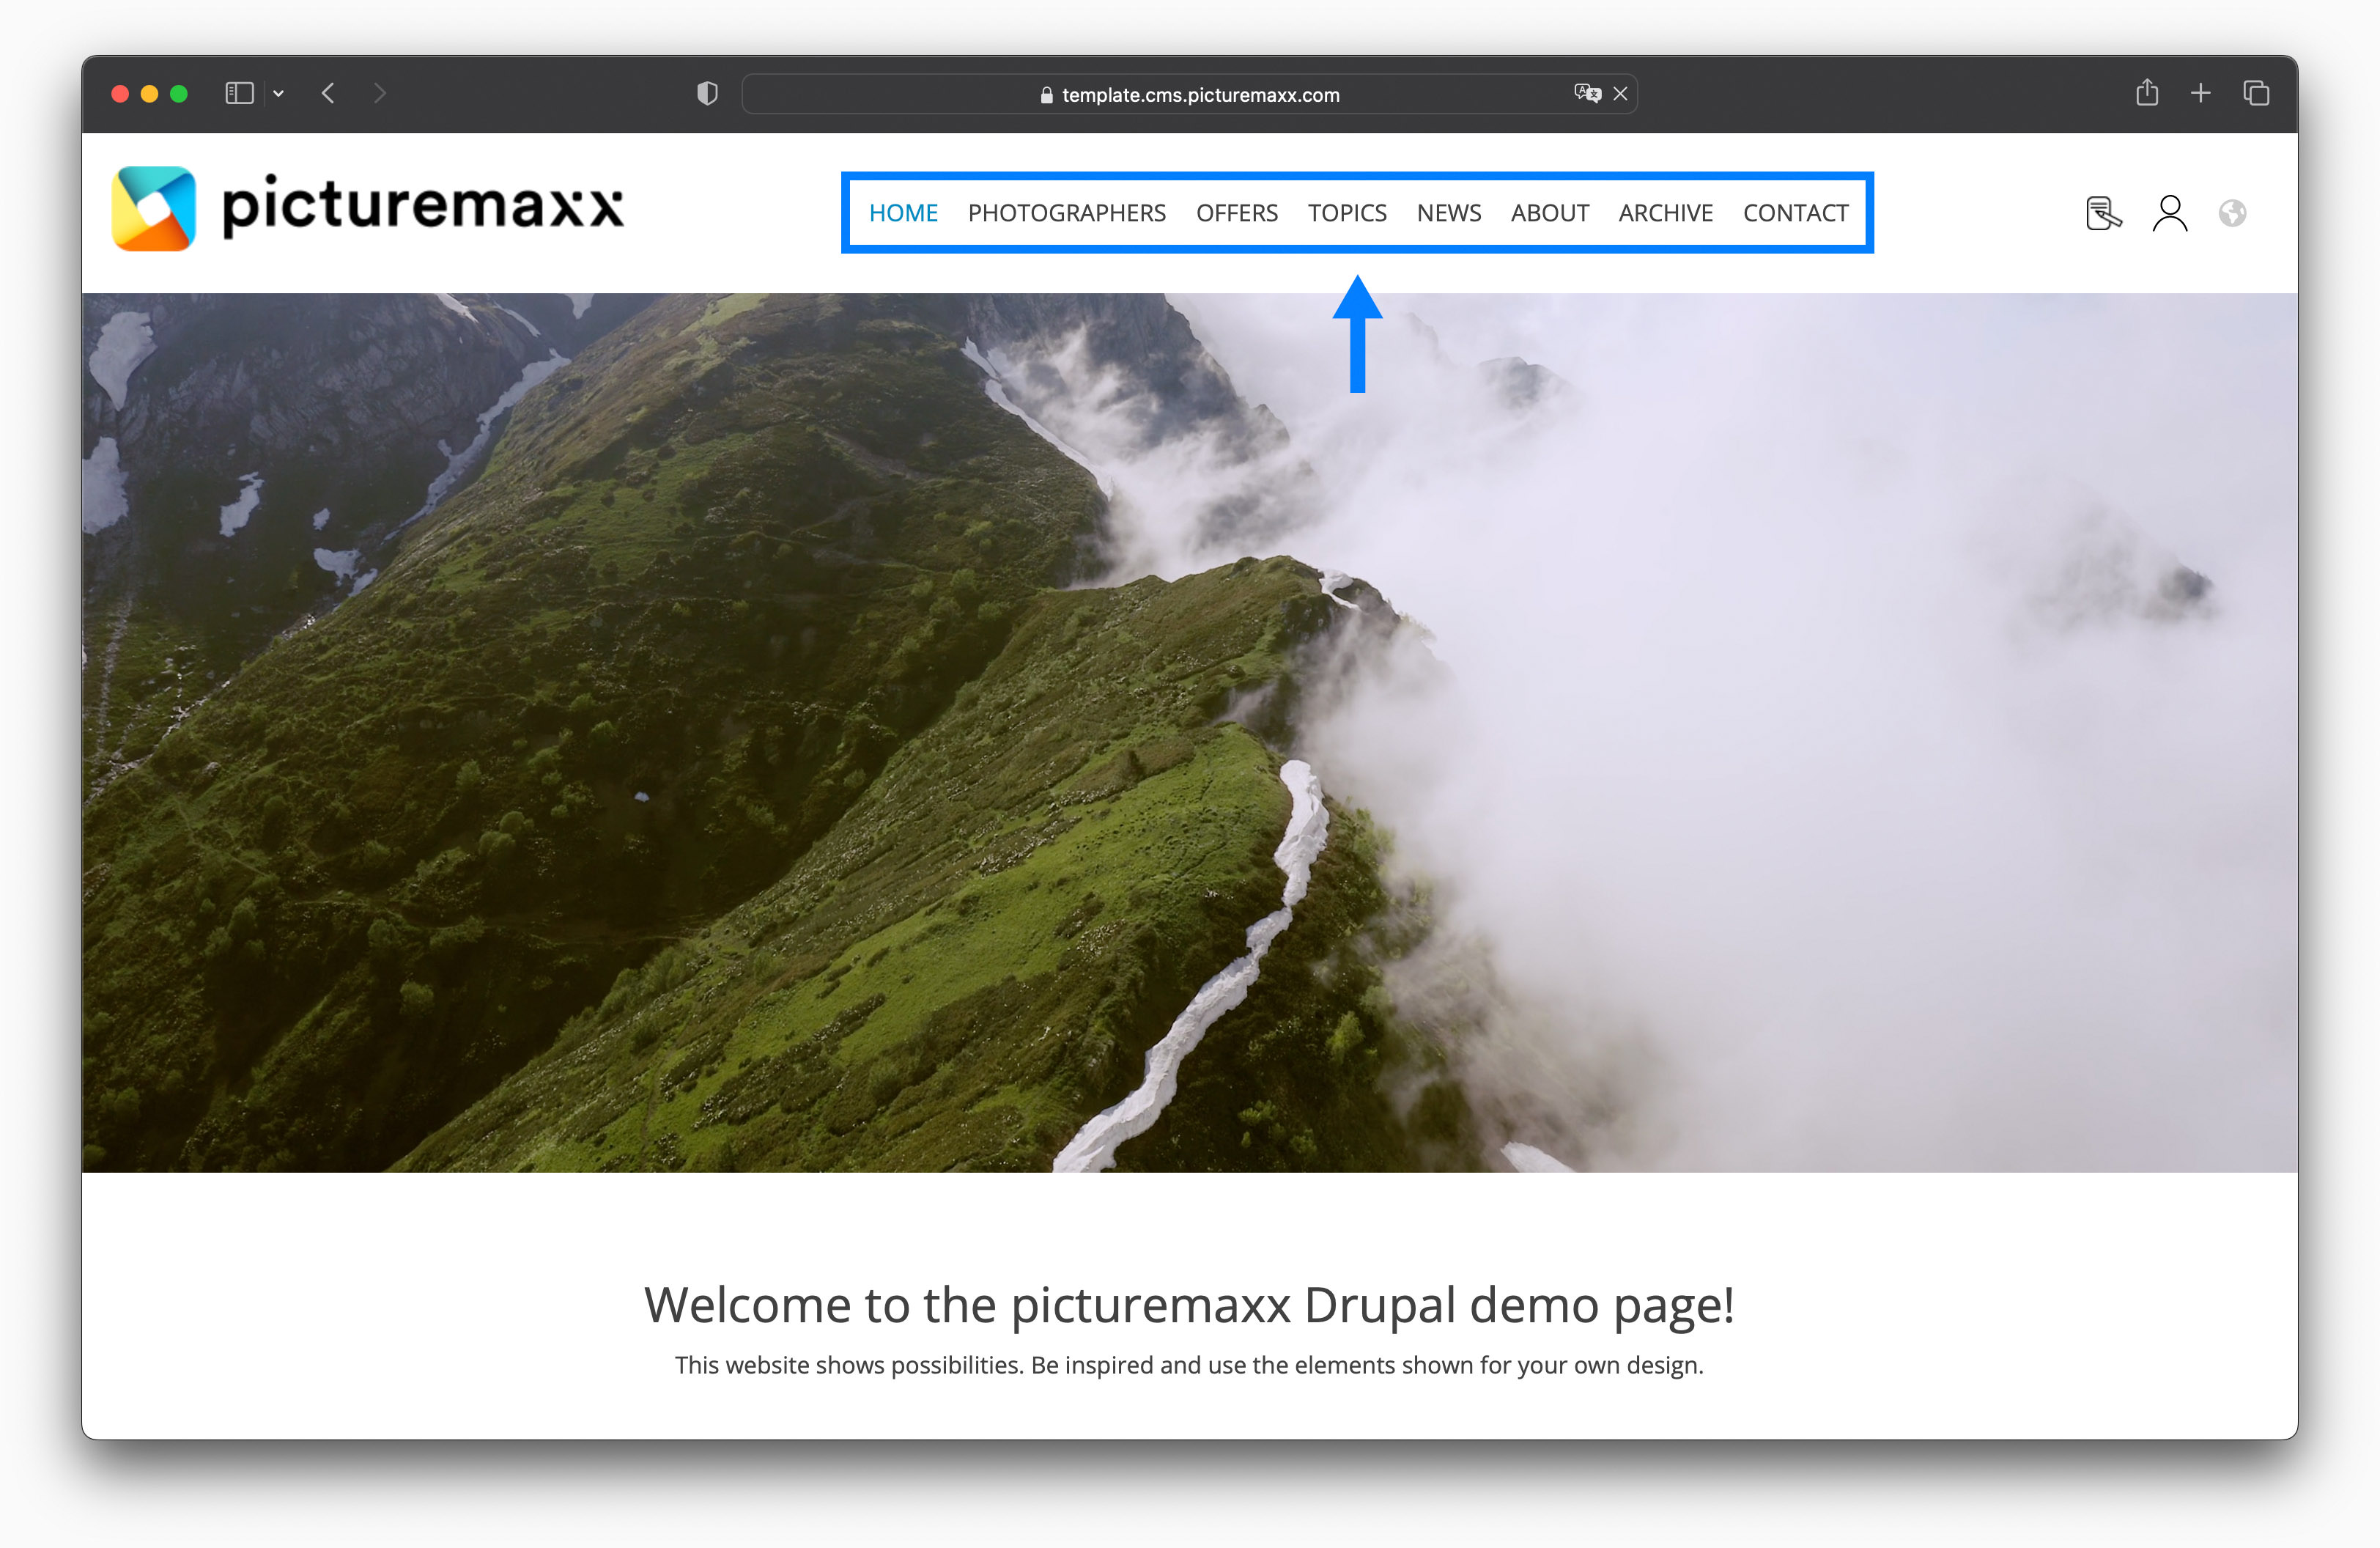
Define text case and capitalization for Navigation Menu. Choose between all UPPERCASE, Capitalize Each Word, or No Transform to keep the original text casing.
Doormat Settings
Choose the number of columns for the Doormat. You can also hide the Doormat here.
Logo Alignment
Choose between left, center, or right.
Footer Alignment
Choose between left, center, or right.
Consider page margins
You can choose to apply margins to content that has a background (an image, a video, a slideshow or just a background graphic).
Use animations on scroll
Apply fade effect animations for the page elements when scrolled into view.
Use back-to-top button
Add the button to let users easily scroll back to the top of a long page.
Show similarity search
Important: Requires BACKSTAGE API key. Contact us at support@picturemaxx.com for details and guidance.
-

-

-

-

-

-

-
2. Edit menus
Menus help you effectively direct visitors to information that matters most on your website. The template offers various menu sections: header menu, main navigation, doormat, and footer menu. You can easily add a link to a menu by selecting Structure → Menus → Footer Menu, Main navigation, or Header Menu.
2.1 Header menu
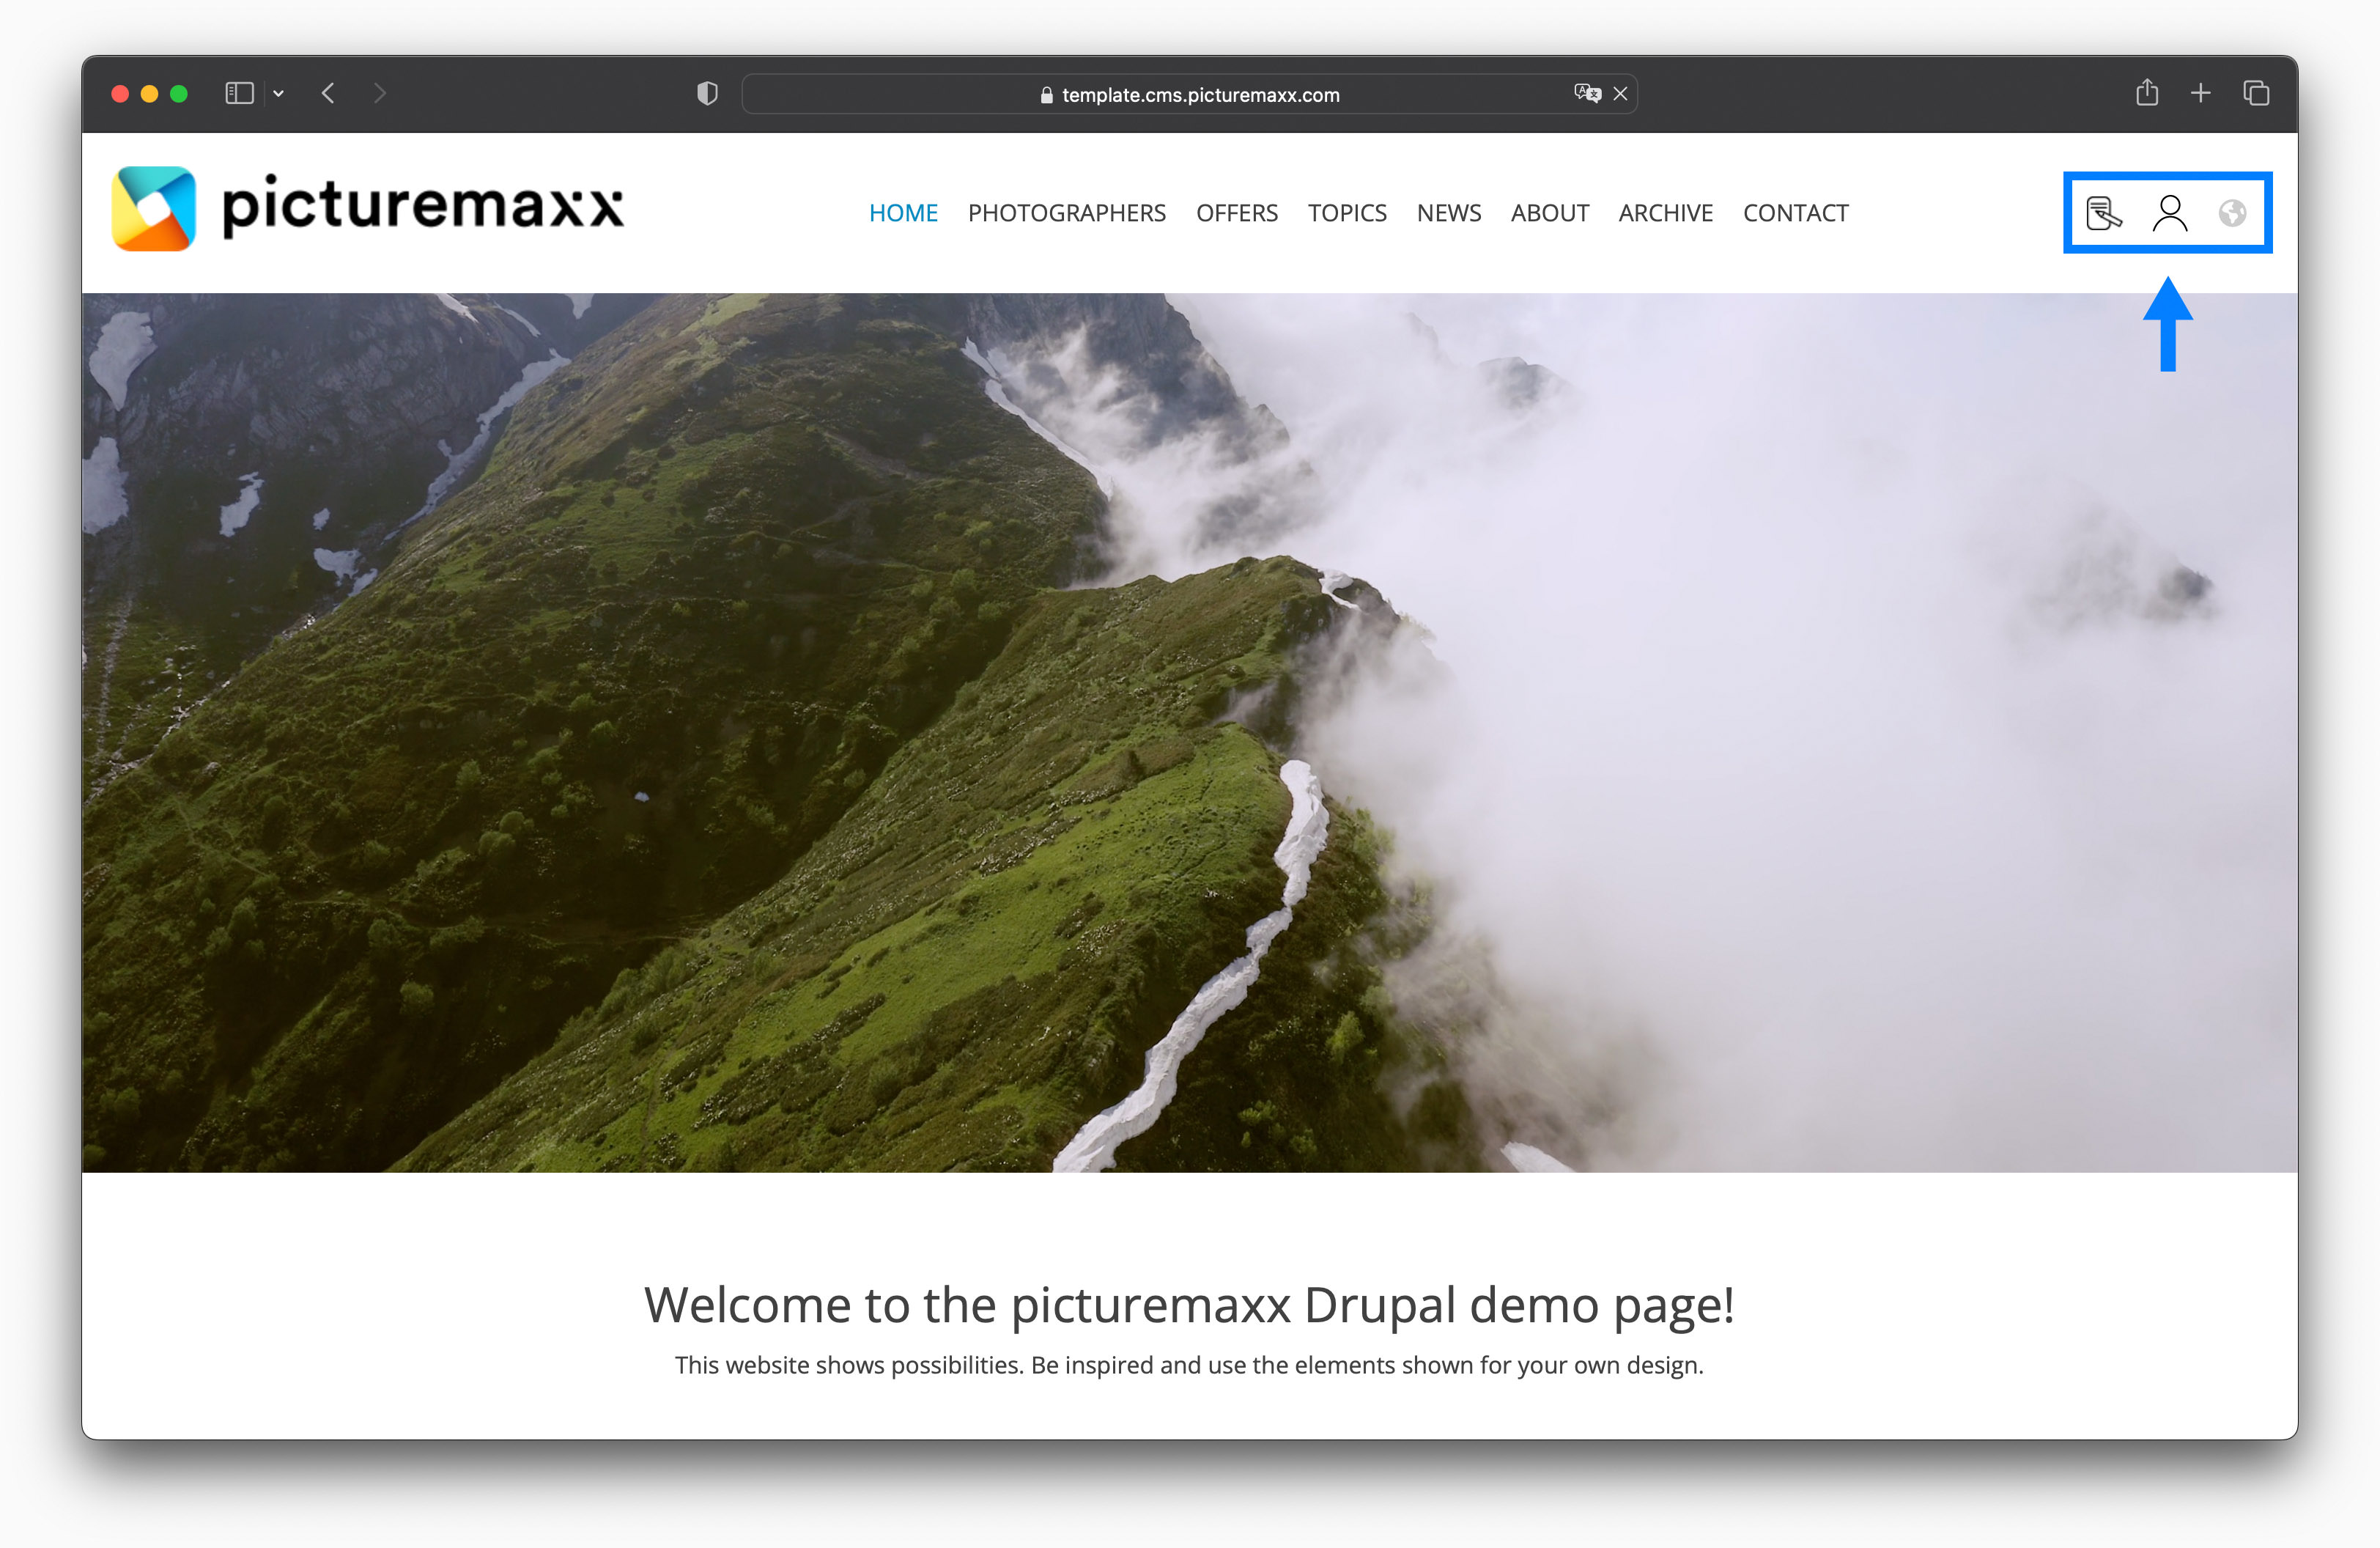
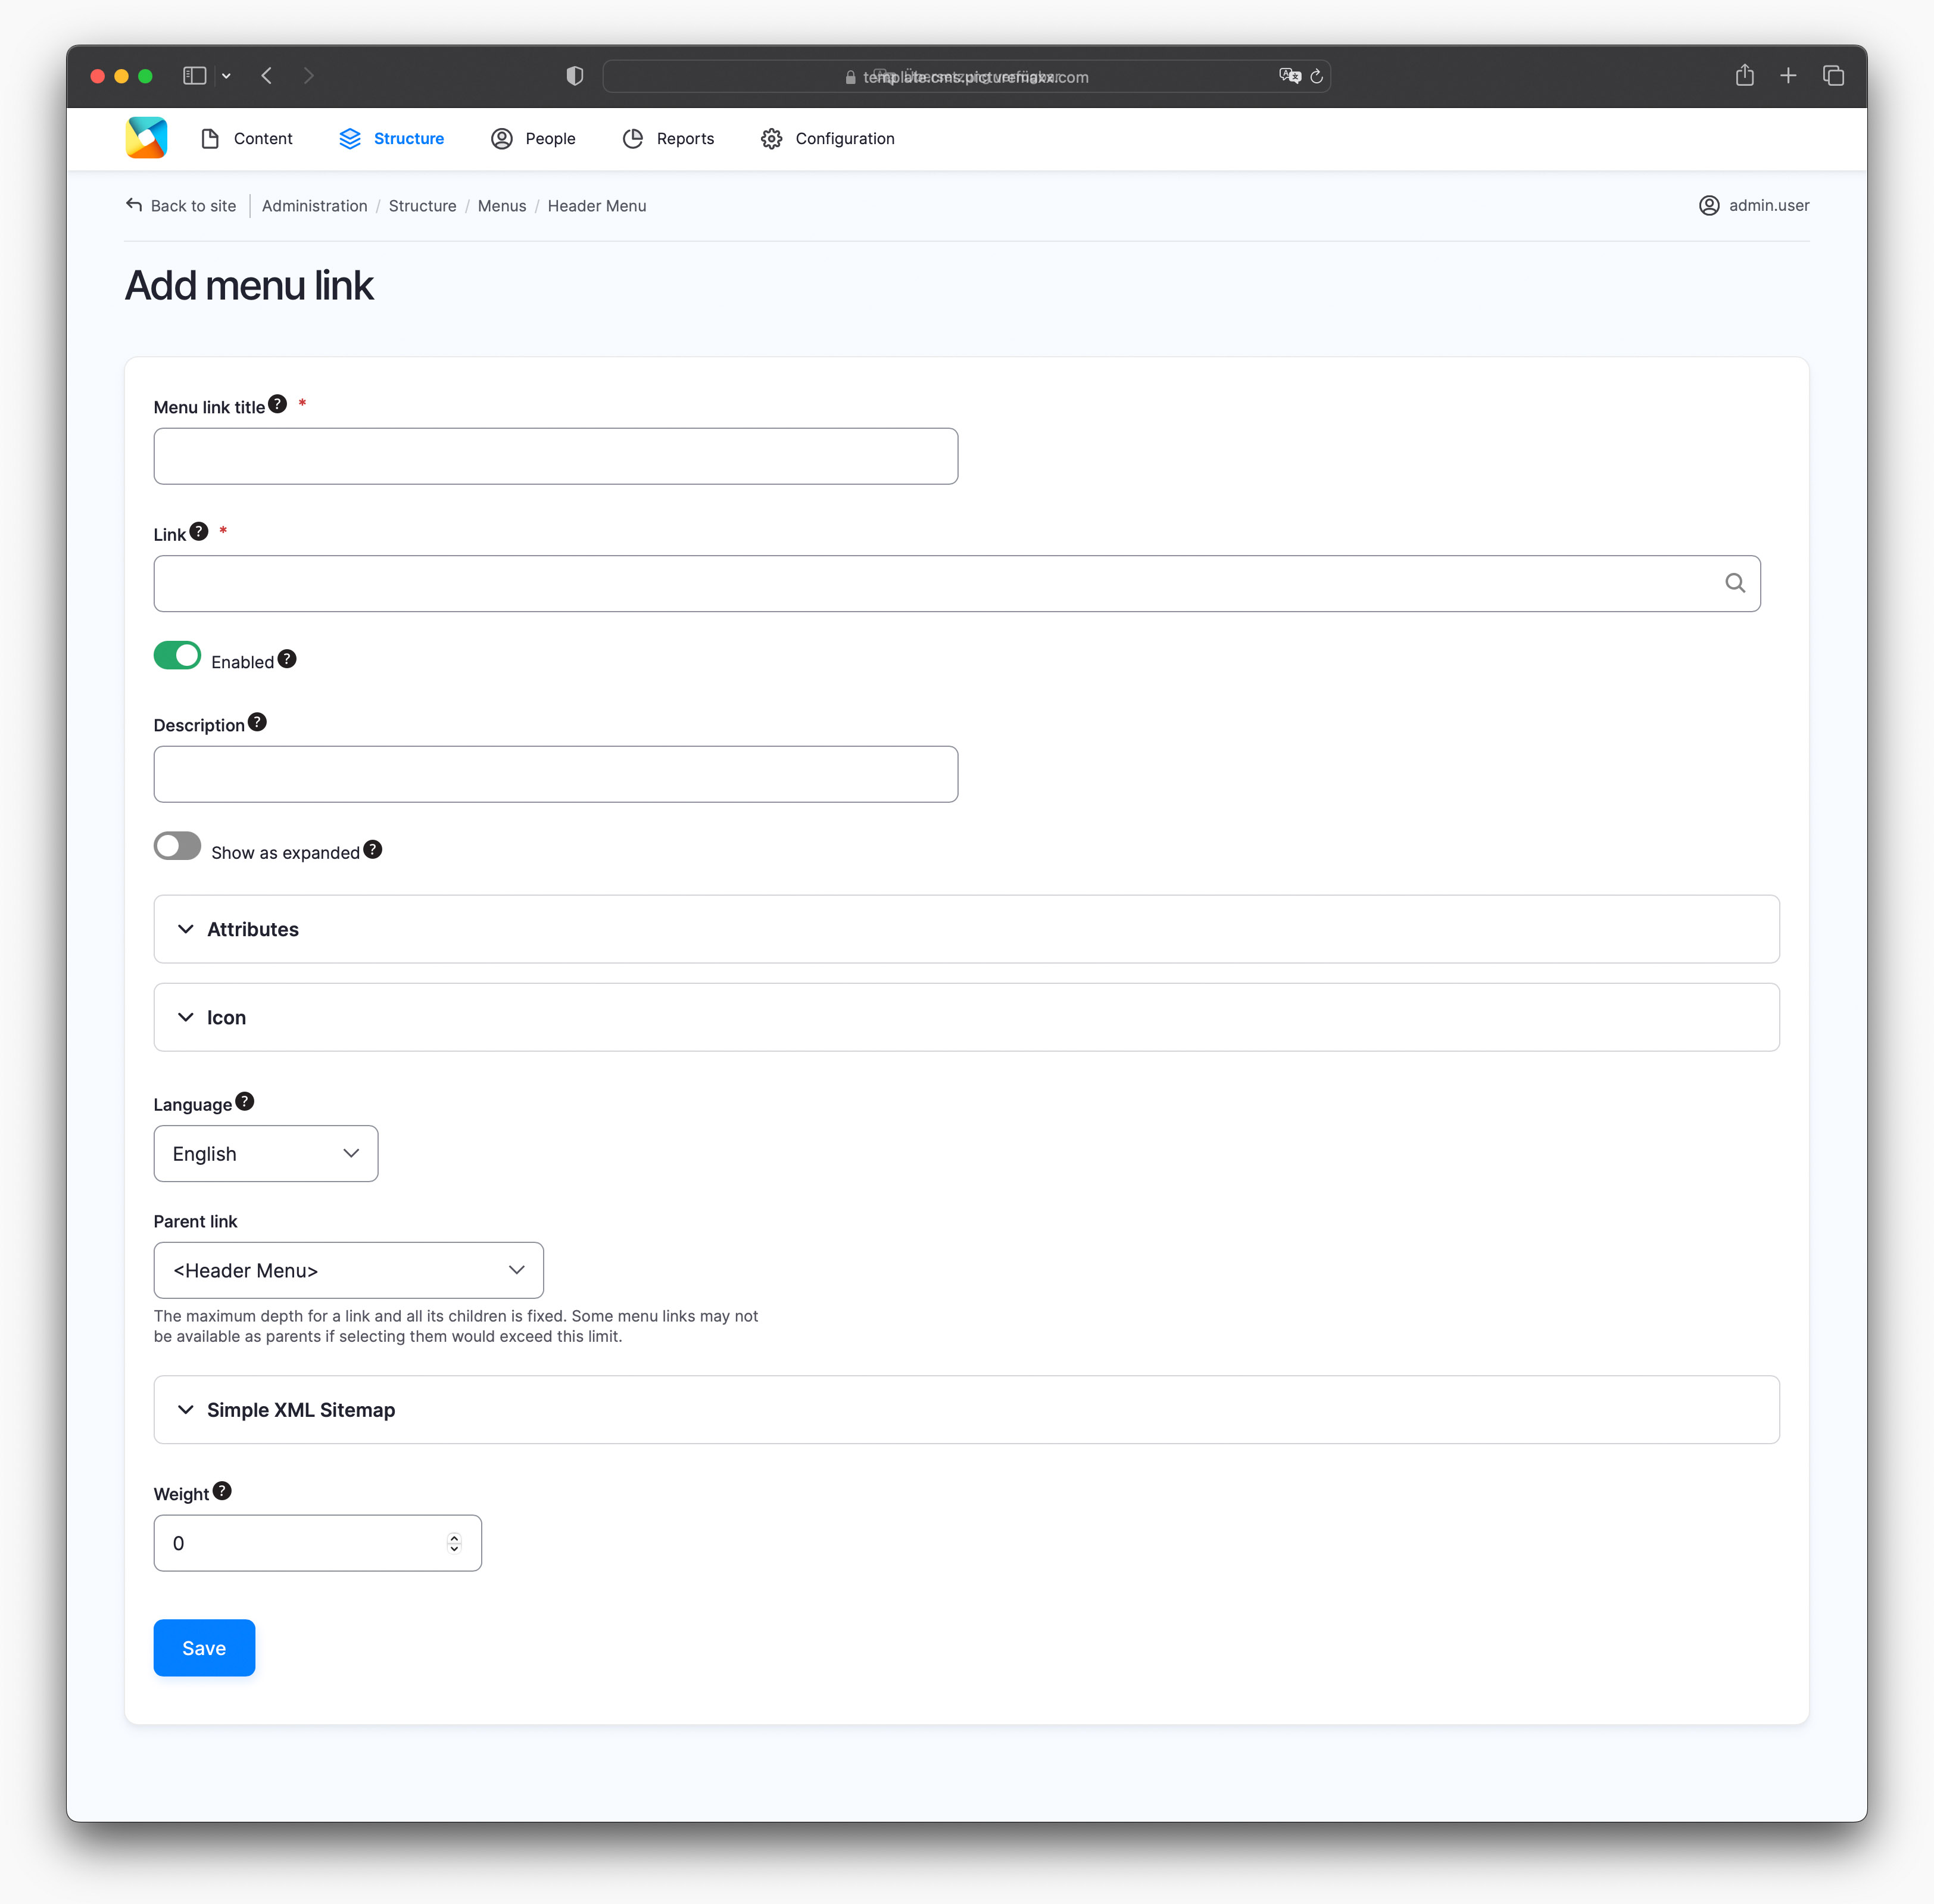
Navigate to Structure → Menus → Header Menu to start defining your header menu. To update an existing menu item, click Edit. To create a new menu item, click + Add link. Header menu will appear in the top right corner of your website. We have customized this menu for you so that you can use icons instead of text for each menu item.
NOTE: You can use icons only for Header Menu.
Add link to header menu
-
-
Menu link title
Enter a name for the menu item. The name is displayed if you don't use icons.Link
Enter a page name to link to. You can choose to link to a page name or to a URL.Description
Type a text that appears when hovering over the menu link.Show as expanded
If you enable the option and this menu link has submenus, the menu will always appear expanded. This option can be overridden for the entire menu tree when a menu block is added.Attributes > Display Options
Specify for each menu link, where its children (further - menu items) should be visible. If nothing is selected, every menu item will be visible in the doormat and header.Attributes > Target
Specify where to open the linked page: in the same window or in the new window.Icon > Icon Image
You can upload an icon in the header menu. It is the only menu that offers the feature. The recommended icon size is 50 x 50 px.Icon > Icon padding / Icon width/ Icon height
By changing the size of the padding, width, and height in pixels, you can adjust the icon's size. Try out different sizes to get an idea of how it works.Icon > Hide Text
When working with icons, we recommend enabling the Hide Text option.Language
Define the menu link language.Parent link
Name the Parent link to subordinate the added link.Simple XML Sitemap
You can ignore the Simple XML Sitemap settings as they are relevant only for SEO of the created content and not for the menu links. Just stick to the default settings.Weight
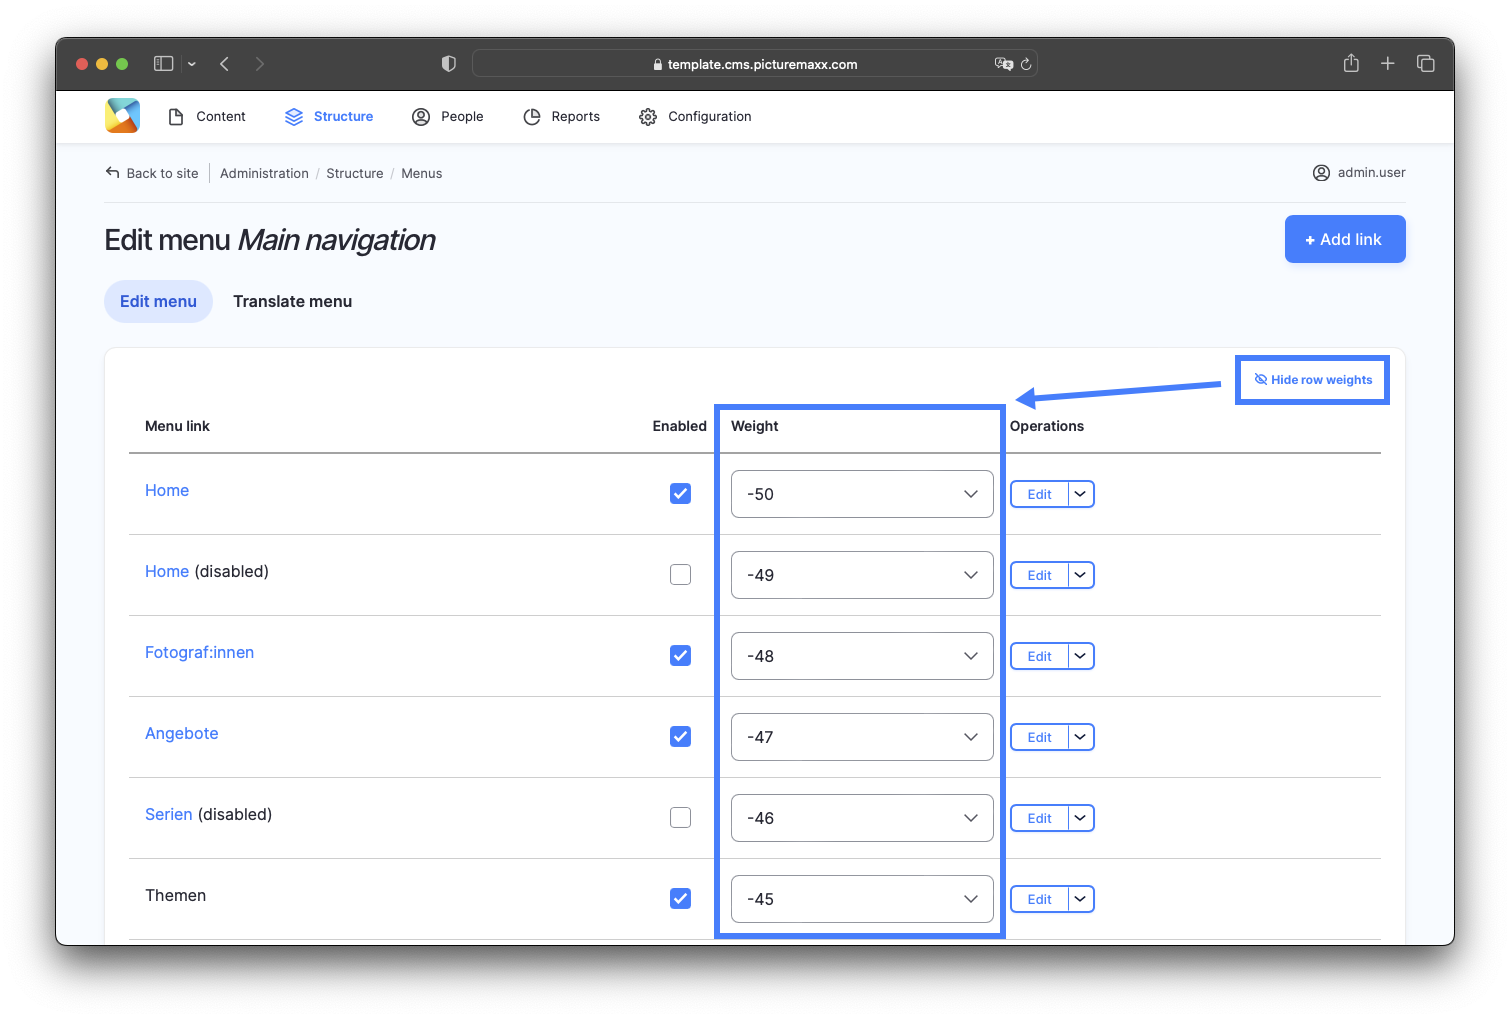
The Weight value specifies the order of the link as it appears in the menu among other menu items on the same level. You can change the position by changing the value.
2.2 Main navigation
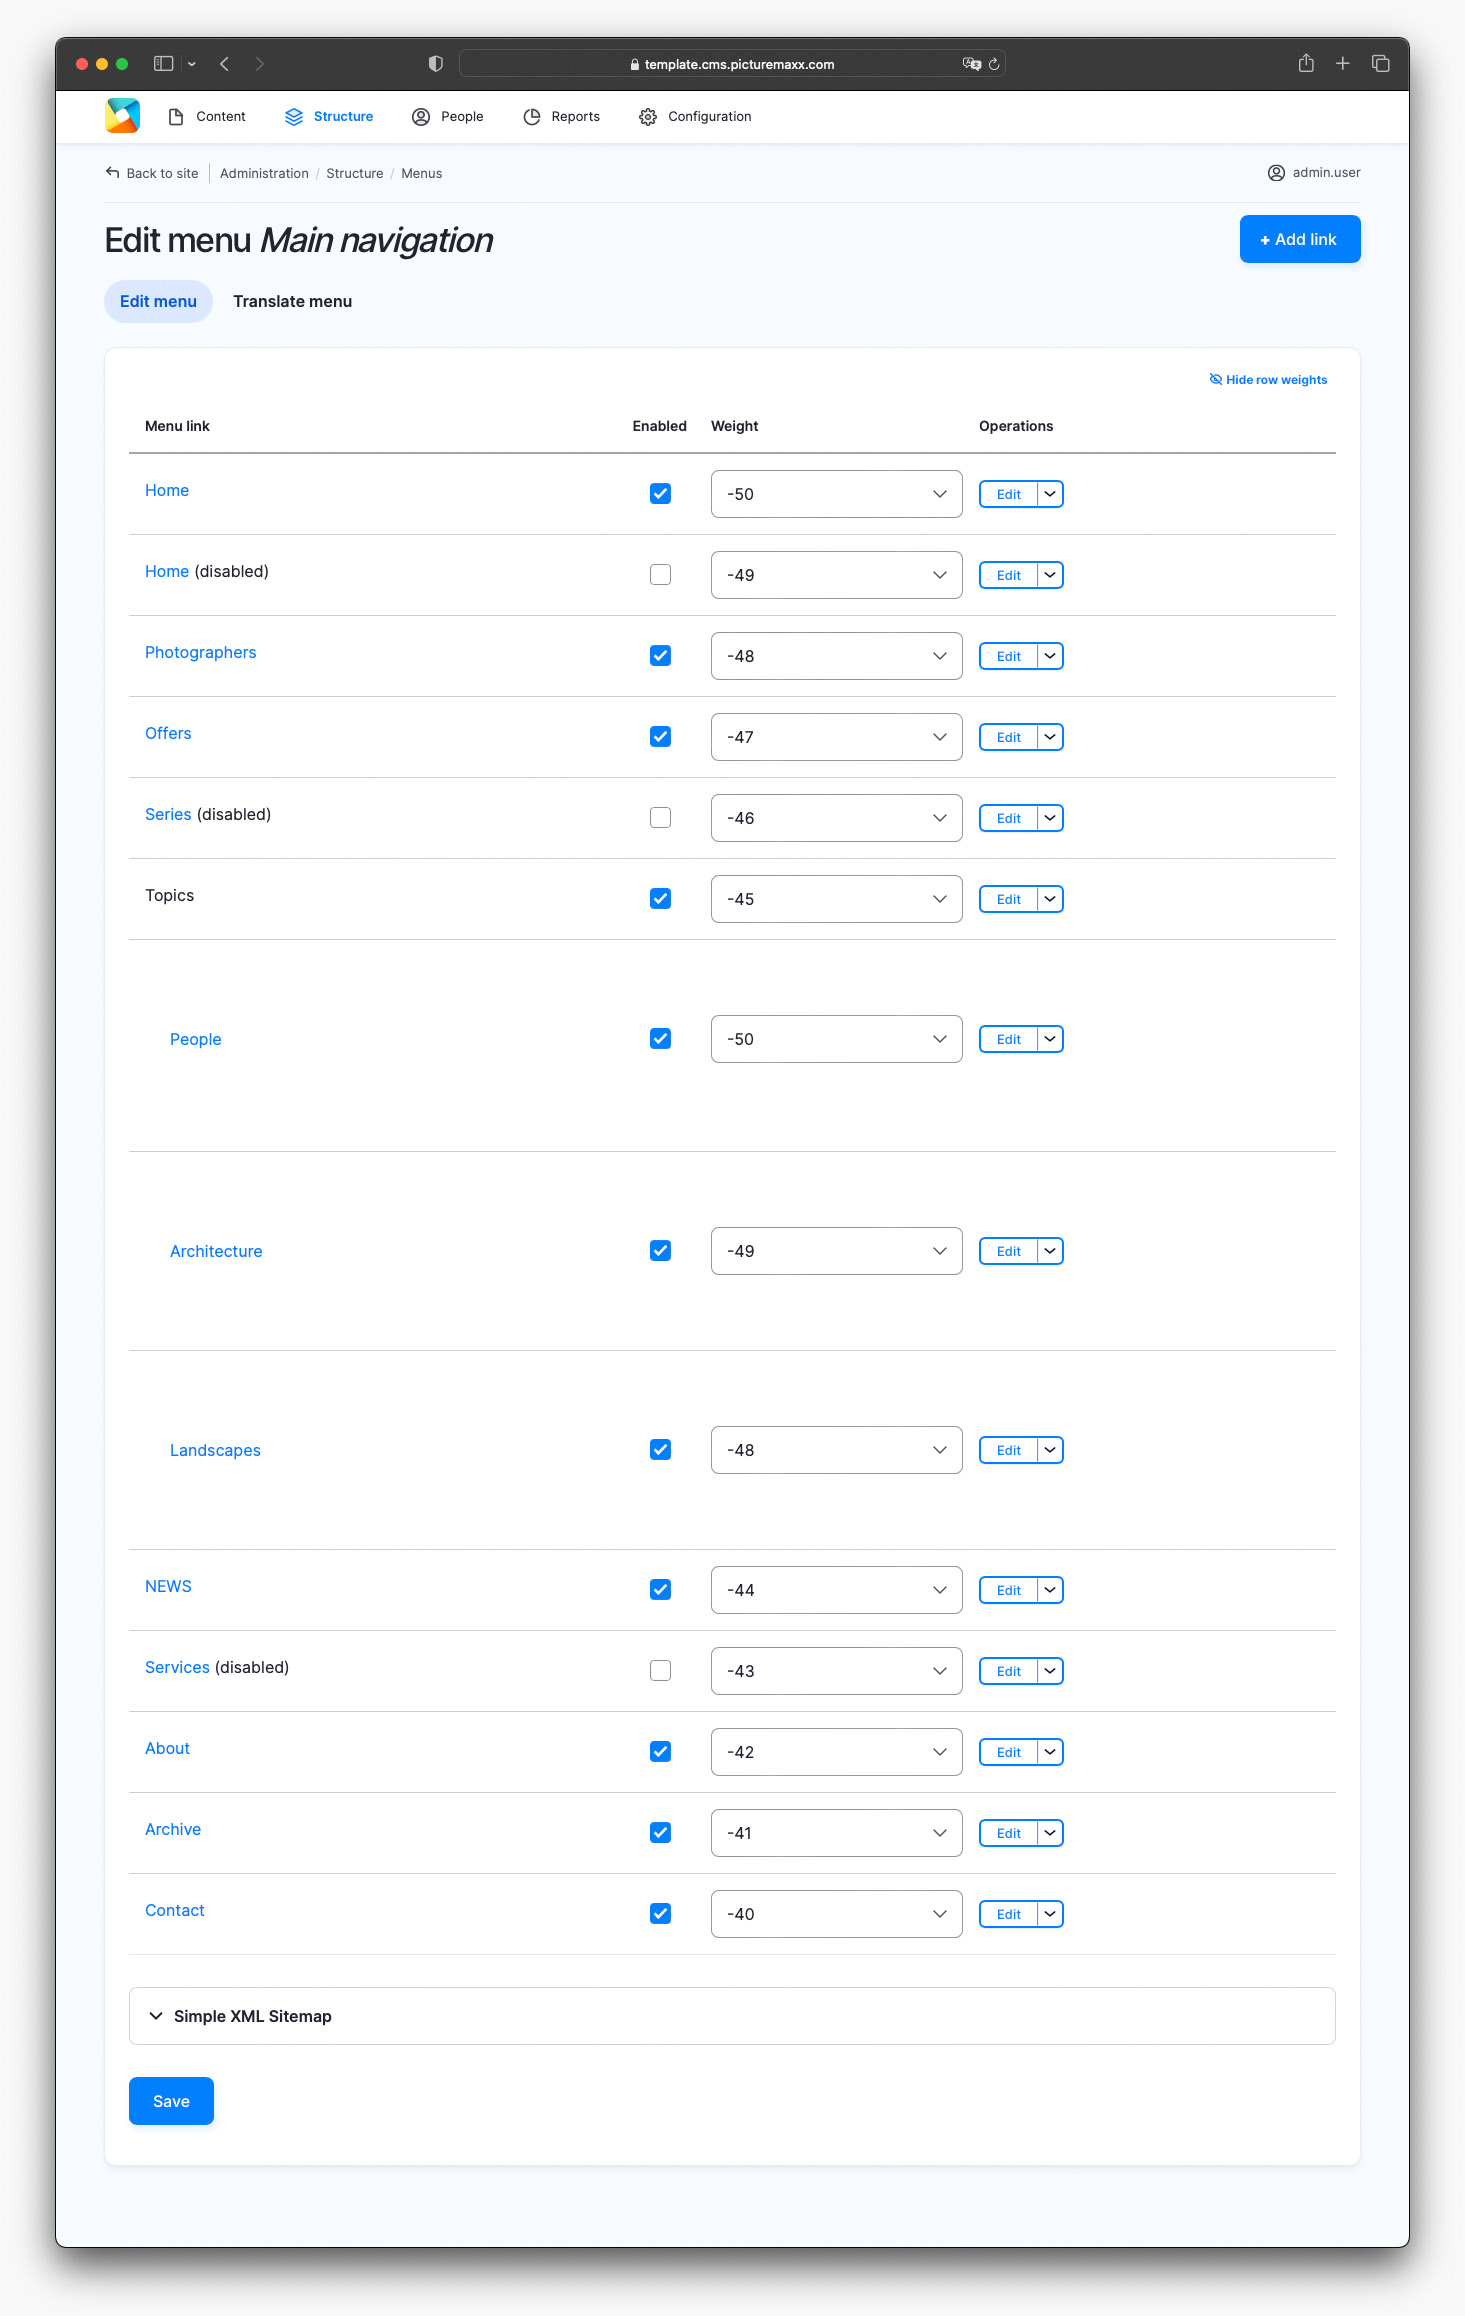
Main navigation always appears at the top center of your website. As a special feature, you can create a dropdown menu (see below). To edit Main navigation, go to Structure → Menus → Main navigation. The steps to add menu items to Main navigation are the same as in Header Menu.
2.3 Dropdown menu
To change the structure and appearance of your menu, navigate to Structure → Menus → Main navigation. After you have created all menu items, you can change the order they appear in the menu:
- Drag a menu item to move it up or down in the list.
- Watch the video below to see how to move an item to a lower/higher level within the menu hierarchy.
- Reorder the menu items by weight with Show/Hide row weights.
- Click the Show row weights link to display the Weight column. Menu items appear in descending order according to their weight value. Sort the items by changing their weight values.
2.4 Footer menu
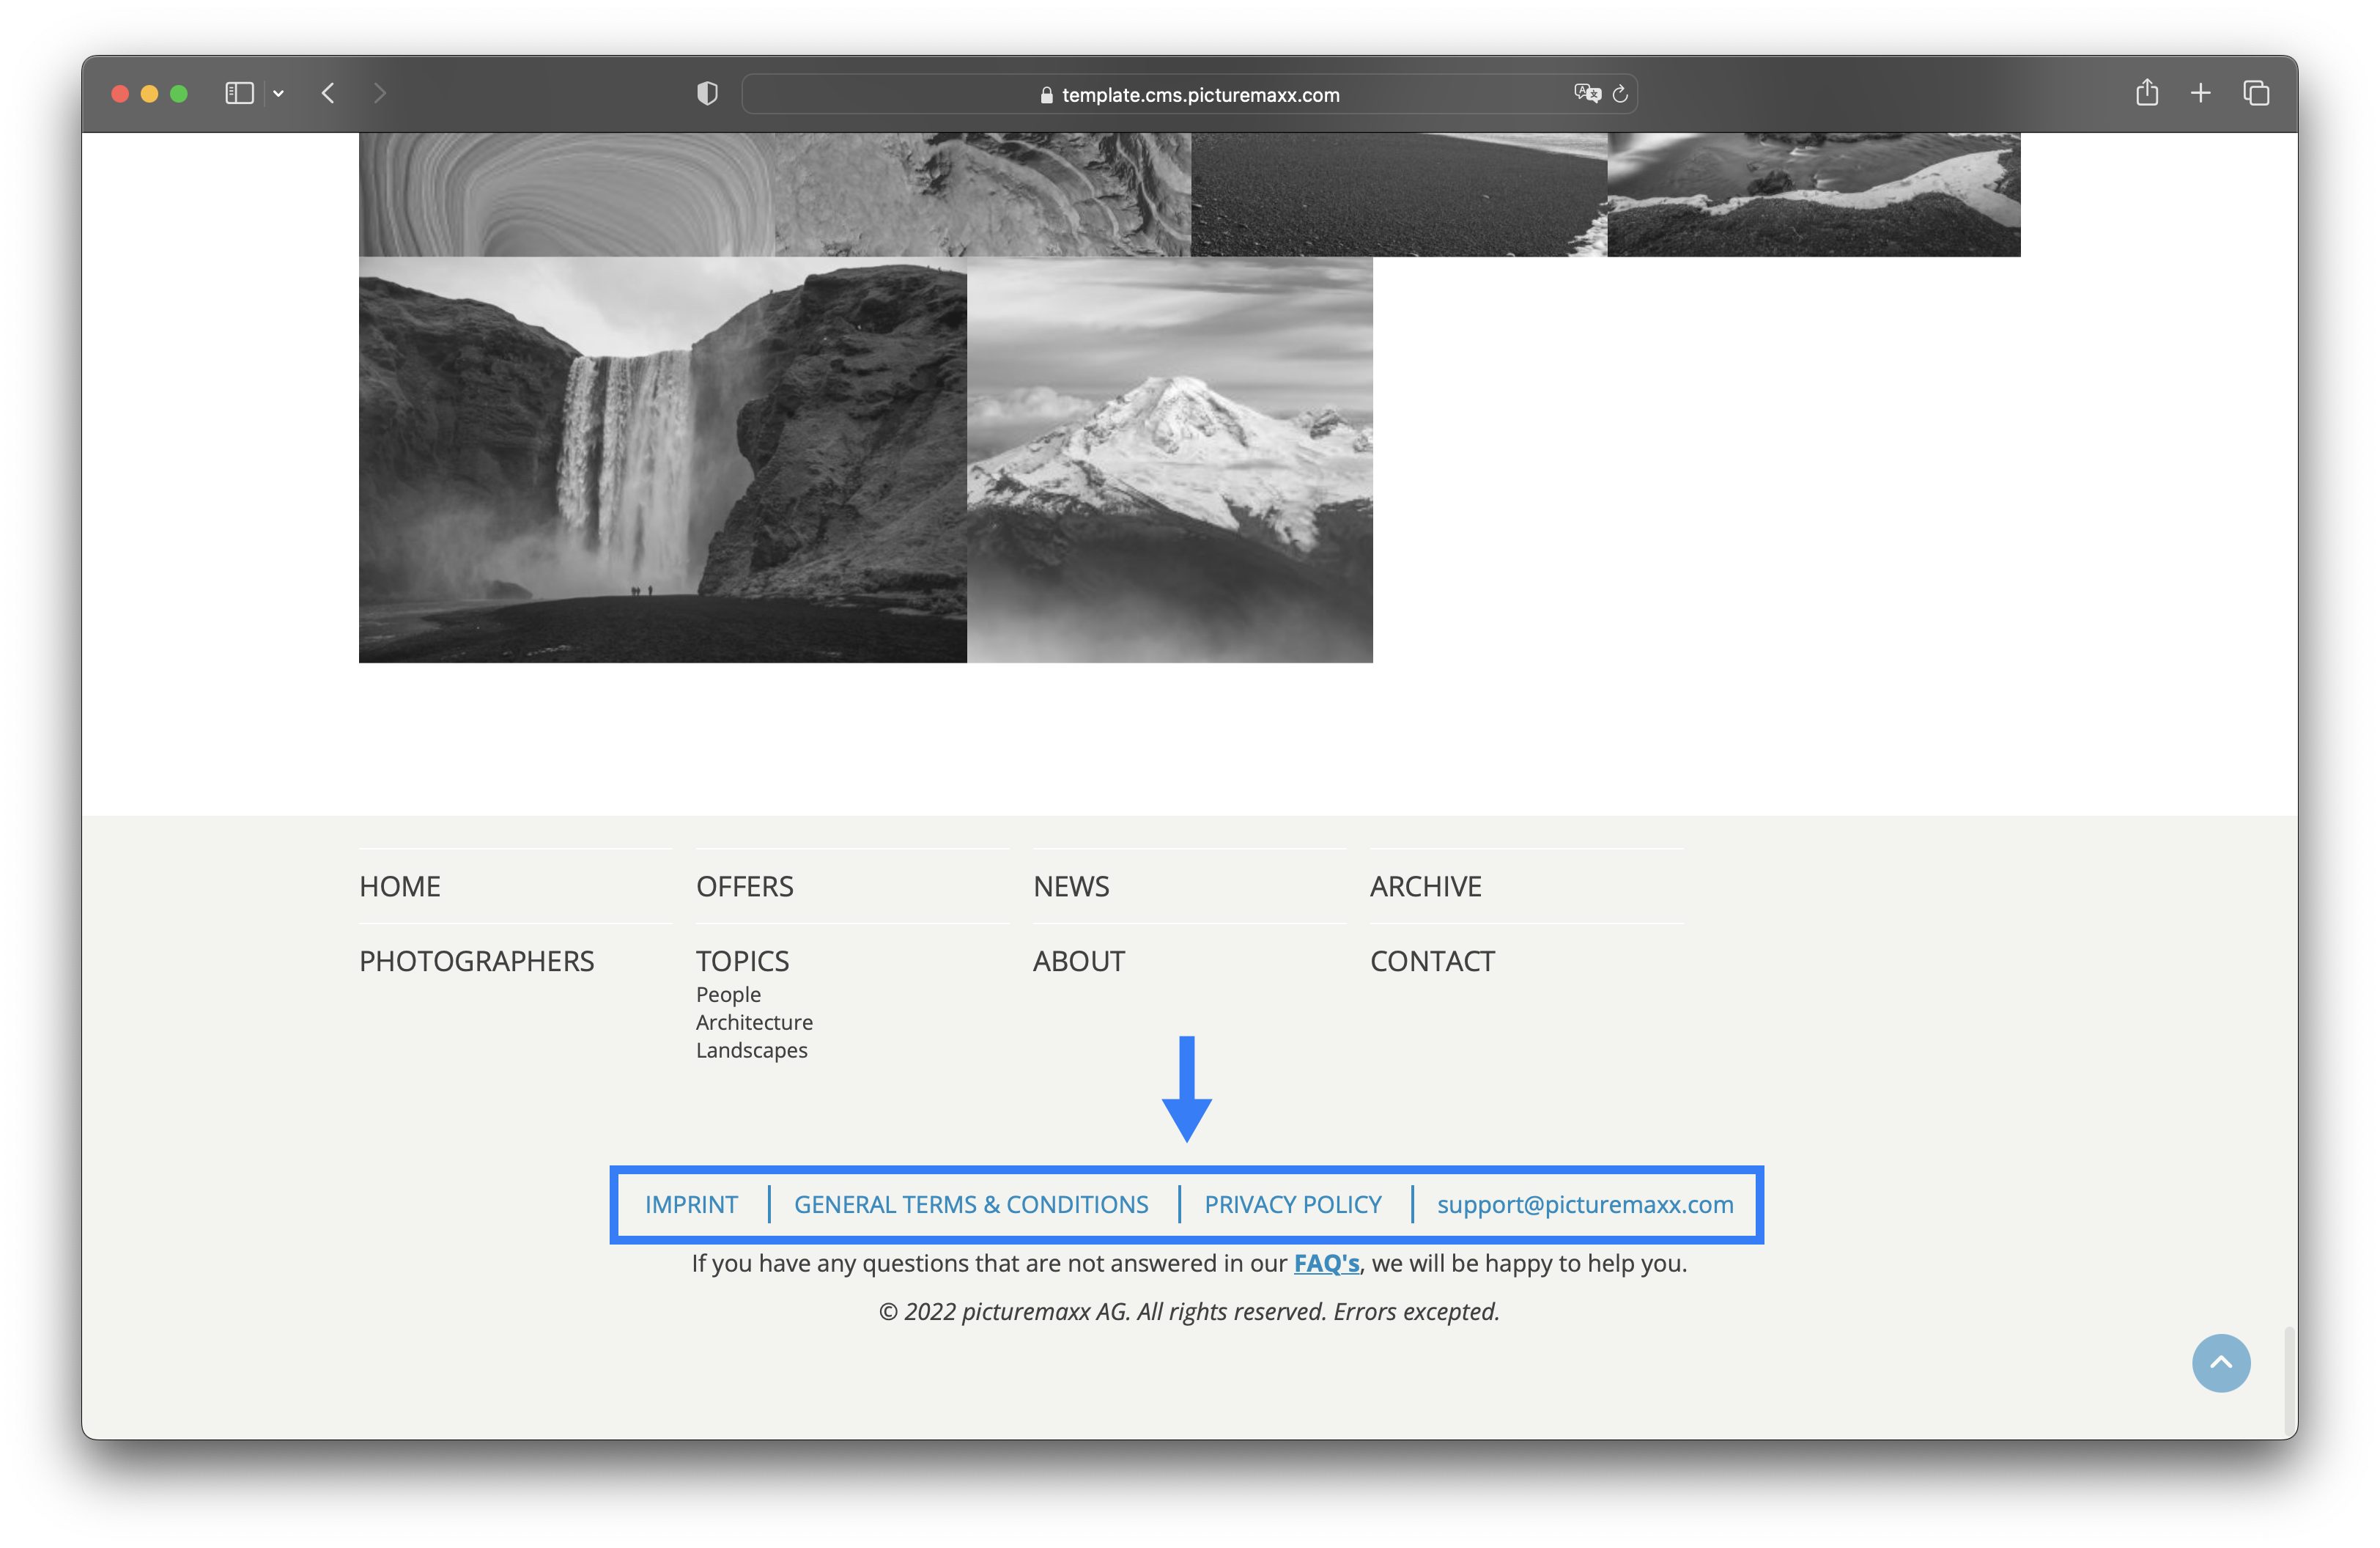
To add links to this menu, navigate to Structure → Menus → Footer Menu. As the name suggests, Footer Menu always appears at the bottom of your website. In most cases, it is used to link pages such as Imprint, Privacy Policy, and Copyright. In Display Options, you can choose its alignment (left, middle, center). The steps to edit the Footer Menu items are similar to Header Menu.
3. Doormat
The Doormat provides an overview of all menu items of your website, at the bottom of each page. Go to Configuration → picturemaxx Configuration → Theme Settings → Colors, Logos & Styles. Scroll down to picturemaxx Theme settings and select Display Options. Here you can specify how many columns the Doormat should have. If you decide against a Doormat, just select Hide doormat in the Doormat settings dropdown.
Before publishing the page:
- Click Preview to make sure everything looks the way you want. You can preview any change before publishing it.
- To return to the Edit page, click Back to content editing.
- To make new content visible on your website, turn on the Content is live (published) option.
- Click Save to store your changes. The website content items are listed on the Content page.
