Home → Create Website → Basic Page
Basic Page
You can add as many pages to your website as you wish to. You can link the pages by using website's Navigation Menu.
There are different content types to define your pages. The most flexible and common content type is Basic Page. It is built by adding individual sections that display various paragraphs, e.g. a plain Section for text and images, Collection for image galleries, Slide for slideshows, or Columns, Text & Media to display thumbnails and text.
Additionally, picturemaxx Drupal offers you other custom content types, like News Articles, Events, Locations, and Artist, you'll learn about in Content Types.
Text Editor available in every content and paragraph type offers various options to create and format text, include links and add media.
1. Create a Basic Page
You can use Basic Page as a default template to work with various content layout elements - Paragraph Types. There is a wide variety of Paragraph Types to choose from: a plain Section, Slides, Columns Text & Media, Forms, Maps, and many more, which you can apply to create your ideal page.
In Main Administrative Menu, navigate to Content → Add content → Basic Page. The Create Basic Page template form appears.
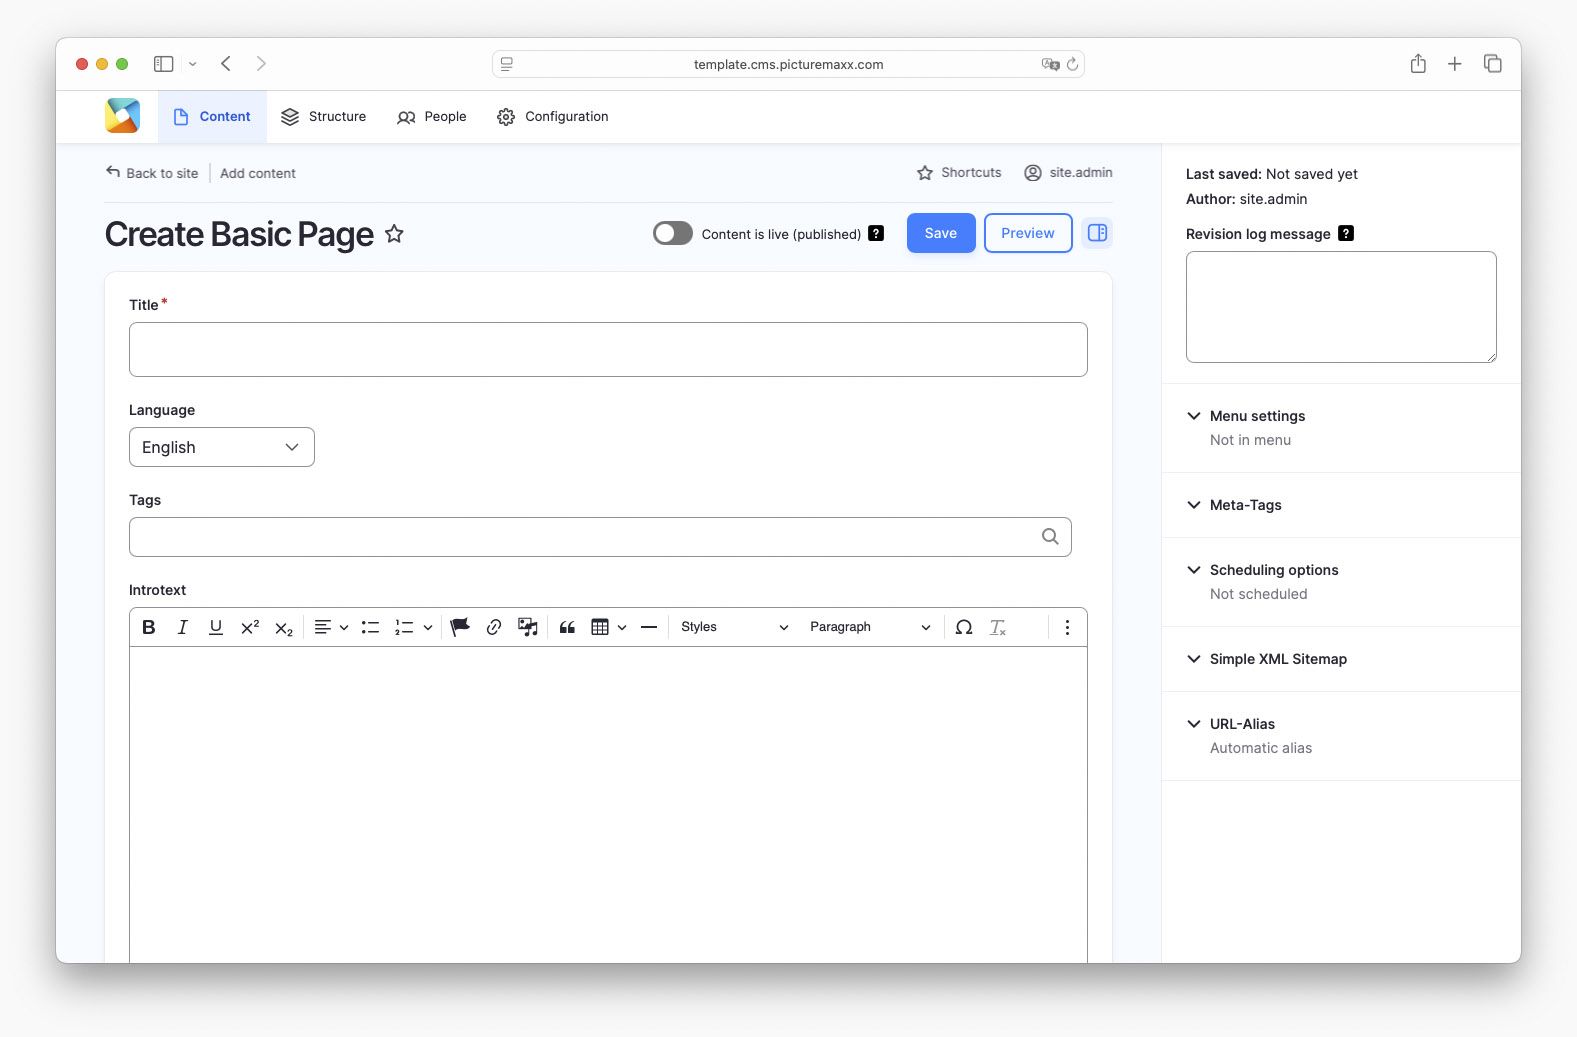
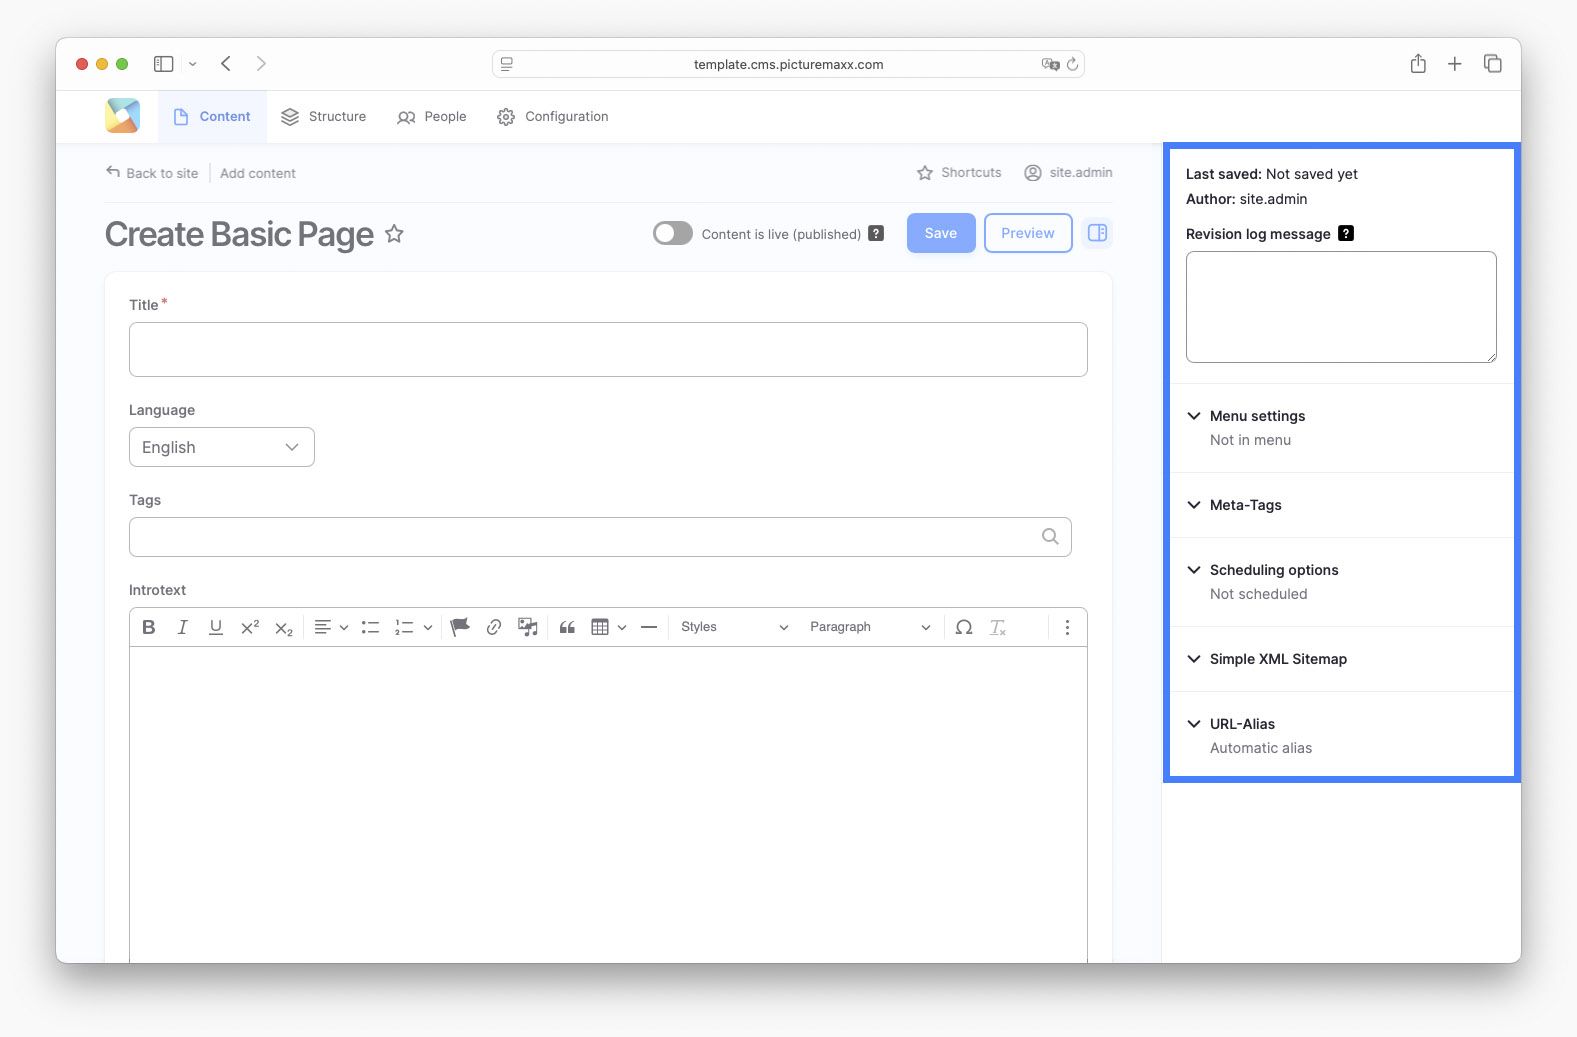
Sidebar Options
2. Publish a Basic Page
You've created the first page using the Basic Page template. Next, you can take a look at how your content will be presented when it goes live. You can preview every change you make before publishing it.
- To make sure everything looks as expected, click Preview.
- To make new content visible on your website, enable the Content is live (published) option.
- You can leave your page unpublished until you've added more Paragraph Types and you're satisfied with the result.

3. Edit pages and files
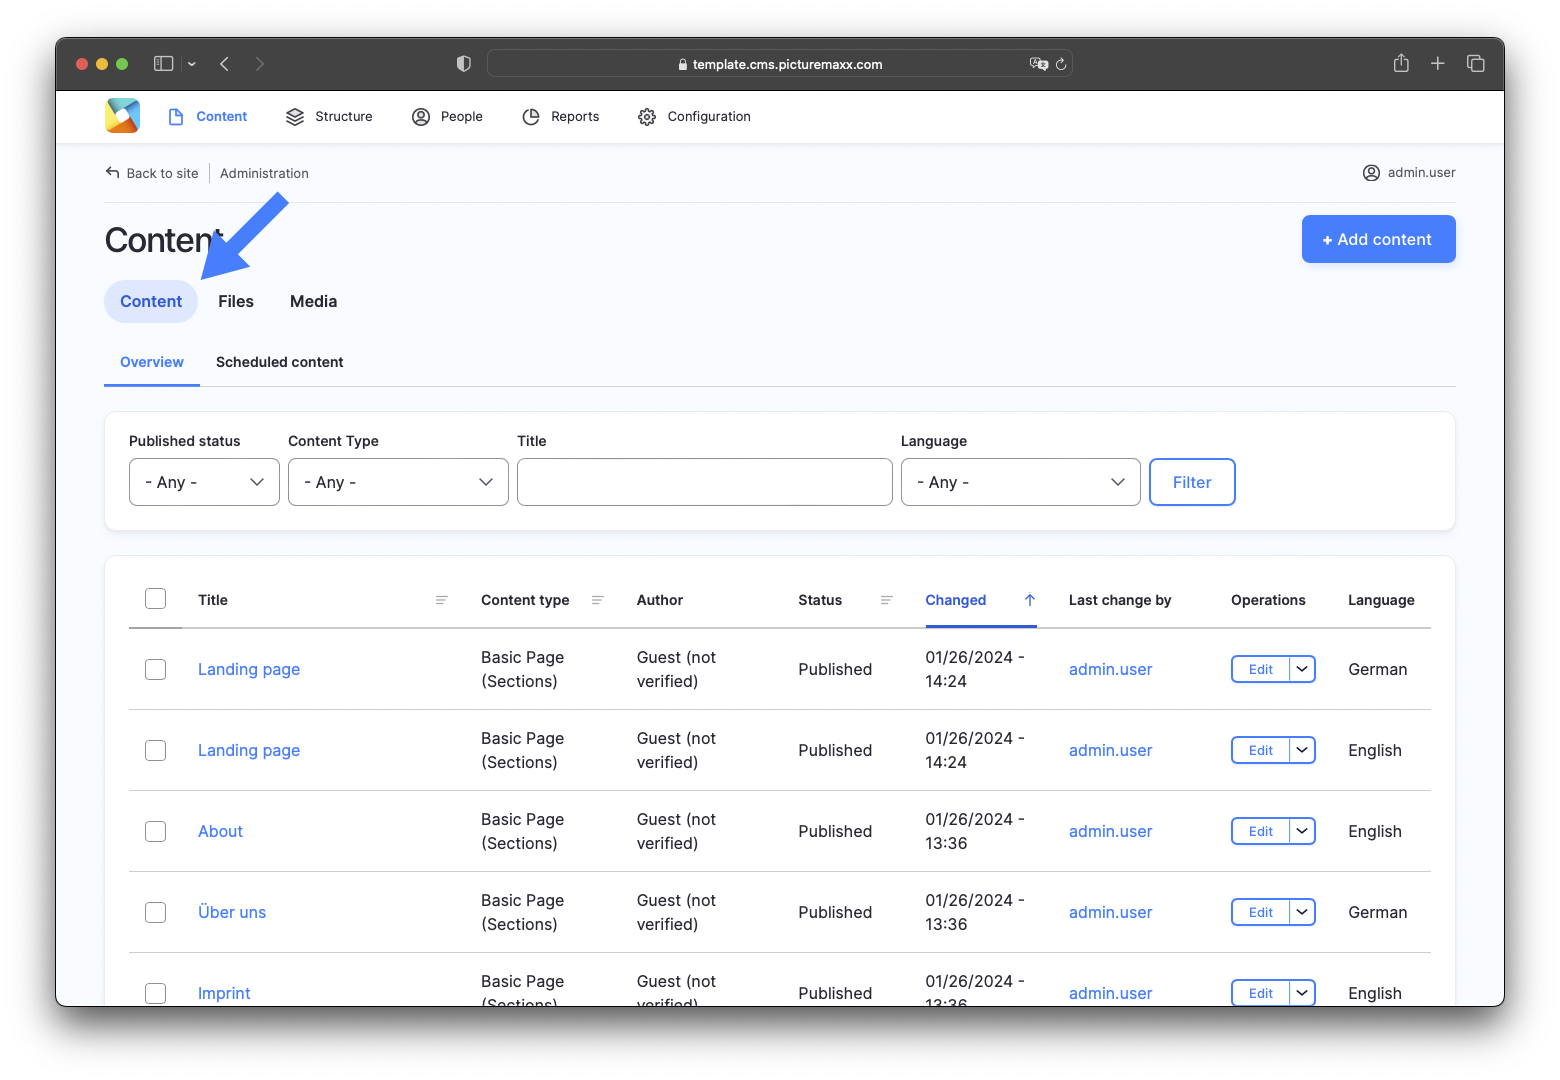
The Content area contains all pages and uploaded files of your website. Here you can manage your content: edit, delete, publish, unpublish, and much more.
In Main Administrative Menu, click Content to get to your content overview. To access editing options:
- Click the Edit drop-down menu in the Operations column of a content item row.
- Select a checkbox next to content item(s) to activate Action drop-down menu and choose from the available options.
-
The Content area contains all pages and uploaded files of your website. Here you can manage your content: edit, delete, publish, unpublish, translate and much more.
-
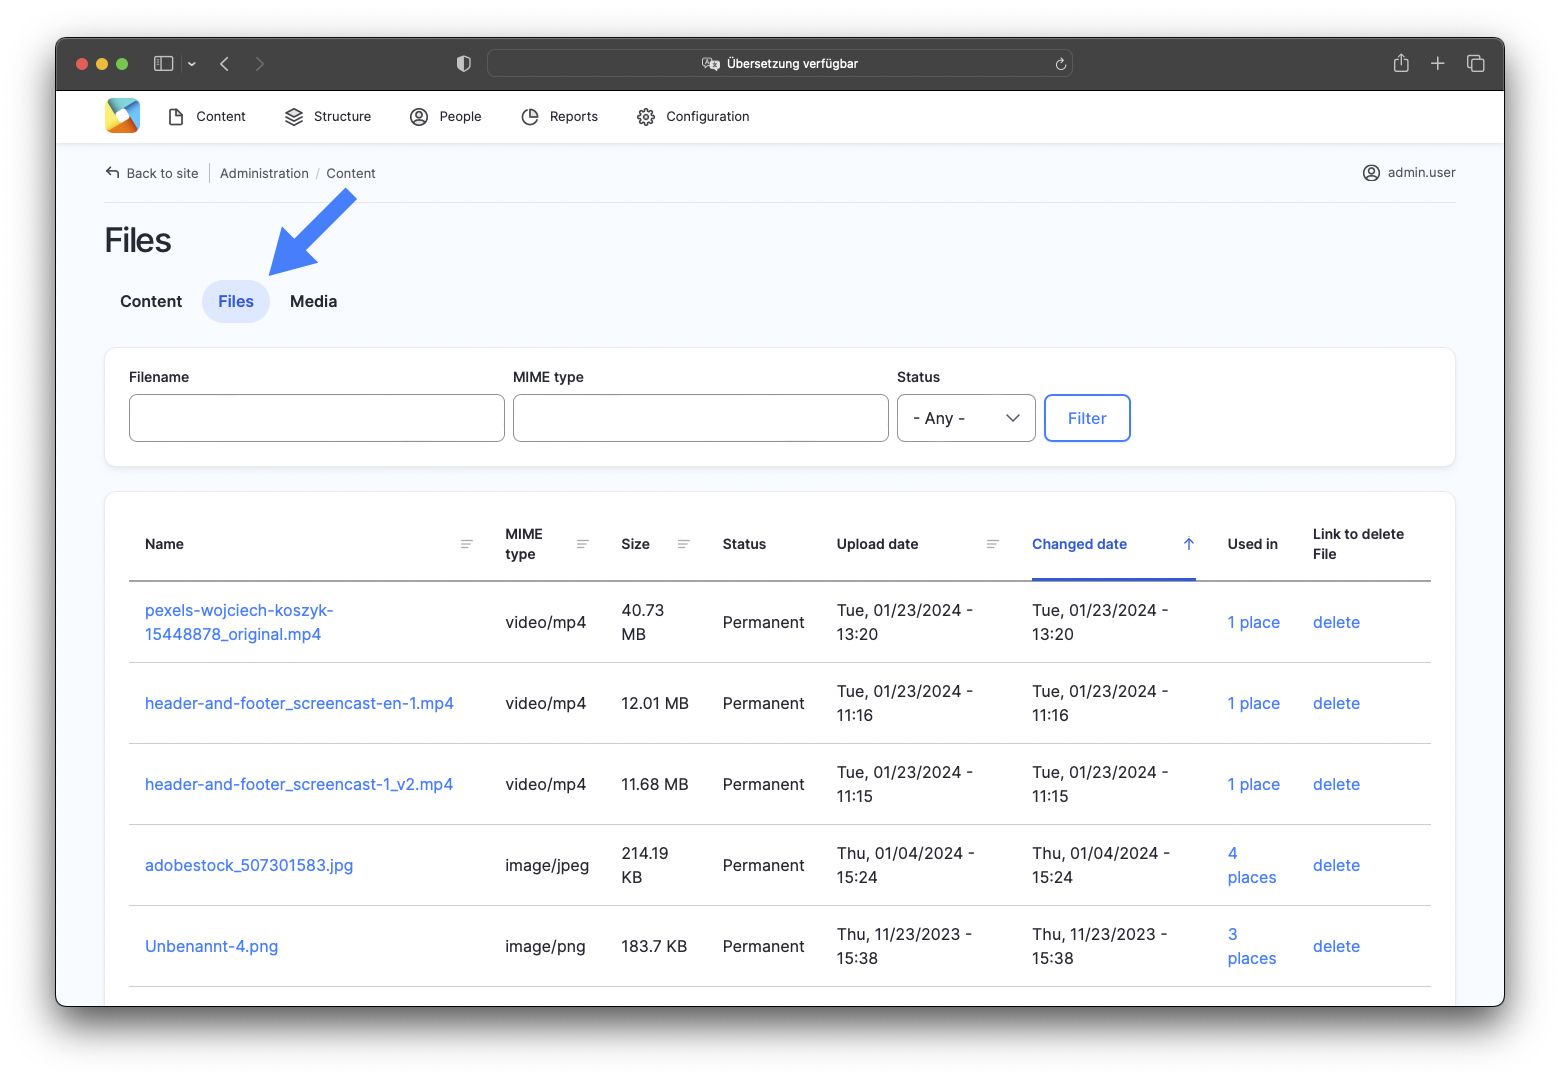
The Files area contains all files you uploaded to your system, and the file information - size, type, and an overview of where the files have been used. You can filter files by name, MIME type (e.g. image/png, video/mp4, application/pdf), or status.
-
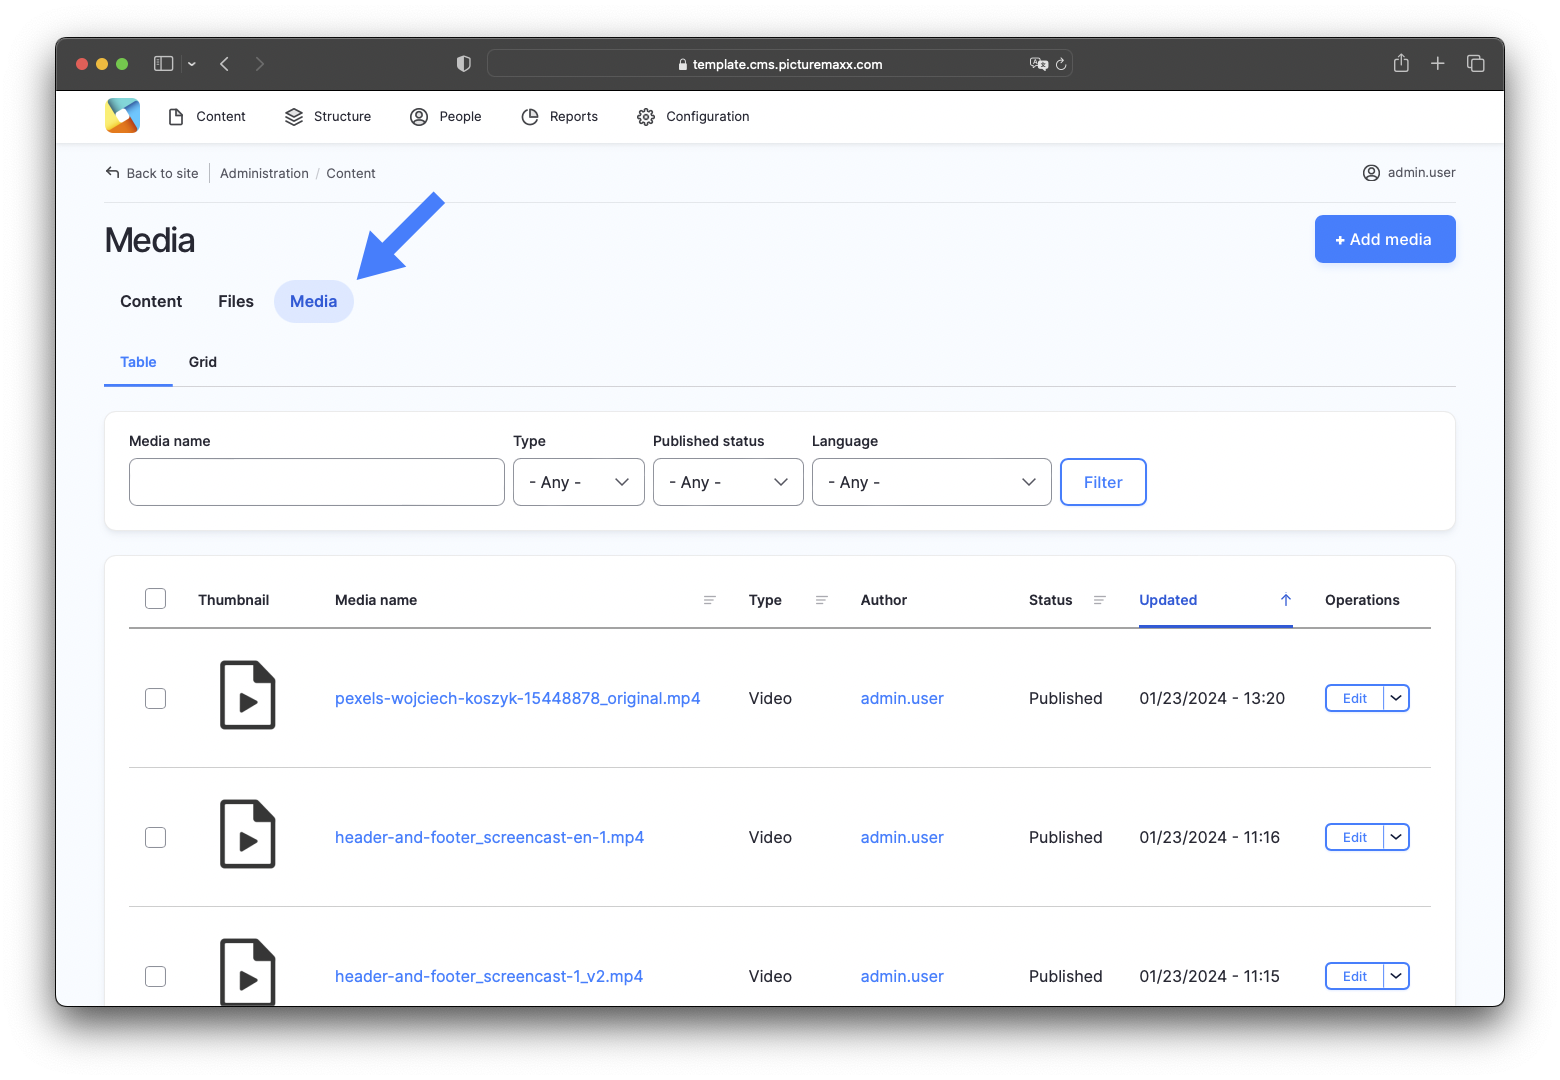
Contains all your uploaded media files, such as images, videos, or audio files. Additionally, here you can create and manage Collections for your pages using Edit Media. You can publish and unpublish media files and collections.
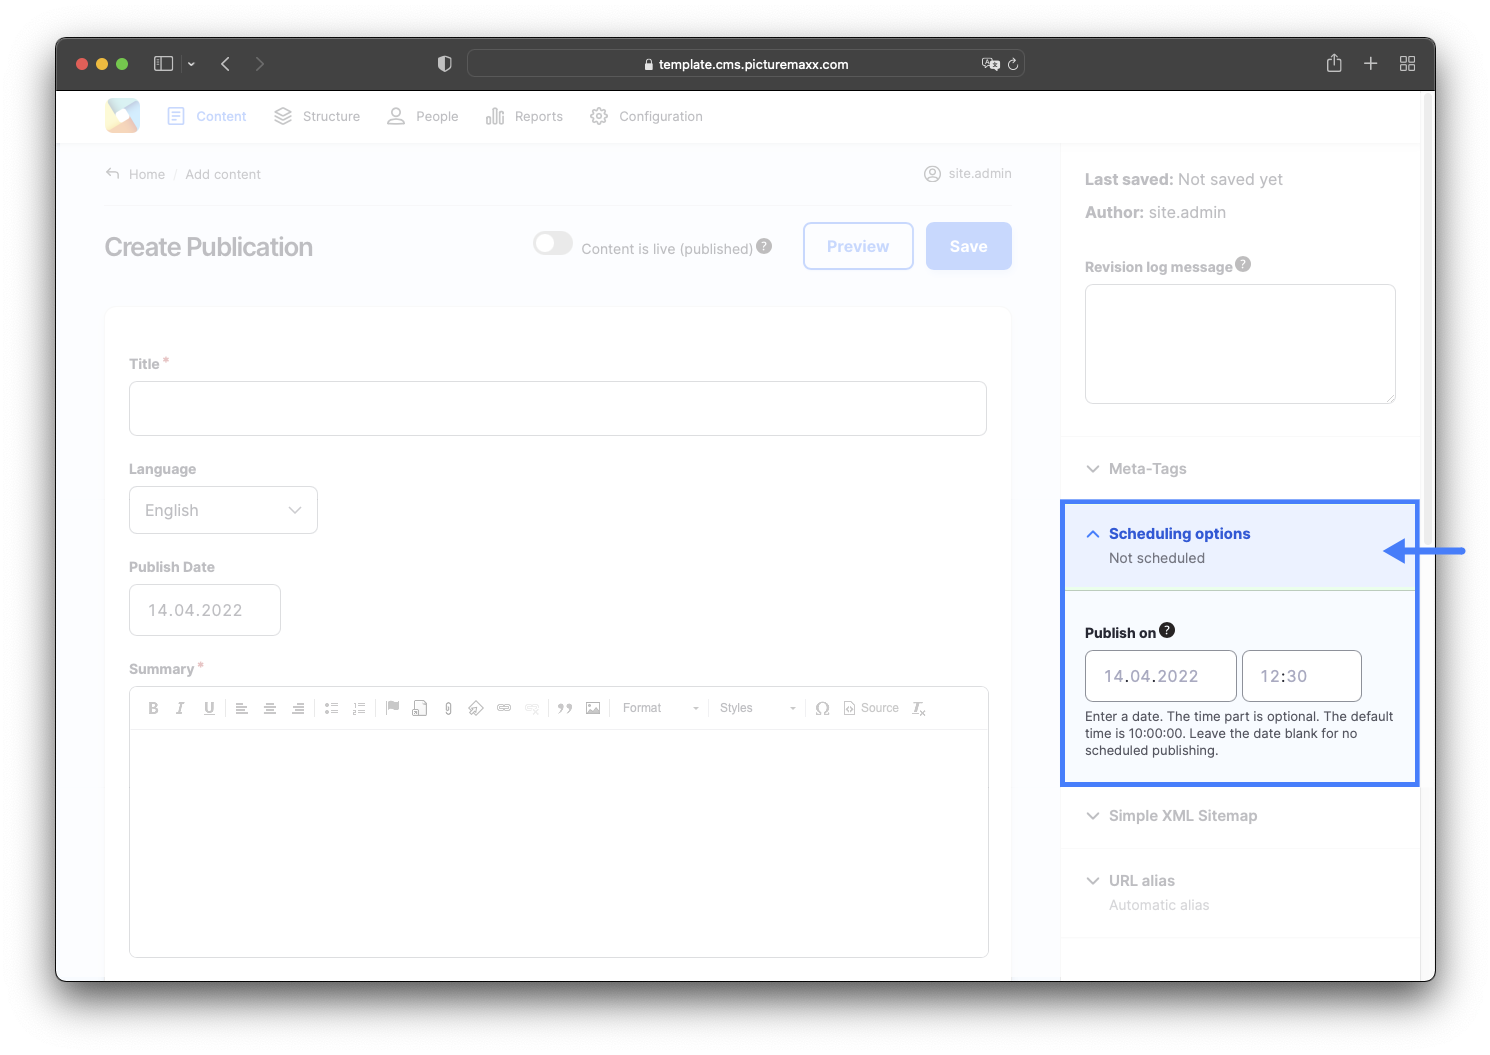
4. Scheduled content publication
You can set a date and a time for your page to go public using Scheduling options. This is quite useful, when preparing News Articles or if you would like to add Publications.
Then the webpage is displayed in the Scheduled content tab of the Content page until it has reached its publishing date.